The filters and effects from many iPhone Photo editors, all available in one… Pixlr-o-matic PLUS

There are apps that give you a variety of ‘film’ effects, like Vintage, Retro, Unicolor and Soft tones. There are other apps that provide lighting effects either through disrupting like burning and leaking light or overlaying with fireworks or Bokeh.

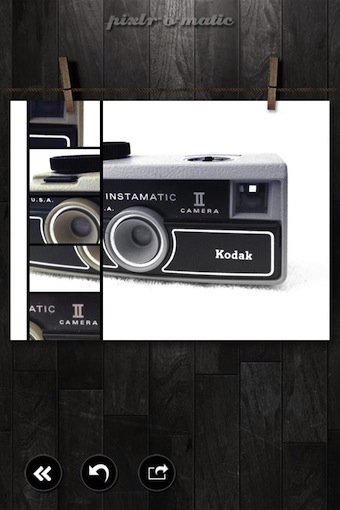
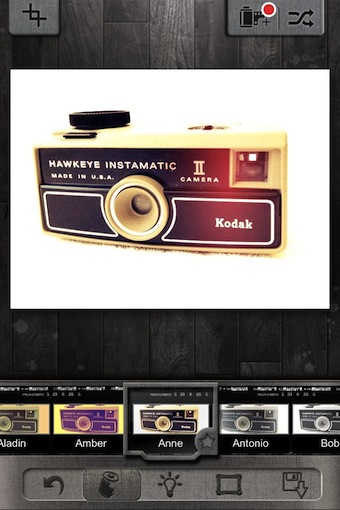
There is an app I just started using called Pixlr-o-matic Plus that brings the many options other iPhone photo editors have to one place. The Universal app lets you use photos on your iPhone or snap new ones. In the work area, you can swipe across the photo or use the random button in the upper right corner to have an effected added for you. Along the bottom is a ‘film roll’ of options to manually choose. As you move left/right through those filter options, the effect being viewed is applied in real time.

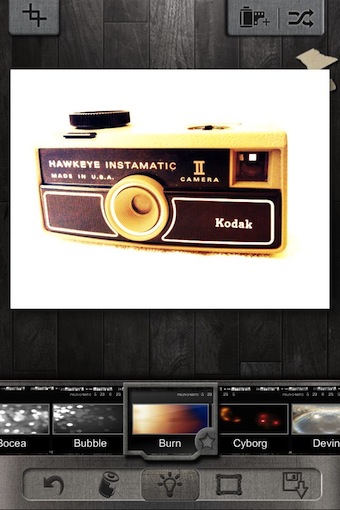
Choosing the light bulb provides another group of filters, to the right of the light is frames and finally the ‘save/share’ button. At first glance, the available filter options are small in each group. Not to worry, Pixlr-o-matic Plus has many more in their online library.

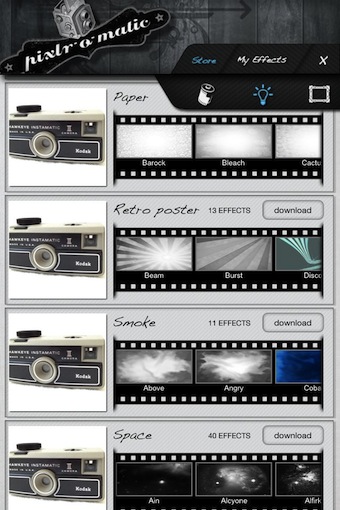
Scrolling all the way to the right of the filters is a ‘more’ button (or you can use the film canister upper right corner button), tap to go to a long list of grouped effects. Notice at the top is a film and light icon, both contain their group of effects. Scroll up/down to view the groups, right/left to see the filters in each group. Each of the Pixlr-o-matic ‘packages’ has a download button to pull that group into your iPhone to use on photos.

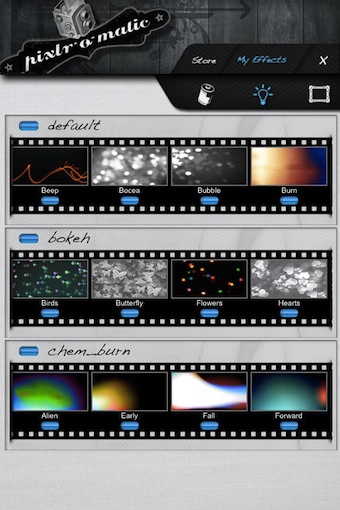
As you add the different groups of film and lighting effects, they are included in the film roll on the editing screen. Also, Pixlr-o-matic has a ‘My Effects’ folder for a quick overview of what you have installed.

The finished image can be saved to the iPhone photo library, attach to an email, push to iTunes, store in Dropbox or post to Facebook and Flickr. After choosing a method, Pixlr-o-matic Plus gives you the option to choose what size the photo will be exported in size text, including the original full size 3264 x 2448… just right to share onto my 500px account.
Automated download all of your Instagram photo posts directly to your iPhone

Whether you are thinking about reclaiming all of your photo posts, need to have access to upload to another service, don’t like the new owners of Instagram or want to have the photos all in one place – the Instasync app on the iPhone gives you the power you need.

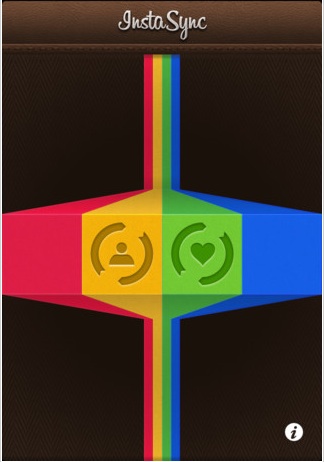
The free iPhone app downloads your Instagram posted pictures to a new library folder on your iPhone called ‘InstaMe’. You can start/stop as you like or kick it off and let Instasync download all of your posts. The app originally let you grab photos others posted too, but that feature has been removed. So, only the left button on the screen works.

You get more than just your photos with Instasync. Data is preserved with the photos; description, location, date and time, keywords, filter used and link back to the Instagram web-page.

Using Twitter like Instagram for photo sharing with the iPhone – TwitPic has an app for that

A bunch of us was wondering why Twitter didn’t do more for photo sharing on the mobile years ago. There was a couple outside apps produced but the twitter apps never did more than let you add a photo or access photos in tweets via three taps. When Instagram hit the market, we felt it was a sign we were right and Twitter lost that game.

Now, a free solution from TwitPic has showed up to help you take photos, do a bit of editing, then post to your twitter stream.

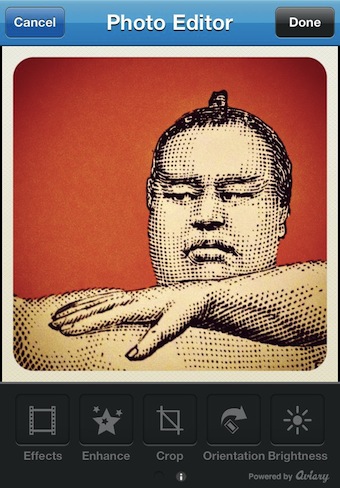
After you snap a photo, or import from your iPhone photo library, TwitPic provides a few filters and image editing tools. These are from the Aviary free tools collection that developers can embed in their apps. Not sure why the app doesn’t use the full offering from Aviary. When the image is as you like, ‘Done’ takes you to a screen to add your 140 characters then post for all to see on Twitter.

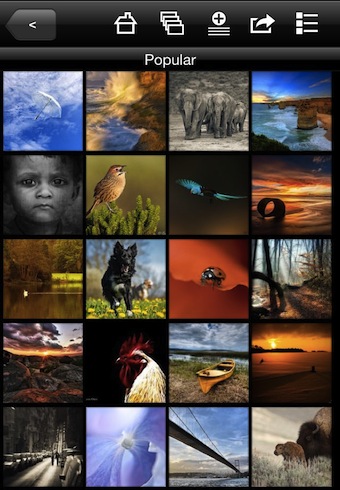
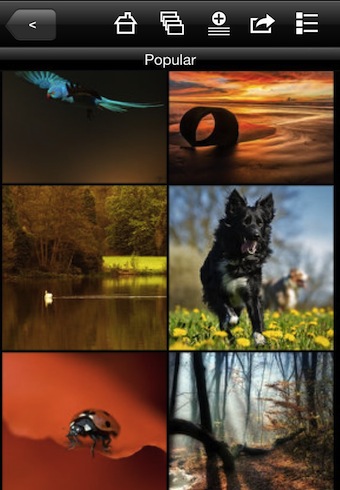
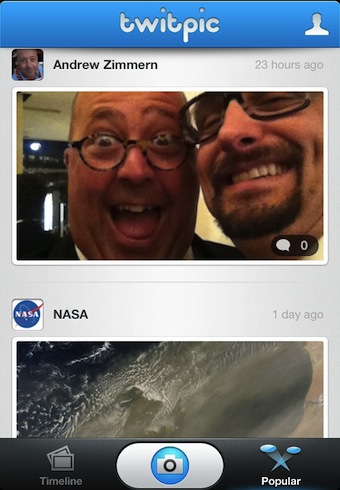
Photos that are posted to Twitter can be seen in a scrollable, arranged by either Timeline (folks your following) and Popular. TwitPic does crop the images in this view so you see just part of the whole. Thus, you have a limited view and still have a extra tap to see the full image. The ‘profile’ icon in the upper right corner takes you to view your profile, images you have posted and comments on those images.

Select a photo in the stream to see it full size. If you do nothing for a bit or tap the screen, the upper/lower info bars disappear for a unrestricted view of the image.

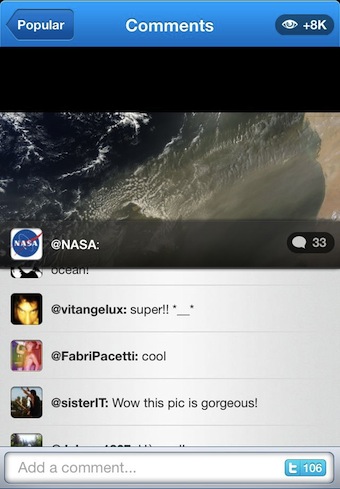
When viewing an image, you can see in the lower right corner how many people have commented on it. Tap that area to open up the comments to add your thoughts and read text from others. There is another oval in the upper right corner of the screen, selecting it does nothing. TwitPic is a bit of a head scratcher where so much is possible but looks rushed to get out the door. Some people will post it’s a clean interface, I’m sticking with my feeling that it’s half done.

Thumba photo editor for the iPhone, is less about cute filters and more about serious editing

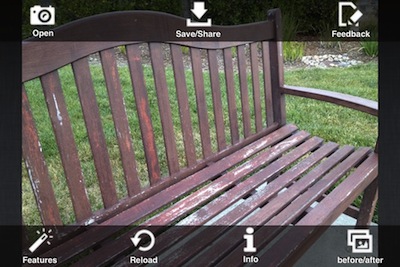
Thumba starts off looking a bit different from other photo editors and keeps going from there. Take a photo or import it results in a full image view and simple buttons. Thumba Photo Editor lets you grab another image, save and share, filters/effects, more information and a view of the photo before/after changes.

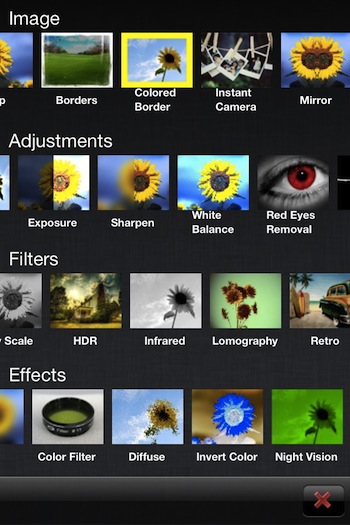
The tools are arranged differently than most photo editing tools on the iPhone. Thumba has rows to sweep through aligned in groups for: Image, Adjustments, Filters and Effects. Where most photo editing apps offer crop, borders and filters, Thumba has extended the options with more tuning in the more professional area. Pro like tools, yet still simple to use.

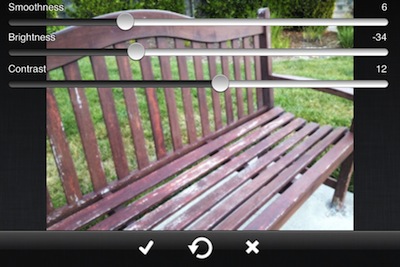
Depending on the tuning tool chosen, Thumba presents sliders for more customizable adjustments.

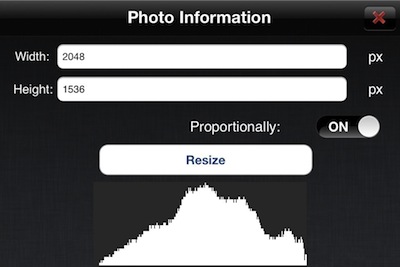
More info can be found on the image through the Thumba’s ‘i’ button. I like the adjustable resizing of the overall image. This is handy when I’m going to use the photo in a blog post vs sending to friends.


Just FYI, the full list of the tuning options from the developers:
Image
– Crop
– Rotate
– Flip
– Borders
. Burned
. Broken
. Cherry
. Film Strip
. Grunge
. Happy
. Holga
. Light Leaks
. Old Photo
. View Finder
. Year 1944
. Year 1967
– Colored Border
– Instant Camera
– Mirror
– Aspect Ratio in Crop function

Adjustments
– Auto Fix
– Brightness&Contrast
– Hue&Saturation
– Local Contrast
– Exposure
– Sharpen
– Red Eyes Removal
– Black&White
– Color Balance
– Shadows & Highlight
– Colorize
– Multiply
– Posterize
– White Balance

Filters
– Color Selection
– Cross Processing
– Glow
– Gradient Blend
– Grain
– Gray Scale
– HDR
– Infrared
– Lomography
– Retro
. Broken Camera
. Burned
. Dodged
. Extreme Damage
. Lovely
– Sepia
– Skin Treatment
– Soften Portrait
– Sunny Day
– Tilt Shift
– Vintage
. Eighties
. Glamour
. Schizo
. Seventies
. Vintage
. Warm Summer

Effects
– 3D Glasses
– Blur
– Invert Color
– Night Vision
– Pencil Sketch
– Solarization
– Vignette
– X-Ray
– Color Filter
– Diffuze
– Night Vision
– Silence Movie
– Stamp

Using the iPhone to stumble upon interesting Photography articles

I follow a variety of photography twitter accounts and everyday hit a handful of blogs regularly on the subject. Some sites post content multiple times a day that is light and on the general subject of photography. Others, post less often with more specialized content.
Some of the best articles don’t come from the usual places or the expected sources. It is nearly impossible to follow everyone and watch what they are saying. A method I use to keep up on interesting stories without having to sift through every post from people to find their mention of a great article between their posts about what they had for lunch is StumbleUpon. Great site and even a handier free iPhone app.

StumbleUpon works via people finding interesting articles, then sharing to individual categories. This way, you only get referred to articles that you will want to look through. There are iPhone news apps that are great at giving you news with regular scheduled information, some are very nice, but all depend on the usual providers. Since StumbleUpon provides links narrowed to your specific interest, and anyone can suggest links, you end up reading people’s ideas and techniques outside of the main stream agency content.
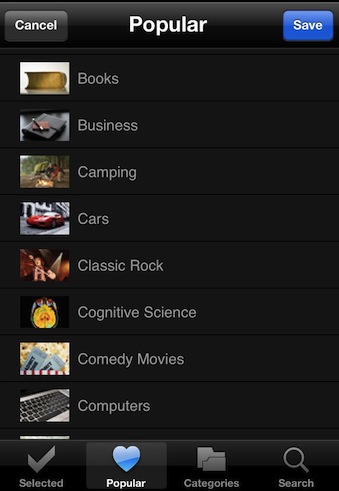
Launching that free app for the first time, you can see what others are saying are popular areas of interests. You can choose one or many from this area, though they are at a high level.
Using the StumbleUpon’s Categories button along the bottom, you can see all of the areas of interesting, then drill down to particulars so you can get more or less specific content.

After you have your interested ID’d, SumbleUpon will show you your selected area to choose from. No lists of links or people to follow, just a button to go to a article on the subject your interested in.

Choosing of the buttons will take you to an article that someone has linked to on that subject. The service is called ‘StumbleUpon’ because you don’t know anything about the actual article till you get there. If you like what you read, give it a rating thumbs up or down if it isn’t worth anyone’s time reading. The article can be viewed in mobile Safari, shared via email and Twitter too. Rather than going back to the ‘Interests’ page, just tap the upper right corner StumbleUpon button to go to the next article.

Lomo photography on the iPhone doesn’t have to be square, Lo-Mob provides options

When it comes to specialized apps for taking images that look like they were taken with a low end film camera, the list is long of quality and junk options.

The majority of the apps take square photos and offers a few filters. That may work for posting to a few of the popular photo sharing services. There are many other things I like to do with my photos so when I saw the app Lo-Mob offered effects and a variety of image formats, I was happy to give it a try.

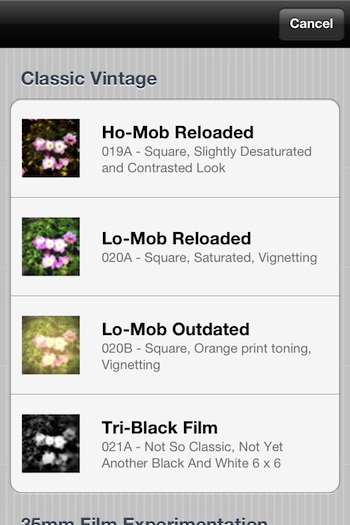
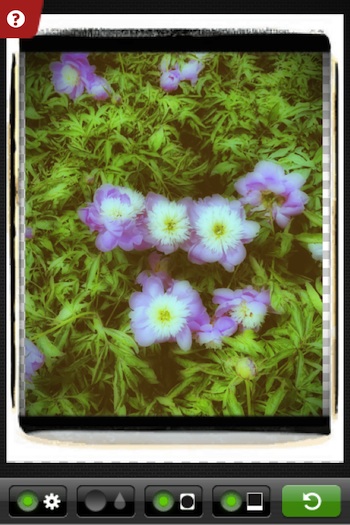
Import a photo or take one through the Lo-Mob app then scroll through the options of enhancements to use:

39 vintage and experimental photographic filters for all your pictures
Classic square vintage photography
35mm experimentation : sprocket photography
vintage 35mm slides
square Through The Viewfinder (TTV) simulation
AE-1 Through The Viewfinder
old and modern emulsions
glass contact photography
classic format instant photography + reversed + deconstructed
square, tall and wide instant photography
photocards

After choosing a filter/size, some minor tuning can be done. Lo-Mob also supports the changing of the applied effect if your not happy with the direction you chose.

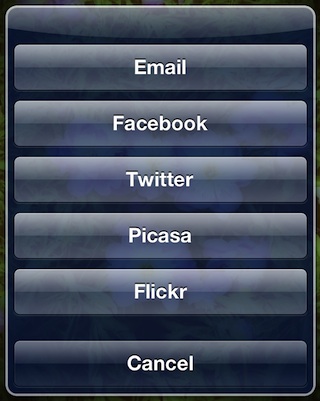
Sharing is big with me so it’s nice to see all the usual social options are available.

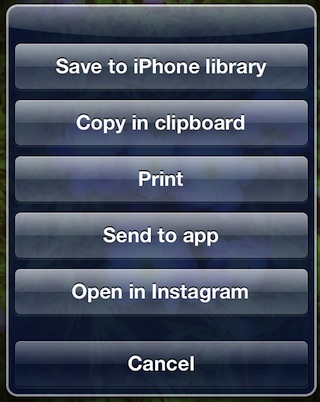
The ‘Send to app’ is a nice feature I mentioned in HalfTone. No need to save the photo output from Lo Mob then re-open in another editor, just ‘send’ it photo directly. If you did choose a square format, post directly to Instagram too.

HalfTone for the iPhone updated with Dropbox, Photo Stamps and Send To Camera+

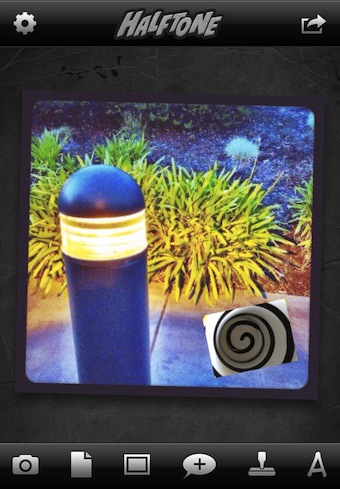
As a reminder, HalfTone is the iPhone app that lets you convert your photos to newsprint dots. You can adjust the quantity and quality of those dots, add caption boxes like cartoons have and change the background ‘papers’. At first glance, my thought had been it was an app that has very limited uses, but places to share the photos keeps coming up.

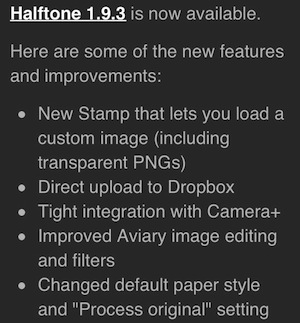
The update has a few items that jump right out as ‘much needed’. The first is the addition to the stamps area, where you can choose an image to use to paste onto your HalfTone converted image. The image stamp can be rotated and resized.

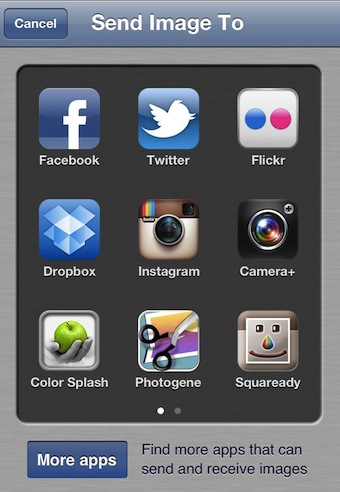
Another item is sending the photos your working on within HalfTone directly out to Camera+. The feature has been available before to send photos directly to other enhancement apps rather than saving to the photo library then importing it to another app. The addition of Camera+ to HalfTone’s Send To options lowers the quantity of steps and number of photos half done on my iPhone.

The full list of HalfTone updates includes sending photos directly to DropBox too:

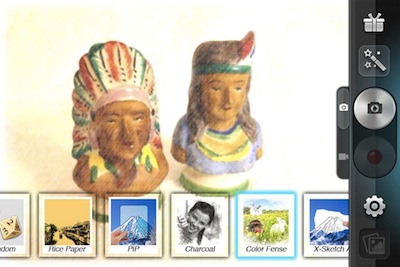
Converting iPhone Photos to Sketch Art – Free for now with My Sketch

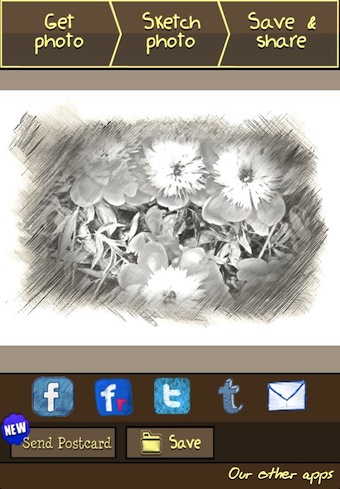
I have had really bad luck with iPhone apps that convert photos to what looks like sketch art. So, the options and output of My Sketch was a pleasant surprise. Currently being Free is nice too!

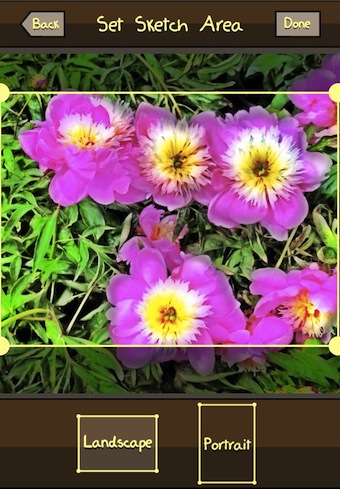
Use the app to take the picture or import from your iPhone photo library. Then crop the image to be landscape or portrait… not square! The output will have different outer edge so you will find you may not get the crop exactly correct for your desired ‘sketch’. Just plan to learn a bit with each use of My Sketch.

My Sketch is a Universal app so you can play with your photos on both your iPhone and iPad with a single license.

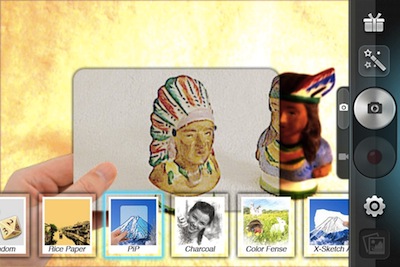
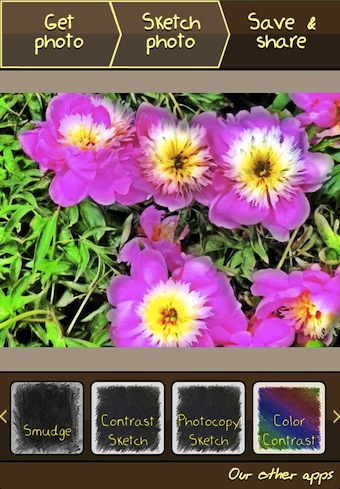
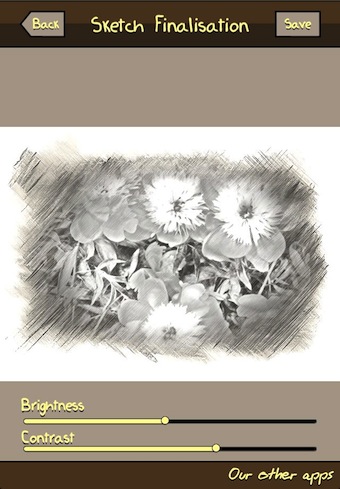
Once you have the photo cropped as you like, My Sketch offers 20 varieties of ‘sketching’ style. Sweep through the list along the bottom of the screen to find one you like. Conversion does take a little time, but you can go back and apply a different sketch filter if you aren’t thrilled with the result.

The photo with your chosen ‘sketch’ effect applied can be tuned additionally with sliders for Contrast and Brightness.

Your finished My Sketch converted photo can be attached to an email, saved to your iPhone’s photo library or shared over the usual big name social share services. New in this version is to have your final art printed and mailed for a charge. One word of warning, double check what your clicking on as the app likes to keep pushing the option to buy their other offerings.