Tag Archives: photo enhancements

Photogene Updated To Version 4, Includes Pro Features At No Extra Charge

Photogene is one of those iPhone photo editing apps that I use a bunch, back shelf for a while then ‘rediscover’ it again. Once again using it a lot as a single app that give the ability to do all the work in one app without  silly clutter. Along with the update to the feature set in the new version 4, the app has also gone Universal so you can install it on your iPad for a larger view of your edits. The iPad interface is completely different, I’m only showing the iPhone version here.

Included in the version 4 update:

  • Photogene is now a universal app for both iPad and iPhone.
  • iOS 7 compatibility.
  • New look for iPad user interface. New icon.
  • The PRO package is now free! Everyone has been upgraded to PRO.
  • Enhanced RAW support. RAW files are now opened in full resolution.
  • Flickr export: can now choose a set.
  • New feature for exporting XMP sidecars.

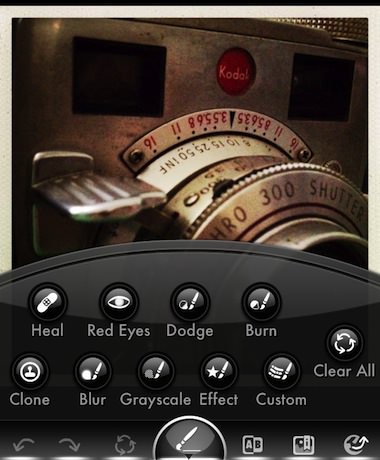
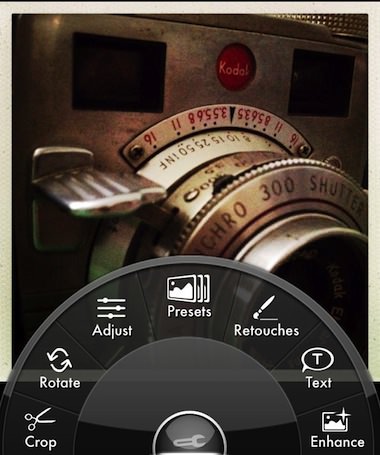
Now, onto actually enjoying the power of the app – After importing a photo, Photogene 4 has a quick access tool pop up wheel to get right in and editing.

02 Photogene 4 iPhone

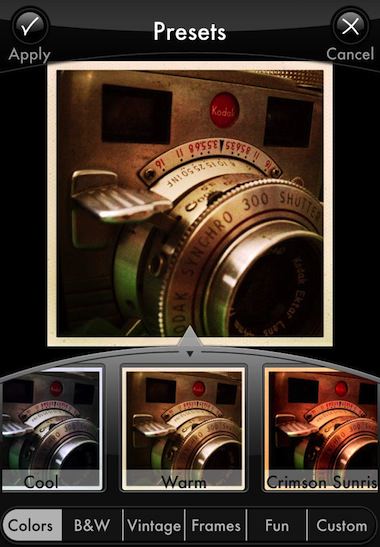
First off, there is a nice group of pre-built overall picture filters. These can be applied in layers when in a rush…

03 Photogene 4 iPhone

Fun overall filters that are quick and tunable. The real power of Photogene 4 though is the specific photo area tuning tools. Notice that at this level, there is also a row of fuzzy undo/redo/restore buttons along the very bottom of the screen for those times you want to throw a bunch of changes out and rethink the image.

04 Photogene 4 iPhone

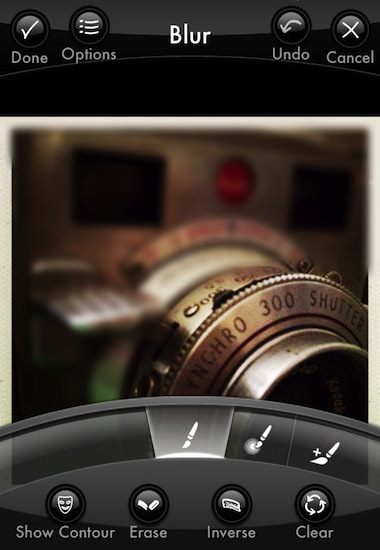
Each effect can be chosen to be applied to a very specific area of the photo. Photogene lets you save/undo/cancel and move onto the next effect. So, you can brighten an area, darken another part of the photos, blur a bit, burn some light… and so on. It’s easy to move from one alteration to the next so doing simple to more detailed edits is pretty quick. When using a tool, don’t miss the ‘Options’ button in the upper area for more adjustments available for that effect.

05 Photogene 4 iPhone

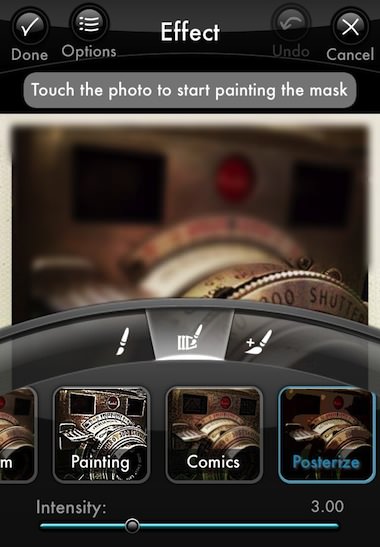
Each of the effects have additional options from the dial. Usually, these start with the basic brush head used to apply the change. Choosing other tools will result in a different sub group of effects within the top level group. Notice the slider along the bottom, Photogene 4 is not an all-or-nothing filter app.

06 Photogene 4 iPhone

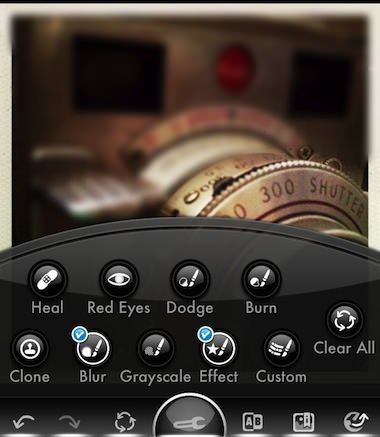
Every time you save adjustment, it is layered on top of the previous work. Returning to the work picker, notice that the features used have a check mark next to them. If you develop a workflow, this is handy to see where you are in the process and to assure all steps got covered.

07 Photogene 4 iPhone

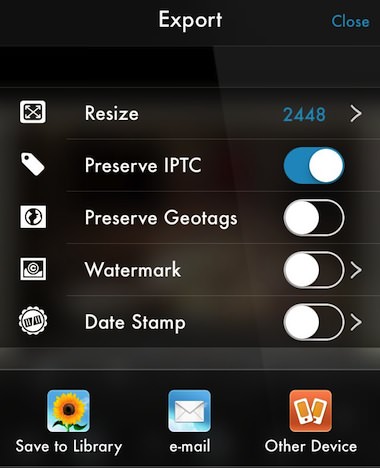
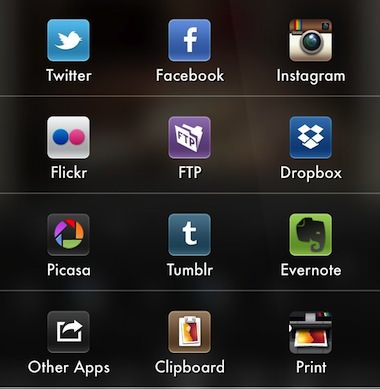
When the image is as you like visually, Photogene offers the ability to adjust pixels to best fit the way you will be using the photo. As well, you can review the photo tags, then share through a large variety of options. Speaking of all-in-one without clutter, notice that you can water mark the photo without having to go to another app also… high on my list since I found a recent photo of mine on over 85 sites with no credit.
08a Photogene 4 iPhone

08b Photogene 4 iPhone

My Sketch gets True Color upgrade for iPhone photos

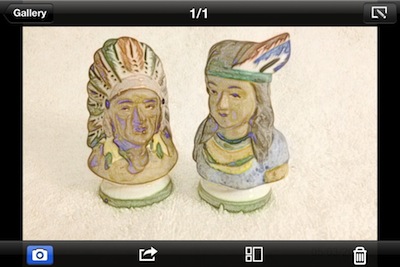
Holiday and event cards always provide a nice challenge when creating their cover art. Do you use typography or a photo? Is the photo just a shot you took or do you enhance it for the mood. While My Sketch isn’t an app I use all of the time, it is one that has gotten me passed being blocked a few times when I need a unique feel to a creative piece. Today it solved a blocking issue for me so I thought I would share my success, fun stuff.

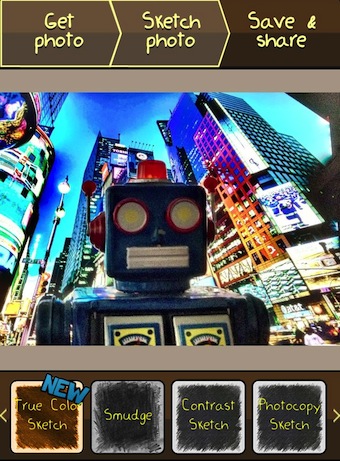
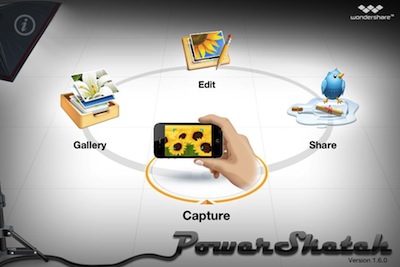
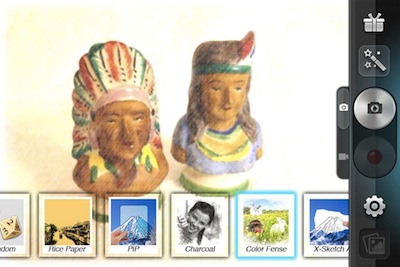
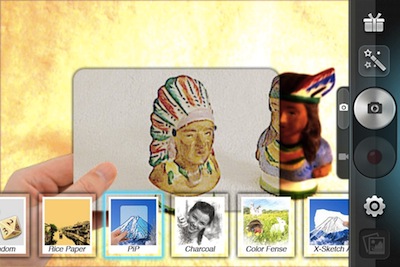
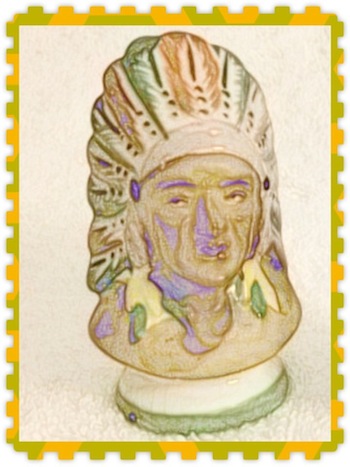
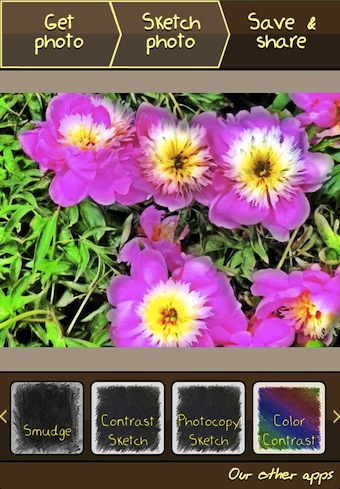
The app converts a photo, from your iPhone library or taken through the app, to what looks like a sketch. The My Sketch app offers 20 different sketch effects. This update includes True Color which is the effect I applied above. The new ‘sketch’ appears in the row of options you can swipe through below the photos.

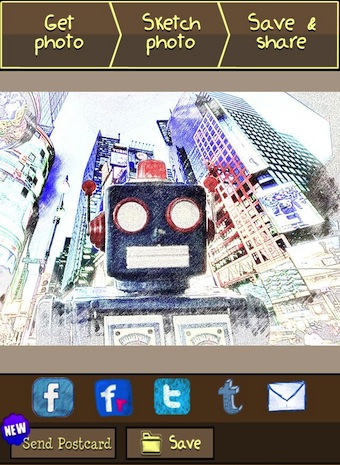
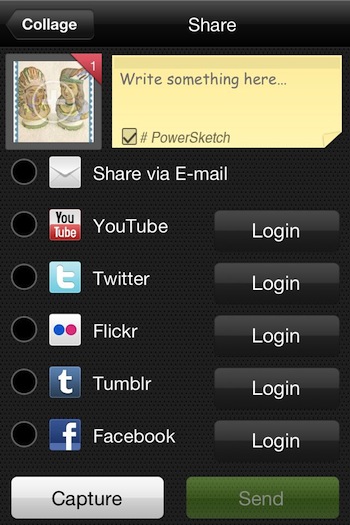
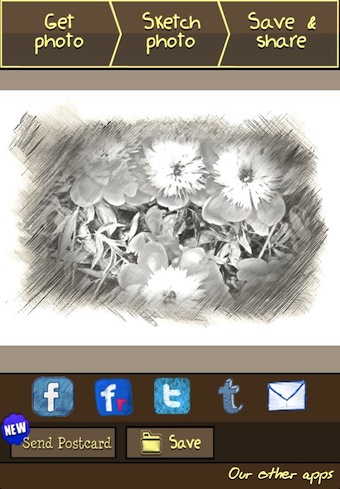
The completed ‘sketched’ photos can be saved to the usual popular list of social friend sites. A step I always miss is the ‘Save’ button at the bottom. You must use the button for My Sketch to save your creation to your iPhone photo library. If you exit the app without doing that step, you lost your work as it wont be there when you re-launch.

The Sincerely print ordering system is built into My Sketch. It cuts a trip to the print shop is you want to create and have them print the image on a variety of layout styles.

Popular Mac Photo app, Color Splash Studio – Now on the iPhone!

While I don’t own Color Splash Studio on my Mac, I have seen it being used around the office. So, when I saw it was available for the iPhone, I recognized the name and jumped in to take it for a spin. The iOS version is for the iPhone only, or can be run in 2x on the iPad, no specific iPad version available yet.

If you new to the Color Splash phrase, the process is ‘simple’. You are able to have areas of your photo show as their original color and other areas dropped down to black and white. It creates quite an effect when you have a building with a window reflecting a colorful area… drop out the building and have just the reflection in color. Note, I’m not saying ‘colorized’ since the ability to ‘add’ color isn’t supported. You are only allowing the color areas to either have their original coloring or convert to black and white.

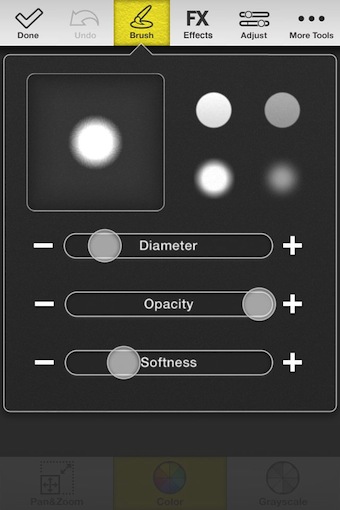
For Color Splash Studio, there is also some extra tuning features that are provided to get a bit more out of your photo’s impact on the viewer. Start by taking a picture, importing from your iPhone photo library or import from Facebook. Crop if needed, then tap next to get into the tuning. You can start right off, but you may want to choose the Brush button to tune the tool you will be using to apply the effect.

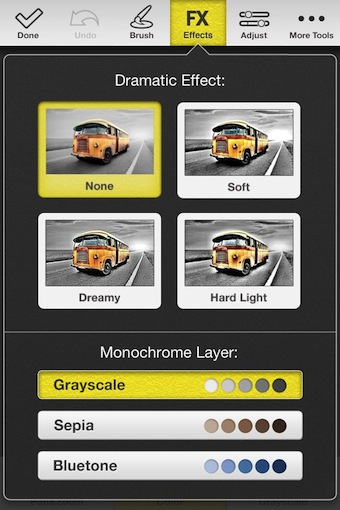
The next option across the top of the Color Splash Studio work area is FX Effects. The Dramatic Effect adjustments is not something I have seen in other color splash effect apps. Also adjustable is the Monochrome layer.

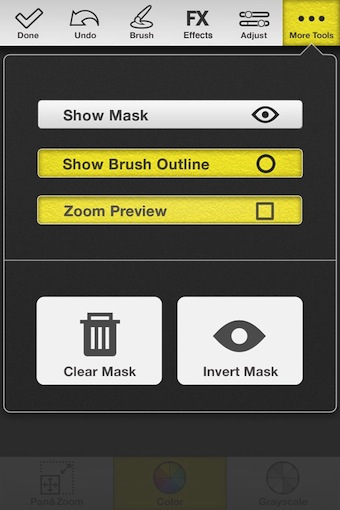
Under the ‘More Tools’ options of Color Splash Studio is another three items I wish more photo enhancement apps on the iPhone had. The top one I have mentioned before… “Show Mask”. Making the effected area of a photo much easier to see vs the untouched.

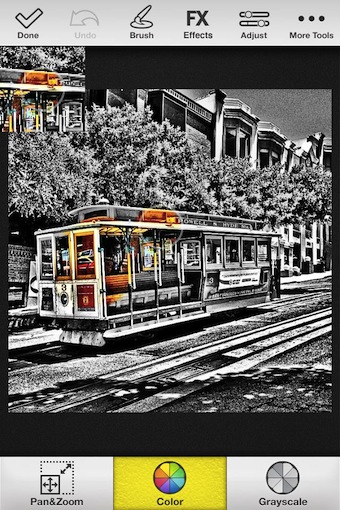
A nice feature not seen in other apps is the overlay box showing where your doing your color work. Since the editing is being done under your finger tip, it is often difficult to stay between the lines. The Color Splash Studio’s box makes it much easier to get the job correct the first time. The box jumps to the other side of the screen when you start editing near it. You still have the option to pan/zoom via the button at the bottom of the screen. As well, you can ‘un-color’ an area you didn’t mean to have the color show by using the Grayscale button and coloring black and white over it.

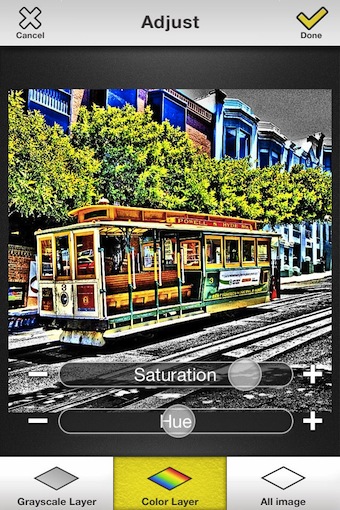
I waited till now to mention the Saturation and Hue adjustment since you need to see it over a tuned photo. The tool is found under the ‘Adjust’ button across the top of the work screen. The two sliders can be used for the Grayscale or Color layers individually, or the full flat image.

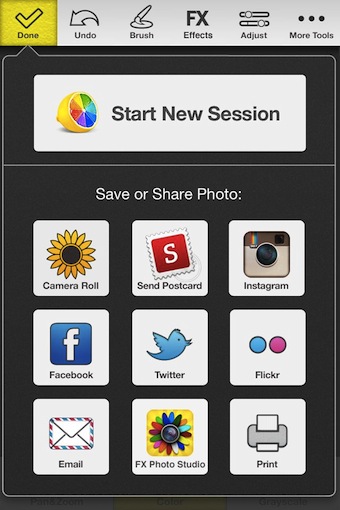
The final touched up image is at the full size/resolution that you imported and started with. Color Splash Studio offers a nice selection of options for sharing your finished work too.

Paint FX brings fine tuning of iPhone photography effects

Paint FX was recently updated with 3 HDR and new background effects. It is an app that I use from time to time and really should have mentioned it before. You know, I just use it and don’t think about it.

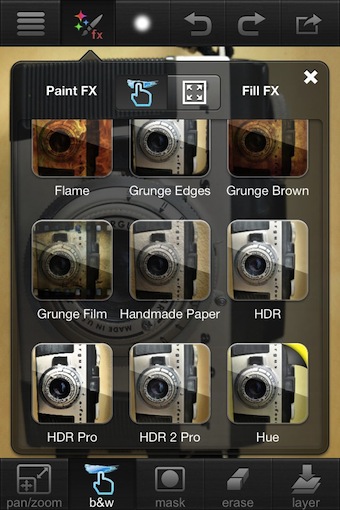
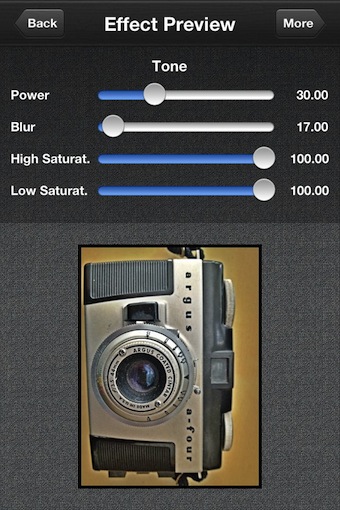
What makes Paint FX a bit unique is that you don’t have to use their filters and effects on the full picture. Instead, you paint the effect onto your iPhone pictures to apply only where you want. It means a bit of a rethink about enhancements to photos. Instead of applying a filter or effect to all parts of an image at one time. Paint FX has you create a layer, then choose an effect to apply only to parts you need the enhancement on. Brighten on area, sharpened, darken, make it vintage, HDR, grunge and more… 71 in all.

Import photos from the iPhone photo library, Flickr or Facebook.

From the effects button, you can choose effects to paint on or apply to the full image at one time (Paint vs Fill). Sweep up/down through the options, choose to use. Next to the Effects option across the top bar is a button that offers the fine tuning of the brush tool: size of tip, strength and brush edge. When ‘painting’ on the effect, you can undo/redo. Along the bottom, the eraser will let you edit the filter edge to get more precision around corners.

Almost every effect can be fine tuned. In fact, many allow for multi levels to get the most out of every filter. So, 70+ filters/effects can each be adjusted to make it almost impossible to count how many options are included in Paint FX.

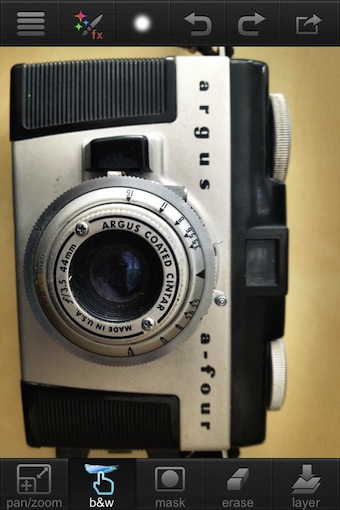
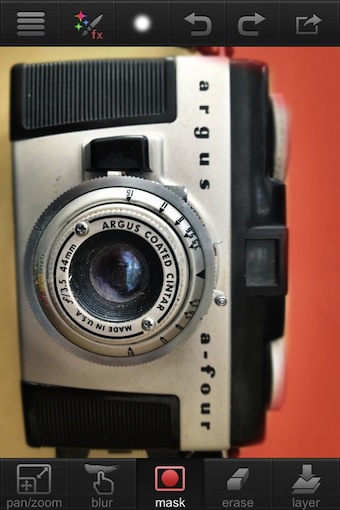
I’m surprised more apps that allow you to apply selective effects don’t offer a ‘mask’. As you can see here, when on you can see exactly where the effect is being applied. This is a must where you altering an image with a soft effect that you may not be able to see on the small screen. If you want to see your work on a ‘big’ screen, your in luck… Paint FX is a Universal app so when you buy for your iPhone you can install on your iPad too at no additional charge.

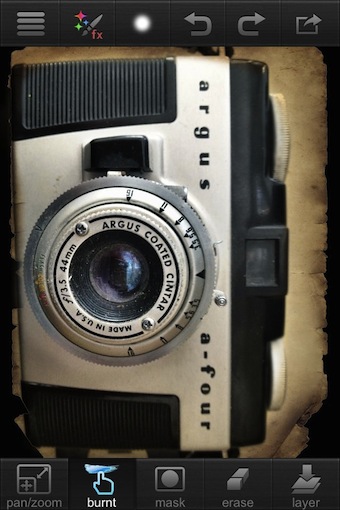
Yes, you can use an effect to apply to the outer edge of an image that will create a frame appearance. Like I said, when using Paint FX, think outside of the box!


Using the iPhone to stumble upon interesting Photography articles

I follow a variety of photography twitter accounts and everyday hit a handful of blogs regularly on the subject. Some sites post content multiple times a day that is light and on the general subject of photography. Others, post less often with more specialized content.

Some of the best articles don’t come from the usual places or the expected sources. It is nearly impossible to follow everyone and watch what they are saying. A method I use to keep up on interesting stories without having to sift through every post from people to find their mention of a great article between their posts about what they had for lunch is StumbleUpon. Great site and even a handier free iPhone app.

StumbleUpon works via people finding interesting articles, then sharing to individual categories. This way, you only get referred to articles that you will want to look through. There are iPhone news apps that are great at giving you news with regular scheduled information, some are very nice, but all depend on the usual providers. Since StumbleUpon provides links narrowed to your specific interest, and anyone can suggest links, you end up reading people’s ideas and techniques outside of the main stream agency content.

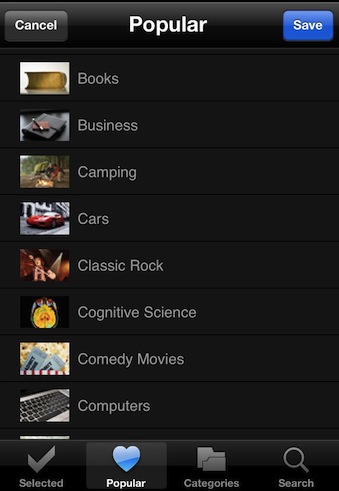
Launching that free app for the first time, you can see what others are saying are popular areas of interests. You can choose one or many from this area, though they are at a high level.

Using the StumbleUpon’s Categories button along the bottom, you can see all of the areas of interesting, then drill down to particulars so you can get more or less specific content.

After you have your interested ID’d, SumbleUpon will show you your selected area to choose from. No lists of links or people to follow, just a button to go to a article on the subject your interested in.

Choosing of the buttons will take you to an article that someone has linked to on that subject. The service is called ‘StumbleUpon’ because you don’t know anything about the actual article till you get there. If you like what you read, give it a rating thumbs up or down if it isn’t worth anyone’s time reading. The article can be viewed in mobile Safari, shared via email and Twitter too. Rather than going back to the ‘Interests’ page, just tap the upper right corner StumbleUpon button to go to the next article.

Converting iPhone Photos to Sketch Art – Free for now with My Sketch

I have had really bad luck with iPhone apps that convert photos to what looks like sketch art. So, the options and output of My Sketch was a pleasant surprise. Currently being Free is nice too!

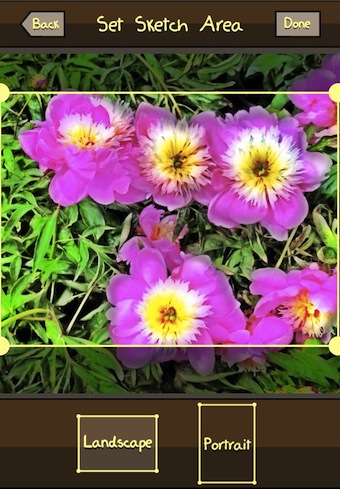
Use the app to take the picture or import from your iPhone photo library. Then crop the image to be landscape or portrait… not square! The output will have different outer edge so you will find you may not get the crop exactly correct for your desired ‘sketch’. Just plan to learn a bit with each use of My Sketch.

My Sketch is a Universal app so you can play with your photos on both your iPhone and iPad with a single license.

Once you have the photo cropped as you like, My Sketch offers 20 varieties of ‘sketching’ style. Sweep through the list along the bottom of the screen to find one you like. Conversion does take a little time, but you can go back and apply a different sketch filter if you aren’t thrilled with the result.

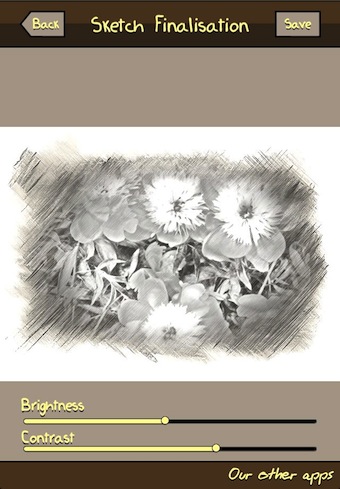
The photo with your chosen ‘sketch’ effect applied can be tuned additionally with sliders for Contrast and Brightness.

Your finished My Sketch converted photo can be attached to an email, saved to your iPhone’s photo library or shared over the usual big name social share services. New in this version is to have your final art printed and mailed for a charge. One word of warning, double check what your clicking on as the app likes to keep pushing the option to buy their other offerings.

iPhone photo social sharing on StreamZoo… a different experience with gamefication

Unrelated to the Instagram and Facebook deal, I do actually play with a lot of other iPhone photo sharing services. Most don’t have huge quantities of people sharing, many have very few features, and everyone has something that makes them unique.

For StreamZoo, it is about a lot of features but no requirement to use them. There are points available for posting pictures, points when people like your photos, points when someone messages you and points when you like other people’s photos. Of course there are people that abuse the gathering of points… let them.

StreamZoo has the usual overview of Popular photos, as well the ability to see Leaderboards for high points fellow StreamZoo users. A nice touch is being able to see streams of photos. Streams = Hashtags on photos. I noticed in the beginning that the majority of the posts where from Android phones, but everyone is playing nice having fun as all photos are posted equal.

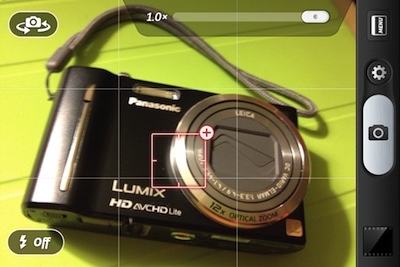
Taking a photo with StreamZoo or importing from your iPhone’s photo library gives you the option to edit with filters and tuning tools. From your ‘homepage’, you are informed there are new likes or messages via the Activity button turning red.

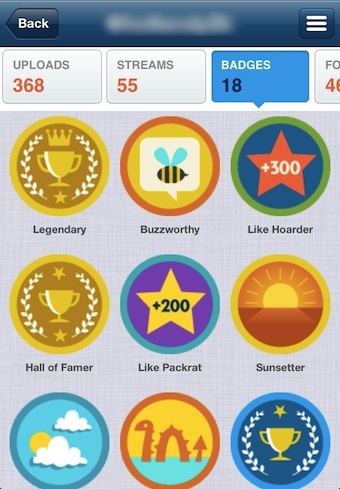
There is badges for all sorts of things… mostly in the area of number of likes for photos you have in different streams.

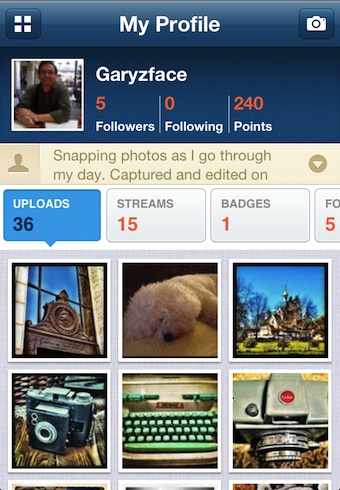
All of the viewing, commenting and messaging that can be done via the iPhone app can also be done via the Web interface. Within the iPhone app, you can see and overview of your uploaded photos, information around your followers, points and quantities of uploads, streams (tags) and badges. While you can follow individuals and the photos they are sharing, StreamZoo is really more about keeping an eye on streams on a subject.

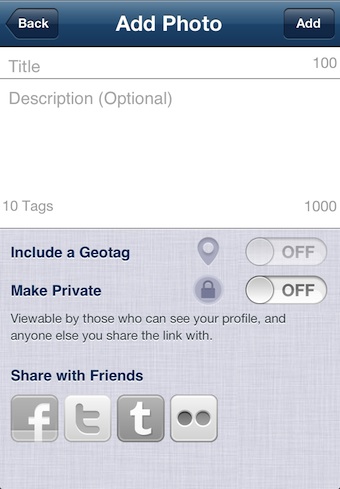
Adding a title and description for every photo can be done prior to finishing the upload. Adding tags will allow people to see the photos in Streams. Since you took the time to edit the photo in StreamZoo, you can share directly out to other social sites like Facebook, Twitter and Tumblr directly.


Big updated to one of my favorites iPhone Photography apps – Camera+ goes 3.0

Camera+ gets used a lot. That is to say, I have a large selection of iPhone Photo apps I use every day. They go from very specialized to very generalized. There are a couple that are ‘do it all’ apps that I can shoot with, as well do my final edits in. Camera+ is one of those apps that I shoot with very little but turn to when I do edits  and enhancements. It isn’t like SnapSeed for tiny spot changes, rather for editing the full photo.

With this update, I will be using Camera+ for more of the actual photography too.

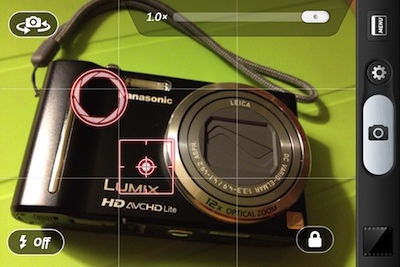
The list of updates to Camera+ is long, thus it is now version 3.0 (on sale right now!). To start, the ability to have focus and exposure as separate spots is now supported. What is nice is the way it was implemented. When frame up a shot, you may tap the screen to choose the focus area like normal. In other apps, you have to choose if you want to do a focus spot or a focus/exposure difference. Notice the small ‘+’ on the focus box, just tap that if you want the split.

Camera+ doesn’t require you decide up front through a setting if you want to do focus or focus/exposure, you decide on the fly.

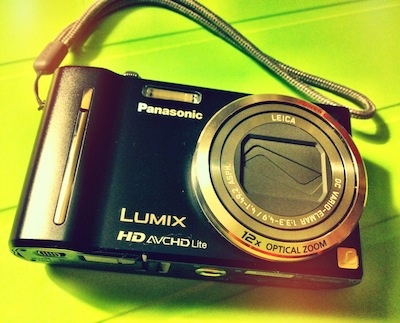
The filter selection continues to be a quality area of Camera+. With three screens of 9 filters in each area, there is also an additional specialized 9 for a 99 cent in-app upgrade. The best known of the enhancements offered by Camera+ is the ‘Clarify’ which received an upgrade in this update too. Below is a shot that was cropped, clarified, and filtered within Camera+… whole process took less than a minute including saving to the iPhone photo library.

Knowing that not all people work the same, Camera+ lets you: take a single picture and edit it right away, take multiple pictures to edit later and import one/many photos from the iPhone’s photo library to edit.
Along with the above, the folks that created Camera+ have opened an API to other app developers that may want to use the photo editing powers they provide. Titles like WordPress, Tweetbot, Twitterrific, Foodspotting, and Twittelator Neue apps.

The sharing speed has improved too… done via email, attach directly to a ‘message’ (cool now that Messenger works on the Mac too), through social services like Facebook and Twitter, as well now the creation of Web Links is supported.


SnapSeed iPhone Photo Editing App – Free Today Only

Grab SnapSeed while you can for FREE, Dec 31st only. I had no problem paying for this app due to it’s huge list of photo editing features. TiltShift effect area can be stretched rather than only round/straight, Apply image tuning to a single point rather than always the full image, Add filter effects, Twist – Crop… well, the list is pretty long, take a look at it.
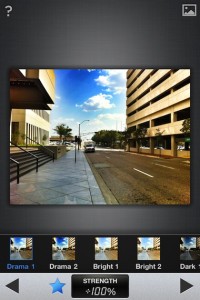
The use of SnapSeed is a bit different too… you select the type of tuning, then move your finger up/down the screen to choose the specifics, followed by moving your finger left/right to adjust the strength of the change.