Tag Archives: photo effect

Changing a photo’s impact using gradient fills

I was recently looking to see if there was anything new with Squaready, an app that fills around ‘not square’ photos so they can be posted to sites that require square. Looking over the developers work, I saw they did an app for applying different gradient effects to iPhone photos. Normally, I think of gradients as simply a light to dark area fill, particularly when I want an area of a photo highlighted more than other areas. Looking over the examples their app had, it got me thinking about the many other natural and un-natural enhancements that can be done to a photo.

The app, Gradgram – Fast Gradient Image Editor for Instagram, Facebook, Twitter – …. (serious, that is the apps name!) is an iPhone only app that can be yours for less than a US dollar. Uh, I still can’t get over that name.

Back to gradients. The app allows for the application of gradients colors that you choose from a picker, then apply from an area to another using a horizon or even circle areas. Then share the finished result directly out through the sites mentioned in the app’s name but also to other apps like Camera+ if you want to do additional editing. Looking over Gradgram’s examples, it gives me a few ideas to play with photos I recently took of interior rooms that would pop with the proper area shading.

01 gradgam gradient iPhone

02 gradgam gradient iPhone


AfterGlow with adjustable photo filters and a new look to frames

“Just another photo filter app” drives me crazy. I pay for and use everything I review here so when I find someone’s creative marketing was just a wrapper for the standard set of filters, I’m not a happy user.

So, I went into AfterGlow a bit slowly. On the surface, the developer’s mentions of 34 Filters, 23 Textures, and 13 Frames put it right in the middle of the many other options. But, I found people talking about the filters and frames being adjustable. Nice… that is something I have mentioned before as being missing from the major iPhone Photo Editing apps.

01 AfterGlow iPhone

02 AfterGlow iPhone

The AfterGlow filters are divided into two groups, the Original Filters that the app developers have created and Guest Filters provided by others.

03 AfterGlow iPhone

The Original Filter group consists of 21 filters, many of which you will notice are similar to other apps. Notice that the image representing the filter is not a small image of your photo with the filter applied, like you may see in other apps. Each of the filters can be adjusted for strength though!

04 AfterGlow iPhone

Choosing the AfterGlow Guest Filters option (currently 15 filters) gives you a similar row of filters to use. These are a growing group of filters created by users of the app and are included at no extra charge. Notice the slider? Yes, you can adjust the strength of the filter effect added to your photo. No longer are you having to apply all or nothing.

05 AfterGlow iPhone

A selection of light flares and textures are available to apply. Notice in the screen shot below how AfterGlow doesn’t force you to use the light as a set filter. Instead, you can resize, move, flip, and rotate… as well adjust the strength. I was just using another app earlier today applying a bit of light to a photo and not happy with how the developer had it set, AfterGlow is letting me tune the effect to match the photo’s needs.

06 AfterGlow iPhone

Framing a photo with AfterGlow isn’t the usual little frame around an image that is basically a boarder. Instead, the majority of the ‘frames’ are actually cut outs. You can drag the photo around to get it aligned within the opening and adjust the size of the cut out with the slider. After playing for a day, I’m pretty happy with the money spent on AfterGlow.

07 AfterGlow iPhone

Retro Polaroid fun comes to the iPhone with Instant

There are many vintage filters available to add to a photo after shooting the shot. And, there are camera apps that change the way the photo is initially shot to change the experience of iPhone photography. Basically, the second one is just applying a filter to an image from the start since we aren’t really changing anything hardware based on our iPhones. But, the change in the action of taking a photo can be part of the fun too. This is where Instant comes in, it’s all about the retro experience.

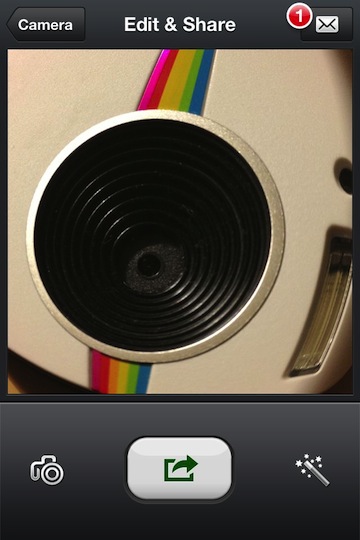
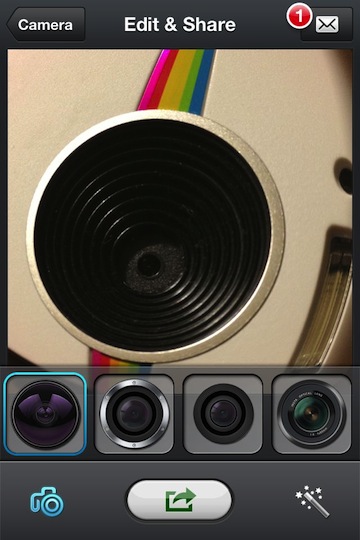
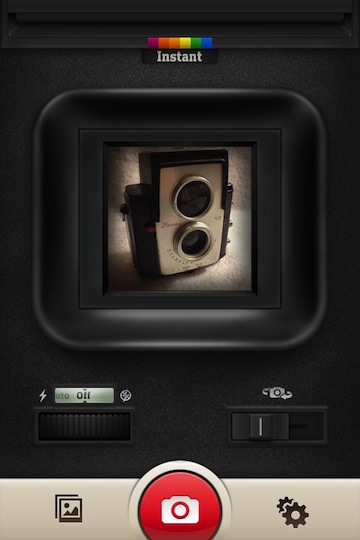
Instant first appeared on the iPad where I don’t do much with the camera so the fun was getting lost a bit. Even with the iPad Mini, when it comes time to shoot a photo, I still dig my iPhone out of my pocket. Instant on the iPhone starts off with the option to import a photo or snap a new shot. The viewfinder is similar in look to that of the ‘One Step’ camera. This is not a universal app so you have to buy a copy for your iPhone and another for your iPad if you want to use on both.

01 Instant iPhone

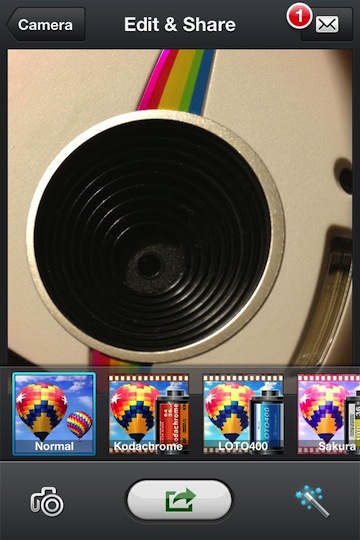
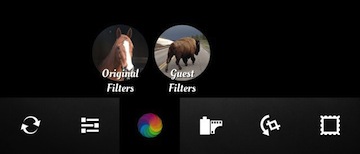
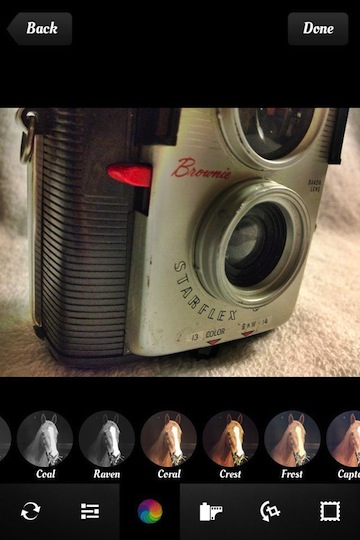
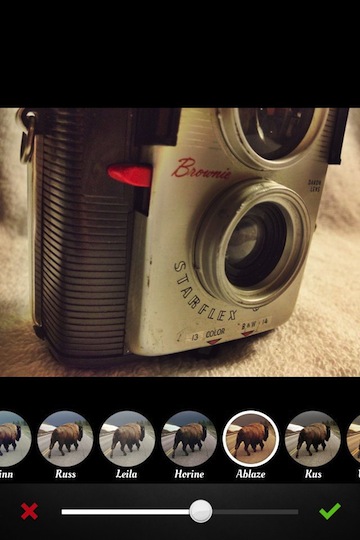
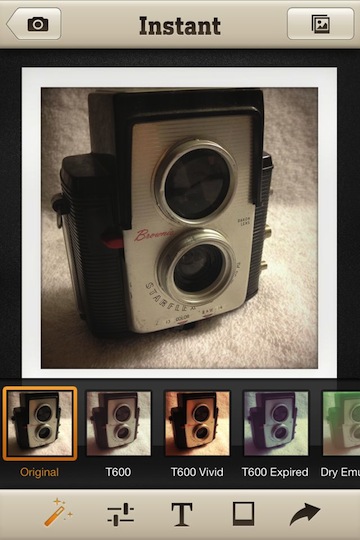
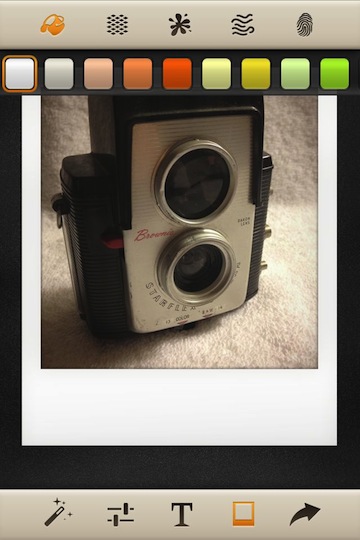
Instant offers a variety of filters to apply to mimic the wide variety of Polaroid photos came out of a camera. Some over exposed, others too dark, some film got a bit old so it was grainy, etc… “30 unique vintage style photo filters, with 10 of them closely mimicking the effects of various classic Polaroid films.

02 Instant iPhone

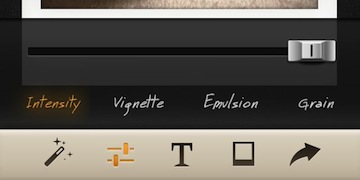
Age and highlights are adjusted with a slider, each option is adjusted individually.

03 Instant iPhone

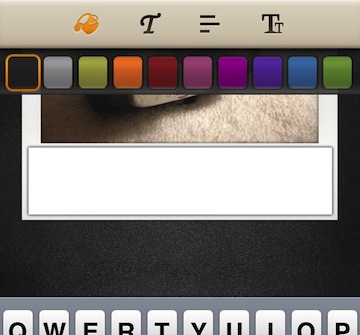
Writing on your Instant iPhone photos are not as limiting as the originals. If you didn’t get the writing exactly right on the old paper Polaroids, the photo was damaged with no way to re-print the photo. Now, Instant lets you use different fonts, formats and ink color till you get it right or completely remove without any damage to your snapshot.

04 Instant iPhone

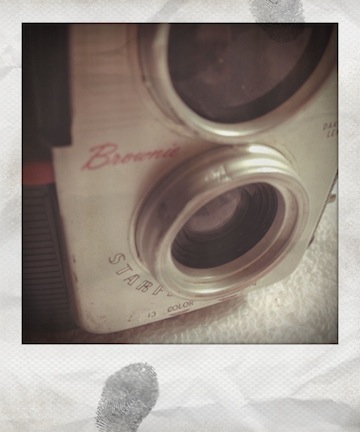
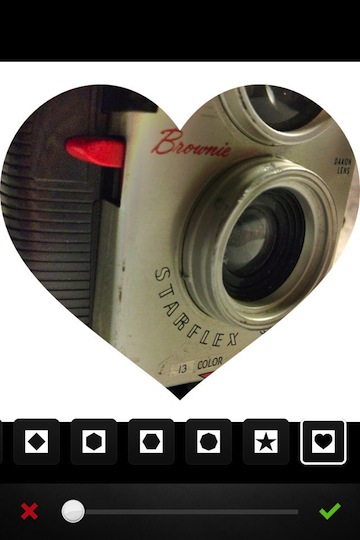
Unlike the original Polaroid film, Instant allows for the paper frame to be colorized. Along with the new feature comes the ability to add the wear and tear of a well shared photo with spots, wrinkles and finger smudges.

05 Instant iPhone

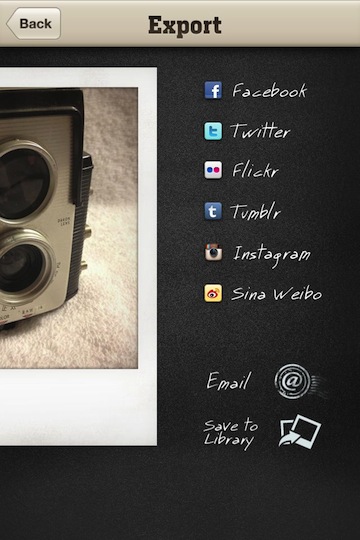
Instant offers ‘export’ to many of the popular social services as well to the iPhone’s photo library. In the settings, you can choose to save a copy of the original photo prior to edits or save only the final edited result.

06 Instant iPhone

Toss a bunch of the features at a photo to get the look like the old snap shot found between some old papers in the bottom drawer of that desk you never use. Finger prints, wrinkled paper, faded in the classic Polaroid Instant frame.

07 Instant iPhone

My Sketch gets True Color upgrade for iPhone photos

Holiday and event cards always provide a nice challenge when creating their cover art. Do you use typography or a photo? Is the photo just a shot you took or do you enhance it for the mood. While My Sketch isn’t an app I use all of the time, it is one that has gotten me passed being blocked a few times when I need a unique feel to a creative piece. Today it solved a blocking issue for me so I thought I would share my success, fun stuff.

The app converts a photo, from your iPhone library or taken through the app, to what looks like a sketch. The My Sketch app offers 20 different sketch effects. This update includes True Color which is the effect I applied above. The new ‘sketch’ appears in the row of options you can swipe through below the photos.

The completed ‘sketched’ photos can be saved to the usual popular list of social friend sites. A step I always miss is the ‘Save’ button at the bottom. You must use the button for My Sketch to save your creation to your iPhone photo library. If you exit the app without doing that step, you lost your work as it wont be there when you re-launch.

The Sincerely print ordering system is built into My Sketch. It cuts a trip to the print shop is you want to create and have them print the image on a variety of layout styles.

PhotoForge2 taking Retro Film and Flash for iPhone photos to the next level

Some people complain about using Hipstamatic because it takes the photo in a retro fashion which is set via choosing lens/film/flash combinations before the photo is taken. They would prefer taking a regular photo then editing it. While Hipstamatic takes the photography experience back to the days of choosing a physical camera/film/lens, I can understand where the ‘modern’ iPhone photographer may want to use the many options they have rather than the limitations of yesteryear.

With the snap-and-edit-later photographer in mind, PhotoForge2 offers the usual filters/editing tools, but a large selection of retro film/flash/gels/papers to mix and match per the need of a particular photo. PhotoForge2 is a universal app so purchasing it will allow you to one the single copy on both devices. The interface is the same between the two, below I used screen shots from my iPad to see the options spread out more, making them easier to see.

The user interface for PhotoForge2 has all of the tools (except share and apply) across the bottom of the screen. Choose one of the icons to bring up the tools in that area. Then swipe from side to side to choose which to use.

Some PhotoForge2 tools offer the ability to fine tune their impact. When in the edit mode, a check (accept/apply) and ‘X’ (do not apply changes) in the upper left corner takes you back to the tools overview screen. This allows as many adjustments to a photo to be applied as you need. Layers are also supported so you can separate the adjustments for easier editing as you go.

One of the choices in the ‘FX’ area is a camera icon for ‘Pop!Cam’. This selection changes the PhotoForge2 tools along the bottom to Film, Lens, Gels, Flash, Chemicals, Paper and Frames. The ‘Pop!Cam’ area will let you use the tools but in order to save the image with the effects applied they have an upgrade fee (currently $1.99). Since this is not a free app, it is nice that a person gets to play a bit to see if there is any value in the Retro options.

Saving and sharing your creations is done via cloud icon in the upper right corner. The usual Cloud storage services are supported, as are the photo sharing sites. If you know someone else with PhotoForge2 installed, there is even the option to ‘bump’ to transfer images between the two units.


Making stereographic photos on the iPhone

I keep seeing these photos where a room has been wrapped around a center dot, some cool… some not the right room. I thought at first they were using panoramic software and pulling the lower part in to meet it’s self. While that is supported in some pano software (I’ll cover that in another post), I found how it’s done with a single shot.

Simply put, there is an app called Tiny Planet Photos. From a single iPhone photo, you can wrap the image into a circle with the bottom being the center point so the image looks like a small globe. Depending on the photo, this can be very cool. After the initial price of the software, it doesn’t cost anything to apply the effect to every iPhone photo quickly so it won’t take long to see what works and what doesn’t.

Another effect the same Tiny Planet Photos does is the reverse wrap, so that the outer edge it pulled around giving the photo a ‘tube’ effect.