Tag Archives: universal app

Photogene Updated To Version 4, Includes Pro Features At No Extra Charge

Photogene is one of those iPhone photo editing apps that I use a bunch, back shelf for a while then ‘rediscover’ it again. Once again using it a lot as a single app that give the ability to do all the work in one app without  silly clutter. Along with the update to the feature set in the new version 4, the app has also gone Universal so you can install it on your iPad for a larger view of your edits. The iPad interface is completely different, I’m only showing the iPhone version here.

Included in the version 4 update:

  • Photogene is now a universal app for both iPad and iPhone.
  • iOS 7 compatibility.
  • New look for iPad user interface. New icon.
  • The PRO package is now free! Everyone has been upgraded to PRO.
  • Enhanced RAW support. RAW files are now opened in full resolution.
  • Flickr export: can now choose a set.
  • New feature for exporting XMP sidecars.

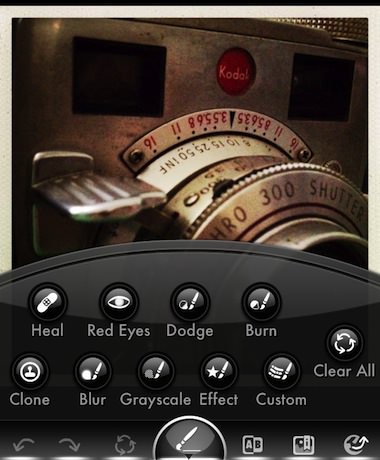
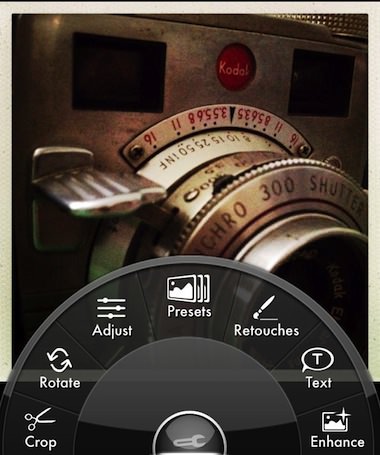
Now, onto actually enjoying the power of the app – After importing a photo, Photogene 4 has a quick access tool pop up wheel to get right in and editing.

02 Photogene 4 iPhone

First off, there is a nice group of pre-built overall picture filters. These can be applied in layers when in a rush…

03 Photogene 4 iPhone

Fun overall filters that are quick and tunable. The real power of Photogene 4 though is the specific photo area tuning tools. Notice that at this level, there is also a row of fuzzy undo/redo/restore buttons along the very bottom of the screen for those times you want to throw a bunch of changes out and rethink the image.

04 Photogene 4 iPhone

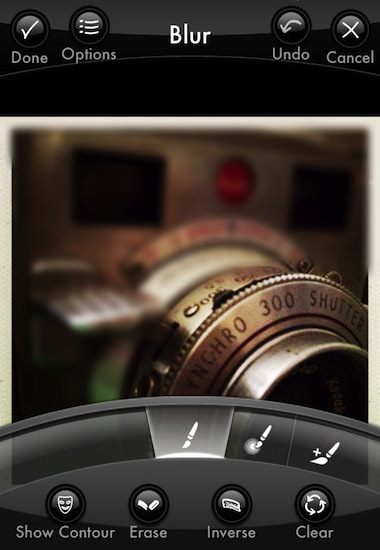
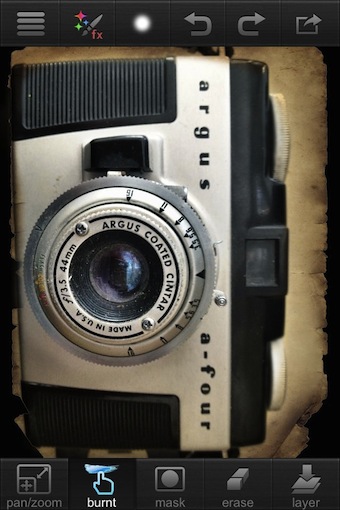
Each effect can be chosen to be applied to a very specific area of the photo. Photogene lets you save/undo/cancel and move onto the next effect. So, you can brighten an area, darken another part of the photos, blur a bit, burn some light… and so on. It’s easy to move from one alteration to the next so doing simple to more detailed edits is pretty quick. When using a tool, don’t miss the ‘Options’ button in the upper area for more adjustments available for that effect.

05 Photogene 4 iPhone

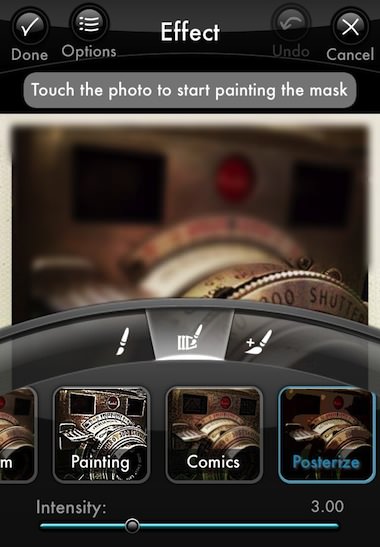
Each of the effects have additional options from the dial. Usually, these start with the basic brush head used to apply the change. Choosing other tools will result in a different sub group of effects within the top level group. Notice the slider along the bottom, Photogene 4 is not an all-or-nothing filter app.

06 Photogene 4 iPhone

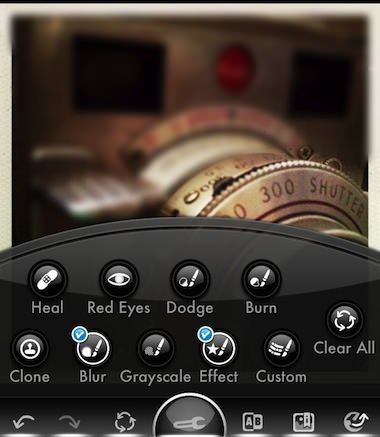
Every time you save adjustment, it is layered on top of the previous work. Returning to the work picker, notice that the features used have a check mark next to them. If you develop a workflow, this is handy to see where you are in the process and to assure all steps got covered.

07 Photogene 4 iPhone

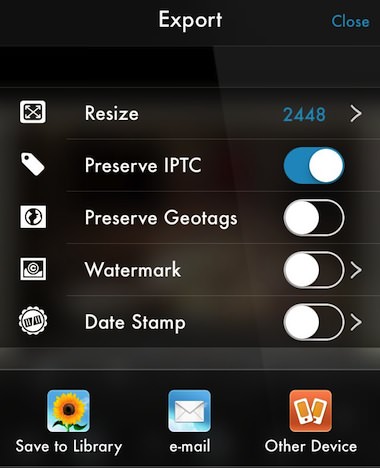
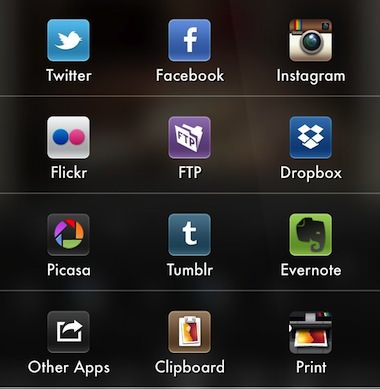
When the image is as you like visually, Photogene offers the ability to adjust pixels to best fit the way you will be using the photo. As well, you can review the photo tags, then share through a large variety of options. Speaking of all-in-one without clutter, notice that you can water mark the photo without having to go to another app also… high on my list since I found a recent photo of mine on over 85 sites with no credit.
08a Photogene 4 iPhone

08b Photogene 4 iPhone

Echograph – A new view of creating animated GIFs on the iPhone

Animated GIFs… I can take em or leave em. When I head the term, I think of the little cute icons on Web pages years ago that where just fluff on the page. More recently, there has been a few services that are encouraging more creative thinking around a few images put together into a story. If the images are thought through a bit, it can be a fun way of sharing a moment. There are two methods that the popular services are using, either it’s a video shot at a very slow speed or a person shoots a series of photos that the app stitches together.

Now, there is Echograph, offering a third way of showing motion in an animated GIF. The movement is set to a particular area of a photo so only the parts needing to move to tell the story are moving, the rest of the image is frozen. This removes a lot of the jerky look found on most multi image GIFs.

The Echograph app is simple to use, but actually pretty powerful. This is a Universal app, so the fun doesn’t have to be limited to the iPhone, editing on the larger iPad screen may have ultimately better results if your looking for maximum impact.

Shoot or import a video. Cut it down to a maximum of 5 seconds long via a slider along the bottom of the screen. Choose the area you want to allow movement to happen by painting over it with your finger or stylus (a person in the shot, a flowing river, etc…), then share or export in low or high resolution. Yup, it’s that easy! Admittedly, this is not the solution for all animated GIF, it is more for those images where only want a particular part to move. Some animated GIFs need the full screen to be changing for the message, but for those shots that you want a still photo and a part of it alive, Echograph has you covered.

PhotoForge2 taking Retro Film and Flash for iPhone photos to the next level

Some people complain about using Hipstamatic because it takes the photo in a retro fashion which is set via choosing lens/film/flash combinations before the photo is taken. They would prefer taking a regular photo then editing it. While Hipstamatic takes the photography experience back to the days of choosing a physical camera/film/lens, I can understand where the ‘modern’ iPhone photographer may want to use the many options they have rather than the limitations of yesteryear.

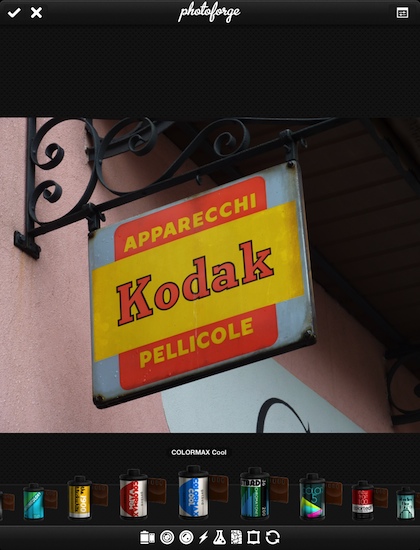
With the snap-and-edit-later photographer in mind, PhotoForge2 offers the usual filters/editing tools, but a large selection of retro film/flash/gels/papers to mix and match per the need of a particular photo. PhotoForge2 is a universal app so purchasing it will allow you to one the single copy on both devices. The interface is the same between the two, below I used screen shots from my iPad to see the options spread out more, making them easier to see.

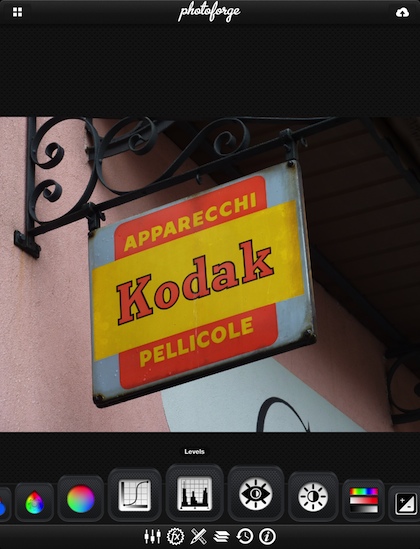
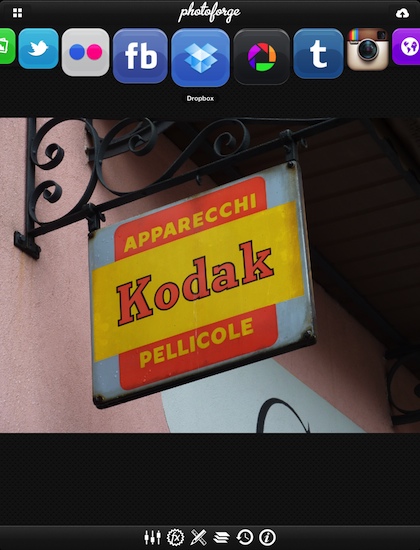
The user interface for PhotoForge2 has all of the tools (except share and apply) across the bottom of the screen. Choose one of the icons to bring up the tools in that area. Then swipe from side to side to choose which to use.

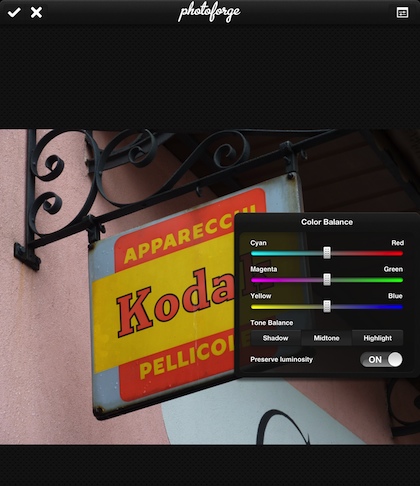
Some PhotoForge2 tools offer the ability to fine tune their impact. When in the edit mode, a check (accept/apply) and ‘X’ (do not apply changes) in the upper left corner takes you back to the tools overview screen. This allows as many adjustments to a photo to be applied as you need. Layers are also supported so you can separate the adjustments for easier editing as you go.
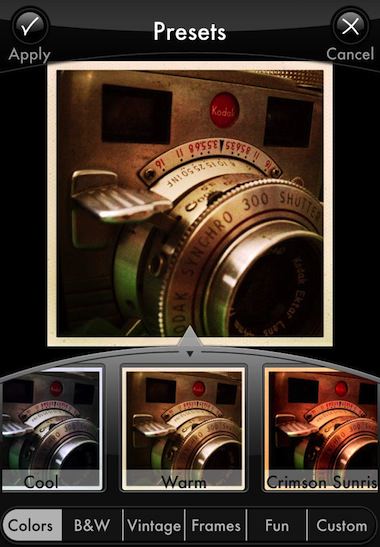
One of the choices in the ‘FX’ area is a camera icon for ‘Pop!Cam’. This selection changes the PhotoForge2 tools along the bottom to Film, Lens, Gels, Flash, Chemicals, Paper and Frames. The ‘Pop!Cam’ area will let you use the tools but in order to save the image with the effects applied they have an upgrade fee (currently $1.99). Since this is not a free app, it is nice that a person gets to play a bit to see if there is any value in the Retro options.

Saving and sharing your creations is done via cloud icon in the upper right corner. The usual Cloud storage services are supported, as are the photo sharing sites. If you know someone else with PhotoForge2 installed, there is even the option to ‘bump’ to transfer images between the two units.


iPhone pictures of documents become scans to share

There is a couple apps from the developers of Readdle that I use. The Calendar app does a very nice job of pulling all of my different calendars into a manageable view yet allows me to quickly switch between work and personal. If you work with Google Calendars at all, Google Calendar Client helps with it’s many views.

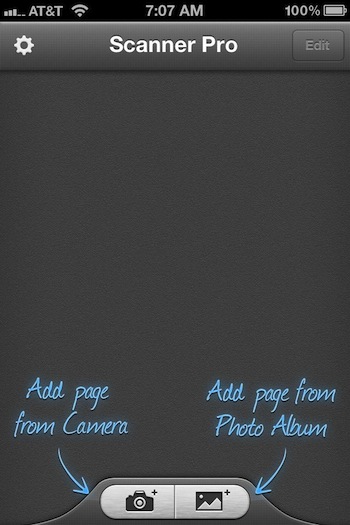
The other app is the Readdle’s Scanner Pro. The universal app allows for the ‘scanning’ of documents so I don’t have to carry paper around and it’s easier to share with people not in the room.

No matter how ‘paper free’ an office gets, printed pages still work their way into meetings. Then I end up with a stack of paper on the edge of the desk, then it grows, then it gets tipped over, then someone asks me for a copy that used to be half way down the stack right where I left it, now… who knows. So, I started taking pictures of documents. There are a few apps that claim to help with the ‘scanning’ process, each with their own special features. Scanner Pro has been one that I didn’t jump on board with till this week, no particular reason, I thought I had documents covered.

The difference of snapping a picture of a document with your iPhone and using a ‘scanner’ app is that the apps usually offer corner ID, contrast and built in sharing. With Scanner Pro, you also get the ability to save to cloud storage/share services and joining multiple page into one document. Being able to re-order the pages in that grouping is something many of the other options seem to miss that is important, I can’t always take pictures of documents in the exact order that I need to share with others in.

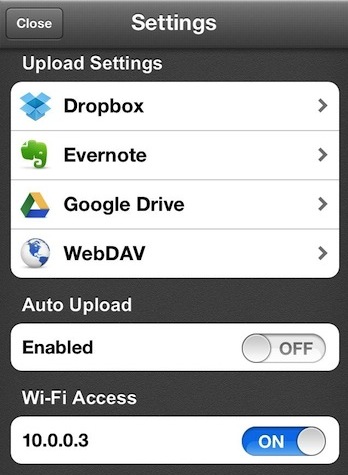
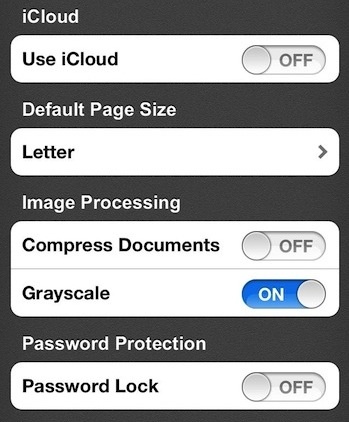
Lots of fine tuning options including which cloud service your using.

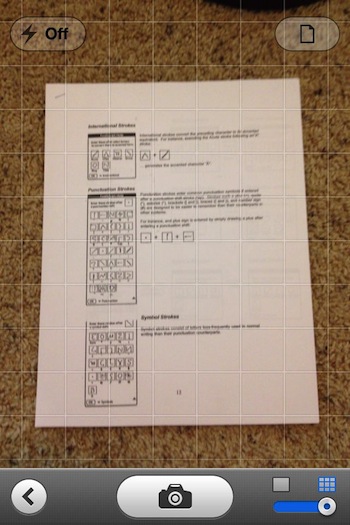
Grids for alignment can be turned on/off. It is more important to get the document straight along one edge than trying to take the image so that it at a perfect straight on. Scanner Pro offers clean up for an angle image but not a slightly twisted one.

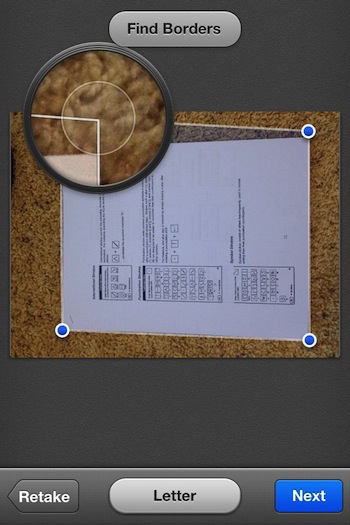
Drag the corners of the alignment square to match up to the corners of the document. Scanner Pro then shifts the image to be straightened. This is important since you will almost never get a perfect straight on shot. Without the feature, you get areas of the document with smaller and squished text than other areas.

Continue reading

A new option for iPhone Photo Bokeh Light Effect Fans

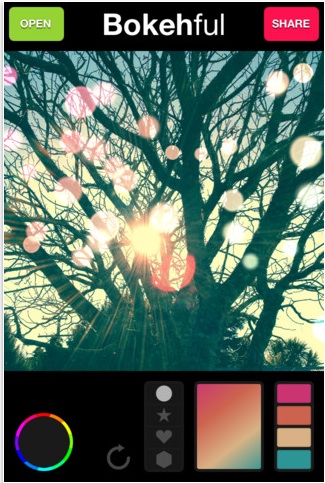
If you have the need to add light effect dots or shapes to your iPhone photos, I have found a new option. An option that is offering more tuning than is found in other Bokeh light apps. Bokehful still has the randomness of the dot or shape location on the photo, but lets you have better control of the placement by painting with your finger.

Choose a shape to have the lighting appear in on your iPhone photo. Then, choose the colors and gradients for the lighting. Bokehful makes the process quick via it’s pickers and pre-assembled light color groupings. You can even choose the direction the gradient effect is applied.

When done, the image is saved at full resolution, or share with others through Instagram, Facebook, Twitter or as a eMail attachment. As an extra, this is a universal app so when you buy for your iPhone, you can install on your iPad to use at no extra charge too.

Paint FX brings fine tuning of iPhone photography effects

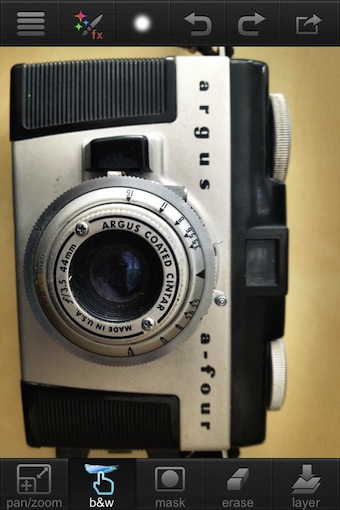
Paint FX was recently updated with 3 HDR and new background effects. It is an app that I use from time to time and really should have mentioned it before. You know, I just use it and don’t think about it.

What makes Paint FX a bit unique is that you don’t have to use their filters and effects on the full picture. Instead, you paint the effect onto your iPhone pictures to apply only where you want. It means a bit of a rethink about enhancements to photos. Instead of applying a filter or effect to all parts of an image at one time. Paint FX has you create a layer, then choose an effect to apply only to parts you need the enhancement on. Brighten on area, sharpened, darken, make it vintage, HDR, grunge and more… 71 in all.

Import photos from the iPhone photo library, Flickr or Facebook.

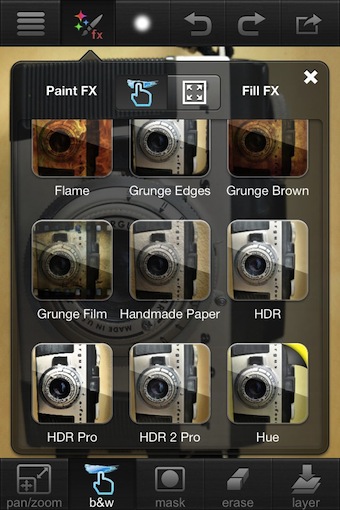
From the effects button, you can choose effects to paint on or apply to the full image at one time (Paint vs Fill). Sweep up/down through the options, choose to use. Next to the Effects option across the top bar is a button that offers the fine tuning of the brush tool: size of tip, strength and brush edge. When ‘painting’ on the effect, you can undo/redo. Along the bottom, the eraser will let you edit the filter edge to get more precision around corners.

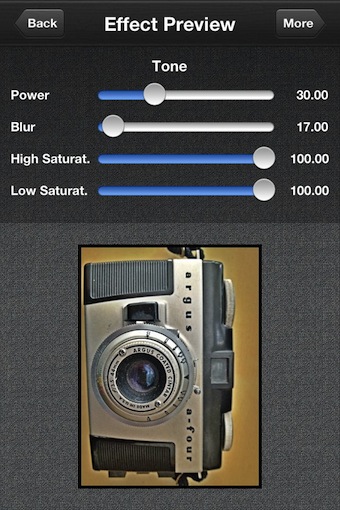
Almost every effect can be fine tuned. In fact, many allow for multi levels to get the most out of every filter. So, 70+ filters/effects can each be adjusted to make it almost impossible to count how many options are included in Paint FX.

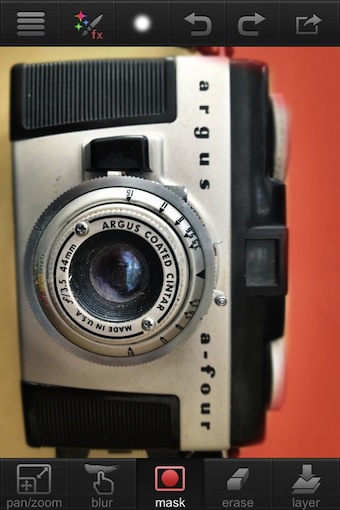
I’m surprised more apps that allow you to apply selective effects don’t offer a ‘mask’. As you can see here, when on you can see exactly where the effect is being applied. This is a must where you altering an image with a soft effect that you may not be able to see on the small screen. If you want to see your work on a ‘big’ screen, your in luck… Paint FX is a Universal app so when you buy for your iPhone you can install on your iPad too at no additional charge.

Yes, you can use an effect to apply to the outer edge of an image that will create a frame appearance. Like I said, when using Paint FX, think outside of the box!


Converting iPhone Photos to Sketch Art – Free for now with My Sketch

I have had really bad luck with iPhone apps that convert photos to what looks like sketch art. So, the options and output of My Sketch was a pleasant surprise. Currently being Free is nice too!

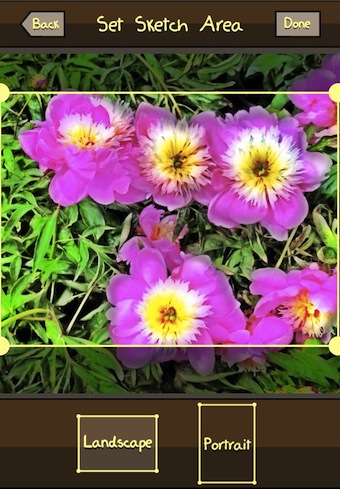
Use the app to take the picture or import from your iPhone photo library. Then crop the image to be landscape or portrait… not square! The output will have different outer edge so you will find you may not get the crop exactly correct for your desired ‘sketch’. Just plan to learn a bit with each use of My Sketch.

My Sketch is a Universal app so you can play with your photos on both your iPhone and iPad with a single license.

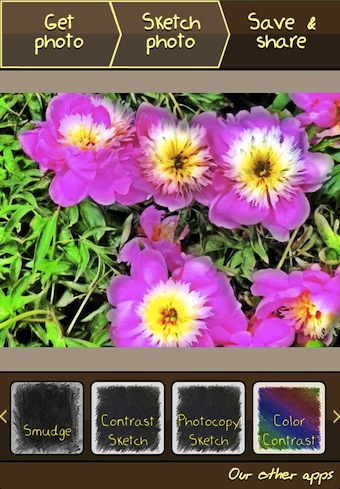
Once you have the photo cropped as you like, My Sketch offers 20 varieties of ‘sketching’ style. Sweep through the list along the bottom of the screen to find one you like. Conversion does take a little time, but you can go back and apply a different sketch filter if you aren’t thrilled with the result.

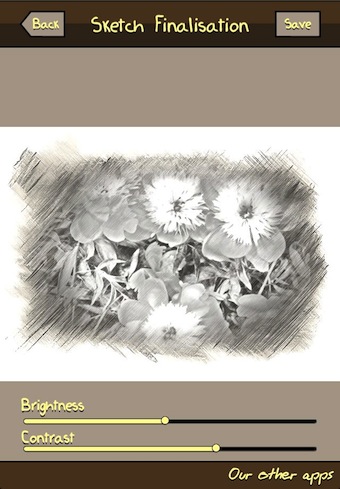
The photo with your chosen ‘sketch’ effect applied can be tuned additionally with sliders for Contrast and Brightness.

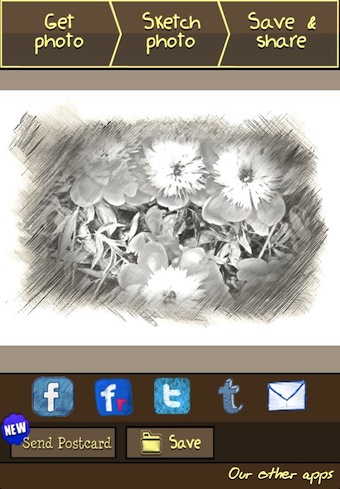
Your finished My Sketch converted photo can be attached to an email, saved to your iPhone’s photo library or shared over the usual big name social share services. New in this version is to have your final art printed and mailed for a charge. One word of warning, double check what your clicking on as the app likes to keep pushing the option to buy their other offerings.

Desktop level photo editing on the iPhone, kept easy to use

There are two extremes for photo editing on the iPhone. Simple application of filters to multi layer actual editing of parts of the image. Imagine, actual editing of a photo on the iPhone without dealing with layers and masking. I have mentioned SnapSeed before, well… it just got even better.

The actual bits included in this update is at the end of this post. As a reminder, SnapSeed is a universal app so the middle of the range pricing gets you a license to install the app on both your iPhone and iPad.

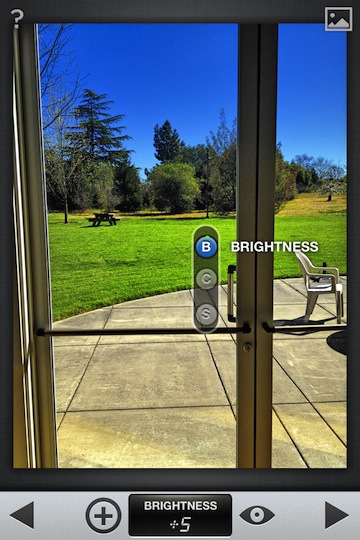
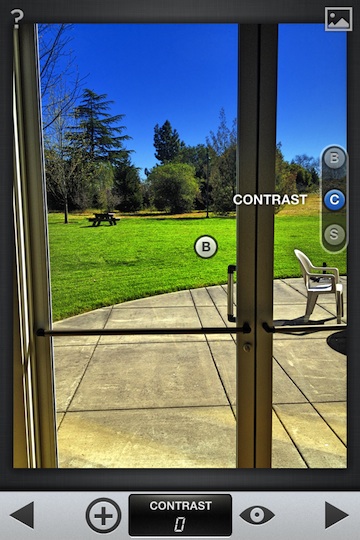
A particular fine tuning feature, ‘Selective Adjust’, is one that provides a way to fine tune small areas of a photos. When you have a photo in the app, choose the Selective Adjust feature, then tap the ‘+’ button to allow you to select the spot you want to tune. Touch the photo to drop a tuning point, using two finger pinch you can make the turning area as large/small as you need. The dot will stay centered on the tuning area and won’t grow/collapse to match the side of your tuning area. Drag you finger up/down to choose to tune Brightness, Contrast and Saturation. Then, slide left/right to adjust the amount of the tuning to apply.

Multiple points of tuning can be done without having to save between. Tap the ‘+’ (it will turn blue) then select the spot on the screen. Tapping a earlier placed dot will re-activate that spot for adjusting. The small picture icon on the upper right corner of SnapSeed shows you the unedited photo to compare how the tuning is going. If you decide to not use the changes, tap the left arrow at the bottom of the screen to go to the previous screen, or the right arrow to apply the changes. All of the tuning directly on the photo without having to add layers to make each small change.

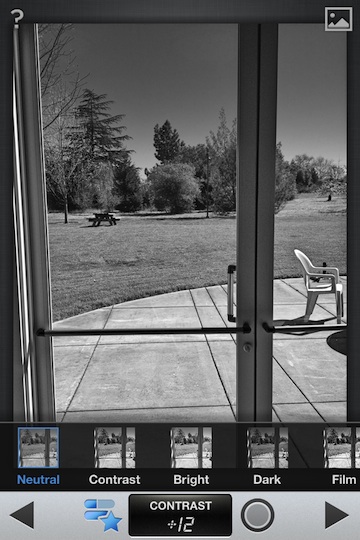
Color is important, but SnapSeed actually has a lot of specialized features for touching up black and white photos. From filters to full photo enhancements and fine point tuning.

As promised, the new/updated features in the latest SnapSeed Universal app:

New crop size: 5 X 7 and direct share with Instagram!

Center Focus magic—Taking a cue from our professional filters product, Color Efex Pro, we’ve improved Center Focus to make it even more powerful. You can now draw attention to the subject of your photo by adjusting the brightness of the inside or outside of your image. You can enhance the overall effect by blurring, or turn it completely off to create vignette effects with ease. Oh, and did we mention that we’ve added presets to give you a starting point and save time?

Beefed up Black & White—We love monochrome a lot, having developed the world’s leading professional black and white software in Silver Efex Pro. Snapseed gets even more of that mojo with new algorithms and color filters for superior enhancements and control. Plus, presets will help you get started faster

SnapSeed iPhone Photo Editing App – Free Today Only

Grab SnapSeed while you can for FREE, Dec 31st only. I had no problem paying for this app due to it’s huge list of photo editing features. TiltShift effect area can be stretched rather than only round/straight, Apply image tuning to a single point rather than always the full image, Add filter effects, Twist – Crop… well, the list is pretty long, take a look at it.

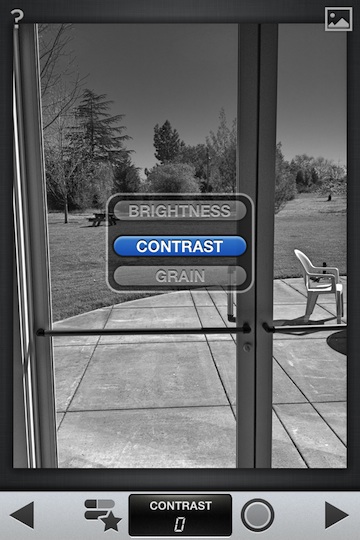
The use of SnapSeed is a bit different too… you select the type of tuning, then move your finger up/down the screen to choose the specifics, followed by moving your finger left/right to adjust the strength of the change.