Hipstamatic brings back Wicker Park HipstaPak – This weekend only!

An update showed on my iPhone for Hipstamatic. Nothing special was listed. But, looking around there is a few new options and old friends are back.

A HipstaPak that was pulled a while ago, has returned to buy for those folks that missed the chance before. The Pak, Wicker Park, is a lens, flash and case (digital, not physical case). The lens is the Lucas AB2 which is popular for adding a brown glow to photos taken with it. Like I mentioned in the opening, the developers are trying to add some excitement to the Wicker Park pak as it is only available to purchase this weekend from within the shopping cart area of the iPhone Hipstamatic app.

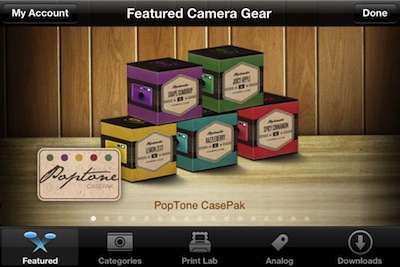
When in the cart area of Hipstamatic, I noticed a new 99 cent (US) offering called PopTone CasePak.

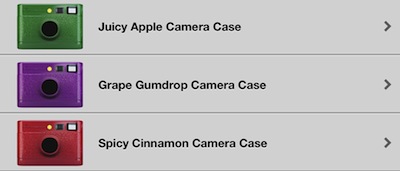
The new Pak in Hipstamatic is ‘cases’ for your fun. Like the rustic case in the Wicker Park Pak, PopTone CasePak is a group of 5 cases that really pop with bright colors. They don’t change the functioning features of Hipstamatic, they are just for personalization and a lot of fun.

Saving and sharing your iPhone photos via the DropBox Cloud

There is a lot of news in the area of Cloud storage this week. DropBox did an update, Google and Microsoft both released their own Cloud services. DropBox and Microsoft have free iOS apps, Google’s only current mobile solution is for the Android.

DropBox has had a automated sync-to-DropBox for photos on your Mac desktop service in beta for a while. A lot of my coworkers are using it and have all positive things to say. I’m still doing well with the Apple iPhoto Streaming service.
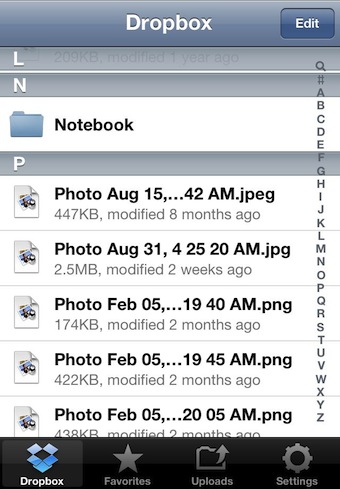
For those times I’m on a computer that I need access to my iPhone photos, I of course toss the images onto Cloud storage via the iPhone ‘free’ app. The recent update to DropBox means I can share my iPhone photos with people directly from the folders I have stored the photos in, even if they are not in the ‘public’ folder. Sharing the photo doesn’t give someone access to all of the photos in the folder, just the one I have granted permissions. The person can view (nice full screen viewer via a Web browser) or pull the image over to their DropBox account. They can not edit/alter the original I have ‘shared’.

All of this sharing is possible with the iPhone app. When you have the iPhone DropBox app open and viewing the photos stored online.

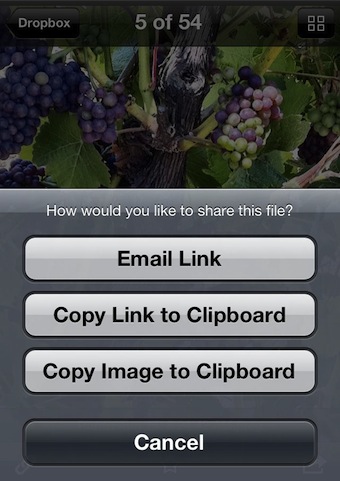
Selecting an image shows it in full screen view. Around the edge is a thumbnail view and share links across the bottom. The ‘access permission’ feature I’m talking about is done via the Link icon in the lower left corner.

The ‘link’ icon does more than just allow permission (via email). The DropBox app also lets you copy the access link to the iPhone clipboard to paste in notes or document as well copy the image to the clipboard to paste into documents.

Free solution to create movies using photos and audio all on your iPhone

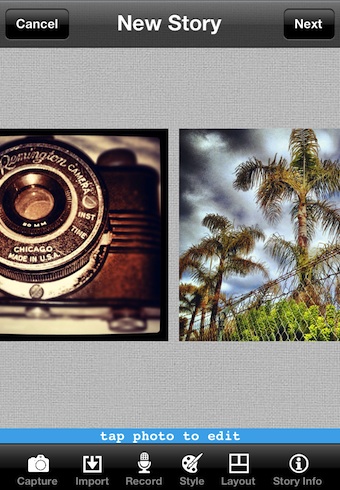
I have used a few solutions on my Mac to quickly assemble short videos using images I took on a road trip, add a bit of audio, then share with family and friends. It has always seemed like something I should be able to do on the iPhone, quick and easy, but nothing built-in offered the ability.

Interesting, the solution I found is free. The app is from the Blurb folks that offers a great site for uploading your images to, which they will create a print photo book for you. Their Blurb Universal app is just as easy to use. Simply launch the free app, create a new ‘project’, then start importing photos from your iPhone photo library. Photos can be simply placed next to each other or in specialized layout templates.

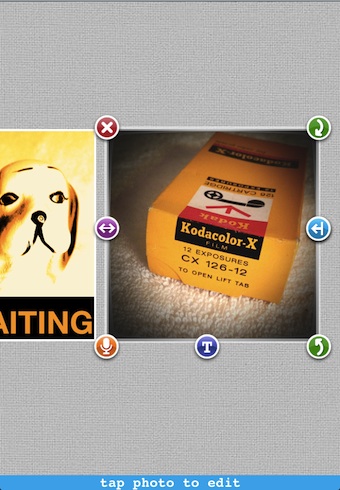
After your iPhone photos have been added, you can add text, adjust the size of each and rotate to create the effect your going after. It is also possible to maximize the photos beyond a square where the image is actually wider than how Blurb imported it. There is a nice selection of transitions choices for how the end movie stitches the photos together too.

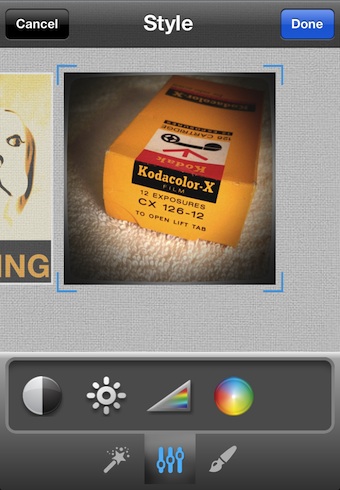
Each image can actually be tuned individually. Blurb’s editing tools are powerful enough to adjust photos to better match each other. While I do a bit of clean up prior to adding to the app, actual editing with the images next to each other makes it easier to get the brightness and colors closer to each other.

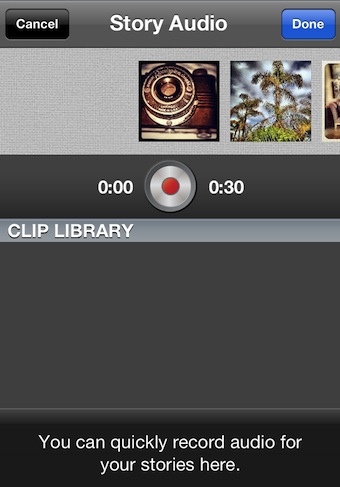
When you have the images flowing as you like, move over to add your audio. The whole set up Blurb is providing is great for recording your voice to the video of your iPhone images. When ‘done’, the completed video is saved to your iPhone’s photo library to share as you please.

Desktop level photo editing on the iPhone, kept easy to use

There are two extremes for photo editing on the iPhone. Simple application of filters to multi layer actual editing of parts of the image. Imagine, actual editing of a photo on the iPhone without dealing with layers and masking. I have mentioned SnapSeed before, well… it just got even better.

The actual bits included in this update is at the end of this post. As a reminder, SnapSeed is a universal app so the middle of the range pricing gets you a license to install the app on both your iPhone and iPad.

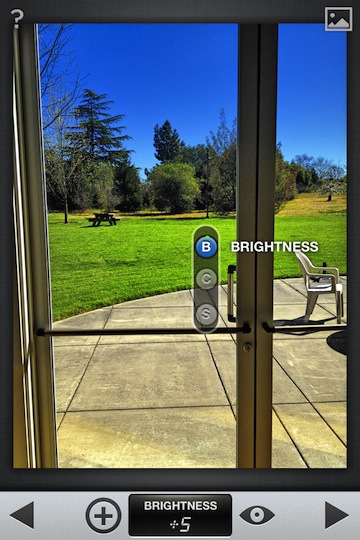
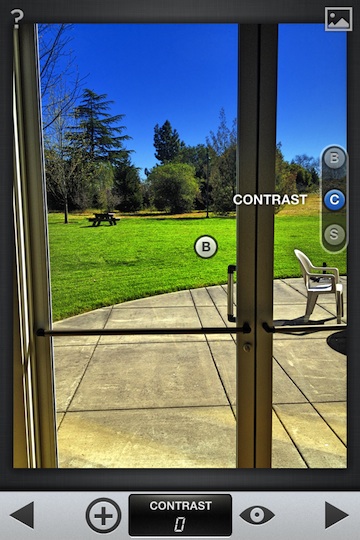
A particular fine tuning feature, ‘Selective Adjust’, is one that provides a way to fine tune small areas of a photos. When you have a photo in the app, choose the Selective Adjust feature, then tap the ‘+’ button to allow you to select the spot you want to tune. Touch the photo to drop a tuning point, using two finger pinch you can make the turning area as large/small as you need. The dot will stay centered on the tuning area and won’t grow/collapse to match the side of your tuning area. Drag you finger up/down to choose to tune Brightness, Contrast and Saturation. Then, slide left/right to adjust the amount of the tuning to apply.

Multiple points of tuning can be done without having to save between. Tap the ‘+’ (it will turn blue) then select the spot on the screen. Tapping a earlier placed dot will re-activate that spot for adjusting. The small picture icon on the upper right corner of SnapSeed shows you the unedited photo to compare how the tuning is going. If you decide to not use the changes, tap the left arrow at the bottom of the screen to go to the previous screen, or the right arrow to apply the changes. All of the tuning directly on the photo without having to add layers to make each small change.

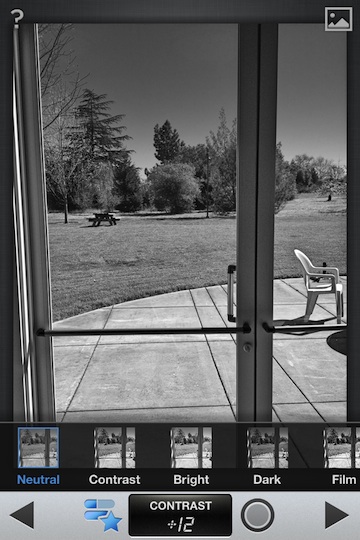
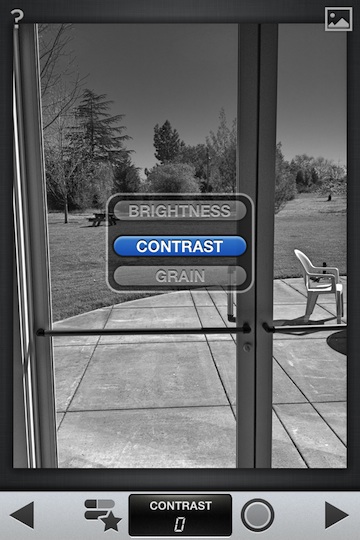
Color is important, but SnapSeed actually has a lot of specialized features for touching up black and white photos. From filters to full photo enhancements and fine point tuning.

As promised, the new/updated features in the latest SnapSeed Universal app:

New crop size: 5 X 7 and direct share with Instagram!

Center Focus magic—Taking a cue from our professional filters product, Color Efex Pro, we’ve improved Center Focus to make it even more powerful. You can now draw attention to the subject of your photo by adjusting the brightness of the inside or outside of your image. You can enhance the overall effect by blurring, or turn it completely off to create vignette effects with ease. Oh, and did we mention that we’ve added presets to give you a starting point and save time?

Beefed up Black & White—We love monochrome a lot, having developed the world’s leading professional black and white software in Silver Efex Pro. Snapseed gets even more of that mojo with new algorithms and color filters for superior enhancements and control. Plus, presets will help you get started faster

Floor plans and dimensions of a room using just your iPhone and a free app!

I just knew this had to be possible. We used to do it with a quick sketch on an Newton screen and pacing off the floor. Why couldn’t we collect data with our smartphone camera and then use modern processors to crunch dimensions of the room we are in. Well, actually we can, with the help of the free app MagicPlan.
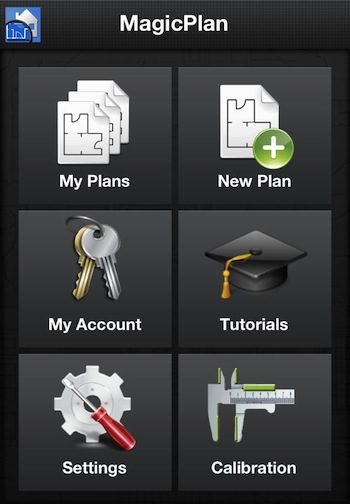
MagicPlan is free to use for non commercial use. Launching the app starts you off with a list of videos on how to use MagicPlan. You can’t get past the videos without watching at least the first ‘how to’. There are many in the list to get the maximum out of the app for any room or building layouts. Next, choose to view a previously created room map, start a new, set english or metric measurements or scale calibrate. The calibration step can happen right after taking a series of room photos later if you find the need without having to return to the start page.
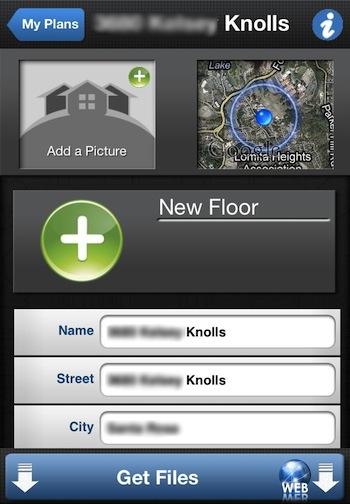
Choose to start laying out the rooms of a house, MagicPlan tells you where in the world you are, complete with map and address. Take a picture of the location, great for when your touring houses to buy. MagicPlan handles multi story houses, just tap the big green ‘+’ button to get started.

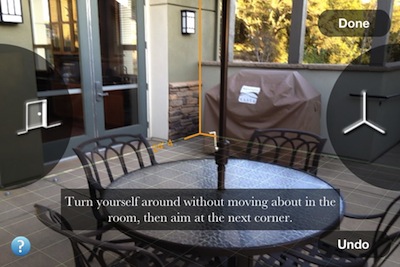
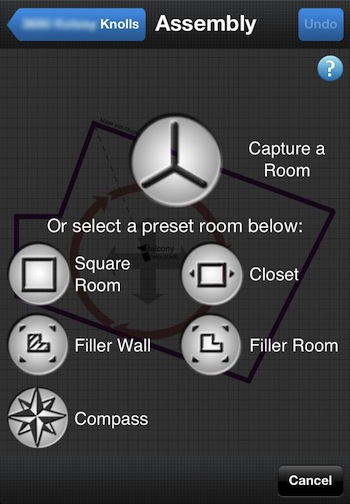
OK, after watching the videos, I learned all I have to do it take a panorama photo of a room, telling MagicPlan where any corners are. As you can see below, the yellow corner graphic is the alignment tool. As you turn the iPhone, the yellow line aligns with a corner, the lower split even moves about by it’s self to match the angle of the corner. When the line is on the corner, tap the button on the right of the screen, then continue to the right to the next corner. For doorways, align with the corners of a doors and tap the button on the left of the screen. Serious… that is all you have to do!

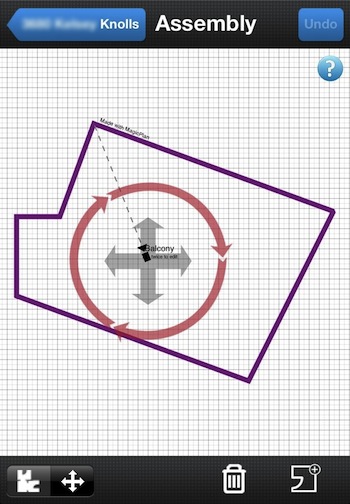
From just snapping shots of corners, MagicPlan produced the below. I just had to pace it off to see how close it was… insane, spot on! All of the slight angles and cut backs matched up. I didn’t put in the doors in this text, but did do one inside of the house and the doors addition meant the finish result would be perfect for thinking about furniture placement without having to be in the room.

Move from room to room and capture all dimensions, stitching together for an overview of the floor. You can add items within each room like partial walls, room dividers and closets too. Imagine what buying a house will be like if you can get a full layout in just minutes. MagicPlan is actually amazingly accurate. We can image a lot of different businesses will be stepping up for the commercial version.

Controlling the light source in iPhone photography – LensLight 3.0 is now available

There are two different lines of thinking when it comes to changing light sources in photos. There is those cute little dots of light to be added to photos for the Bokeh effect and there there is bright area highlights like a heavy light source. While I may play with both capabilities in this one app, LensLight’s new features means I will be leaning more towards the serious side of enhancing street walk photos.

I’m just diving into LensLight 3.0 and it’s doing everything as described so I won’t be knocking out a quick good/bad post, let me give the app a few days on the street before commenting. It is on sale for 99 cents right now so I thought I should at least mention it so you can jump in before the price goes up.

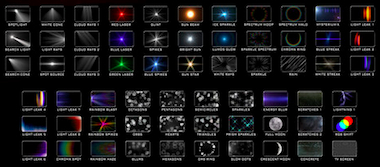
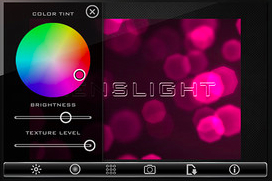
LensLight offers both light enhancements as well as texture filters. While the ability to adjust the light source location is lacking from more than adding the effect, the color picker for colorizing the filter is very nice. The color filter chooser actually took me from the app being cute to being a serious tool. Most of my photos shouldn’t be constrained to a default light when the world around us has reflective light of so many colors. With LensLight, the light splash can reflect the world around the subject in the photo.


iPhone photo social sharing on StreamZoo… a different experience with gamefication

Unrelated to the Instagram and Facebook deal, I do actually play with a lot of other iPhone photo sharing services. Most don’t have huge quantities of people sharing, many have very few features, and everyone has something that makes them unique.

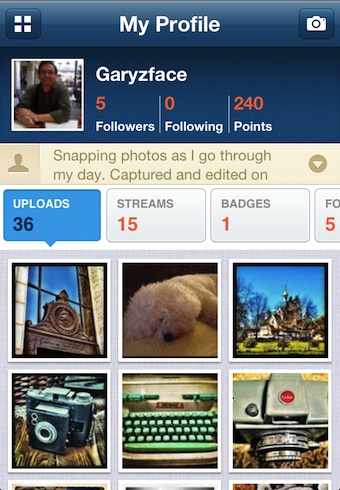
For StreamZoo, it is about a lot of features but no requirement to use them. There are points available for posting pictures, points when people like your photos, points when someone messages you and points when you like other people’s photos. Of course there are people that abuse the gathering of points… let them.

StreamZoo has the usual overview of Popular photos, as well the ability to see Leaderboards for high points fellow StreamZoo users. A nice touch is being able to see streams of photos. Streams = Hashtags on photos. I noticed in the beginning that the majority of the posts where from Android phones, but everyone is playing nice having fun as all photos are posted equal.

Taking a photo with StreamZoo or importing from your iPhone’s photo library gives you the option to edit with filters and tuning tools. From your ‘homepage’, you are informed there are new likes or messages via the Activity button turning red.

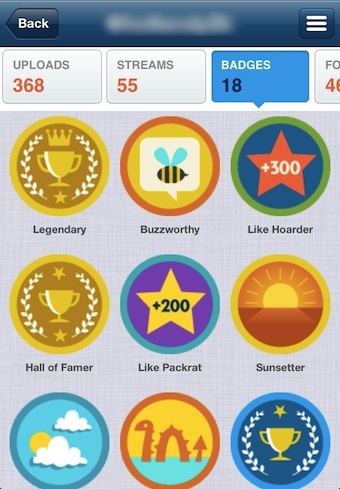
There is badges for all sorts of things… mostly in the area of number of likes for photos you have in different streams.

All of the viewing, commenting and messaging that can be done via the iPhone app can also be done via the Web interface. Within the iPhone app, you can see and overview of your uploaded photos, information around your followers, points and quantities of uploads, streams (tags) and badges. While you can follow individuals and the photos they are sharing, StreamZoo is really more about keeping an eye on streams on a subject.

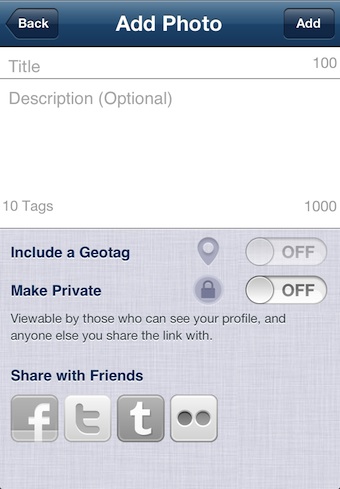
Adding a title and description for every photo can be done prior to finishing the upload. Adding tags will allow people to see the photos in Streams. Since you took the time to edit the photo in StreamZoo, you can share directly out to other social sites like Facebook, Twitter and Tumblr directly.


Multi iPhone Photos merged into one for higher resolution… and clarity?

I have spent the morning playing with the iPhone app Cortex Camera. I am a bit confused but will stick with it.

The app it’s self is very simple, but the results are confusing me. Cortex Camera takes (they say 100 photos via a video capture) many photos, then merges them together into a single result. The output, according to theory, could be cleaner and with more clarity than just snapping one photo.

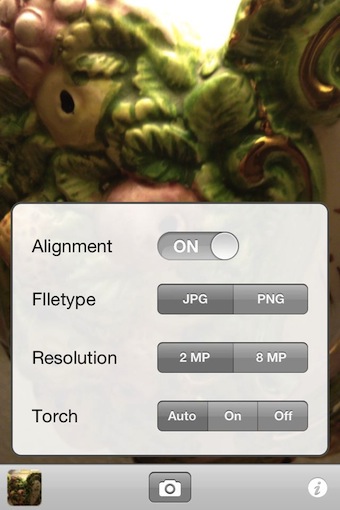
Launching Cortex Camera, you have the option across the bottom for the iPhone’s photo library (view only), the shutter button and the ‘settings’.

The settings in Cortext Camera lets you adjust the megapixels, on a iPad it goes above the power of the camera so the merging of photos is filling in a lot of areas to pixel multiply. PNG is not standard for the iPhone camera and is supposed to be a clearer image result. Alignment is if you have the app merge the photos into one or stack so it shows movement blur.

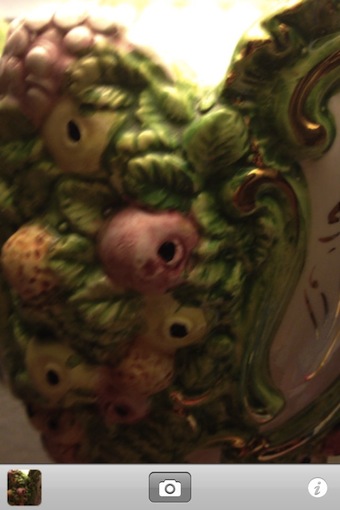
The photo taking experience involves not moving for about 3 seconds. A progress bar appears on the screen, when the photo was successfully taken it is saved to the iPhone’s photo library. If you move too much or something passes through the photo while be taken, the process will stop and warn you to move less. I have taken photos with Cortext Camera inside, outside, low light, bright light, big area, close up… every result is blurry. I have taken more than two dozen photos in both 2 mp and 8 mp settings, I just can’t come up with the perfect situation that the merging of multi photos into one looks better than just snapping a photo.

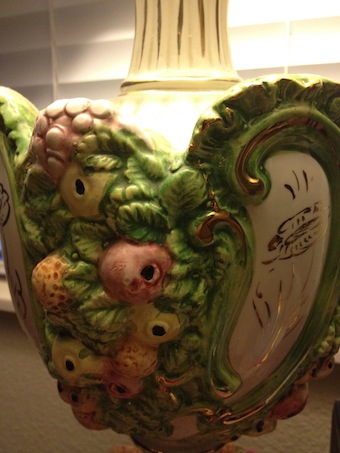
To compare, below is two regular iPhone4s photos, first is the regular and the second is the iPhone’s HDR. Notice that Cortex Camera zooms in a bit as well is narrower/taller with the regular iPhone photos as 1060 x 1890.