Category Archives: Taking Pictures

Taking photographs with the iPhone

iPhone Panoramic photos become movies – all on the iPhone

Built into the iPhone’s camera app is the ability to take pictures of tall buildings, wide for the interiors of a restaurant, simple HDR for vivid lights and even wrap around panoramic images. All of this ‘built-in’ so why do we need apps for taking pictures outside of what Apple provided? Mostly, because one solution isn’t the ‘best’ solution for everyone. Photos taken and left exactly as they are is fine, but many times there is a vision of what the photo could be so why not tune the image a bit.

In the world of panoramic photography, there has been a nice list of app options, each with their own way of doing the action of taking the photos. The early solutions required a person snap a photo then align the next photo with the previous before hitting the shutter button, then the app stitched all the photos together. After that was solutions that had a grid area that a person took photos to fill in for the app to merge. Most apps now use a graphic that two parts at the edge of the view finder which come together for the next photo to be taken. Cycloramic offers an simple, yet effective graphic to show when the next photo is being taken. The app doesn’t require alignment, it takes care of that for you. Unlike most other solutions is the ability to go back the reverse direction mid action if moving too fast for Cycloramic to have gotten a clean photo. The ability to move up/down slightly also gives more height to the resulting images too.

00 Cycloramic iPhone

If you have an iPhone 5 and a smooth/flat surface… Cycloramic will do all the work for you. A feature that put the app into everyone’s conversation when it was first introduced is how the app will vibrate the iPhone 5 to cause it to turn. Basically, place your iPhone 5 on it’s bottom edge, tap the button to take a photo, Cycloramic spins the iPhone and snaps photos as it goes. No add on hardware is required!

In the most recent update is a new feature to have the panoramic photo converted to a movie. Sometimes you want to share a photo that people can move around the 360 photo. Generally though, the message of the environment is best delivered via a controlled view which a movie does. Cycloramic 2.1 does the stitching and conversion to a movie to export all in one app.

Canon SELPHY CP900 Wireless Printer and an iPhone is my modern Polaroid

Why did we love our Polaroid cameras? It was the experience and the instant gratification of seeing the photo in a time that everyone else had to go to the local shop to get their film developed and printed. The ability to share a printed version of a photo just taken. While the sharing of a print with others quickly following the taking of the photo, the Polaroid experience has the limitation of there being only one copy of the photo… and you just gave it away!!

Trying to mimic some of the fun, I have been playing with a variety of printers. There are a lot of ink printers available on the market. Many are very inexpensive, until it comes time to buy the ink cartridges. Most printers also use a single cartridge for all colors (Black gets it’s own cartridge). This means that you have to buy a cartridge if any of the colors gets used completely. This drives up the ‘per print’ cost when partially used cartridges are getting thrown away. Also, printers are generally for printing a 8.5″x11″ sheet of paper so they are much larger than needed for a small photo print.

Over the recent holidays, a new smaller square printer appeared all of the gadget stores. It came with a 30 pin connector on top so a person can print their iPhone stored photos. After playing with one at a store, I could see the value, except I have no interest is having to dock my iPhone to the printer. It’s a wireless world!

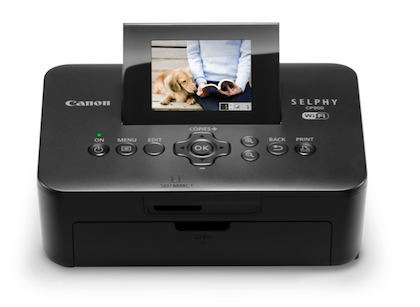
Enter, the Canon SELPHY CP900. A wireless printer that prints to 4 x 6 paper that lasts for 100 years… and the prints are water resistant too! Printing with a iOS or Android device requires the use of a free Canon app which does have some limitations but gets the job done in under a minute.

01 CP900 for iPhone

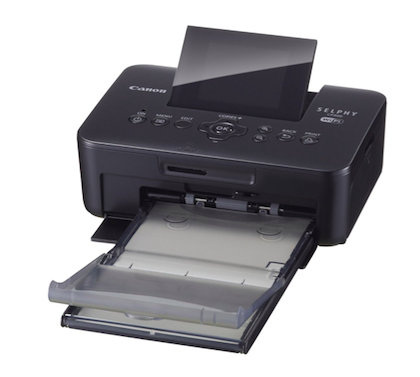
The CP900 is pretty small, just 7″ x 5″ x 2.7″. Along with connecting to wireless network, there is a SD card slot and a USB plug. Power is provided by an included wall plug, or an upgrade external battery power supply. A small pop up LCD screen allows for managing of printing from the SD card, the USB is handy for mobile or desktop connections. I’m only using via the wireless capability.

02 CP900 for iPhone

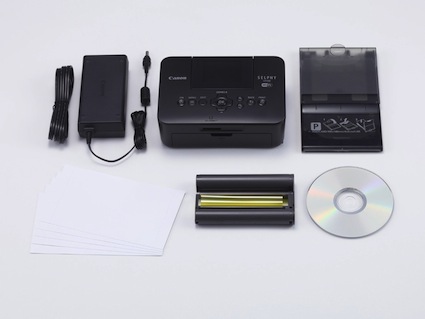
The printer has some uniqueness in it’s paper and ‘ink’. The paper comes from Canon where the front and back edges are removable via perforated lines. The extra paper is for the printer to pull the paper in. The reason for there being the extra on both ends is because of the printing method Canon has chosen to use. The ‘ink’ is a canister of ‘film’. The CP900 pulls in the paper from the front and pushes out the back. The print paper is pulled towards the front, where a single color (starts with Yellow) is applied to the paper. The page is returned automatically to the back of the printer then fed to the front to have another color applied, happening 4 times, all in about 40 seconds. Since the multi color film in the cartridge has to advance at a rate to handle each pass of the paper, this means there is an exact amount of the film to print each page. The card paper comes with ‘Canon’ printed on the back or a specialized version that has been printed to use as a postcard. A bulk pack has three color film cartridges and 108 4×6 papers for less than $30… which means there is a cost of 28 cents per print, no more, no less.

03 CP900 for iPhone

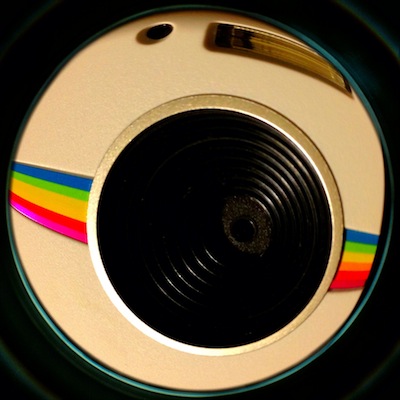
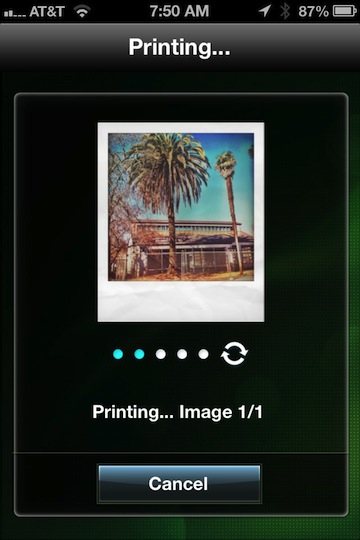
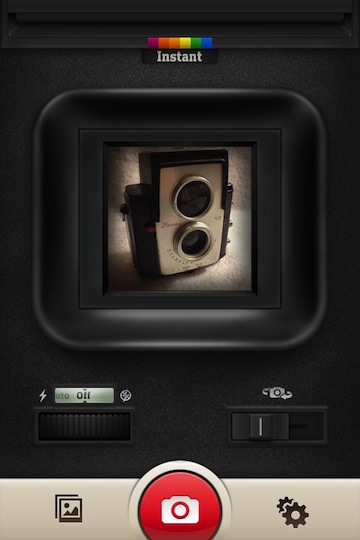
So, I am mobile with my iPhone, and I can print quickly to share with those that like paper photo prints. Just for fun, there is always apps like ‘Instant’ that lets me frame my print to look just like a Polaroid snapshot.

04 CP900 for iPhone

Using the iPhone for Long Exposure photography with LongExpo

I have covered a few Long Exposure photography solutions over the last couple years. The camera on the iPhone is quite capable but you have to have more power over the exposure length which is possible with apps like LongExpo. There is actually more to long exposure photography then just holding the shutter open longer. It depends on what the end result is needing to be… a streak of light behind cars zooming by, blur of moving objects like water over a waterfall and low light. Each of those can require a different set up and tuning to the environment around the photographer. Usually, this means a lot of adjustment behind naming from film photography counterparts.

LongExpo attempts to give the options needed for all of the different long exposure via plain english options. Then, add on specialized editing tools to get the final photo closer to what was hoped for when the shot was imagined.

01 LongExpo iPhone

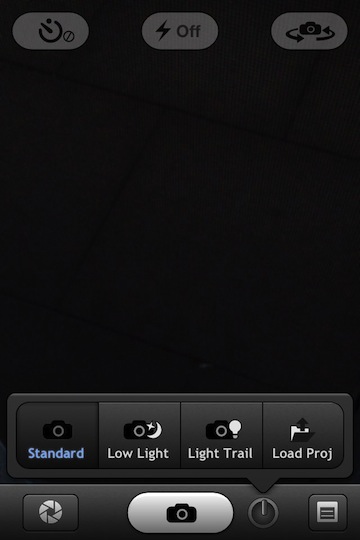
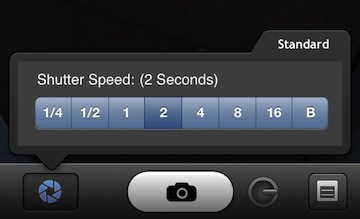
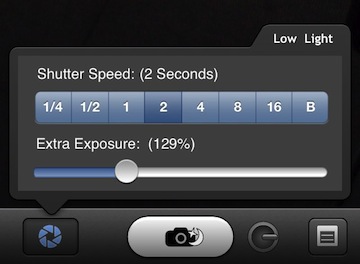
Choosing a different different photo type as seen above allows for access to different tools via the shutter setting button. I like the ‘keep it simple’ both in the options and the text used to describe the feature settings.

02 LongExpo iPhone

03 LongExpo iPhone

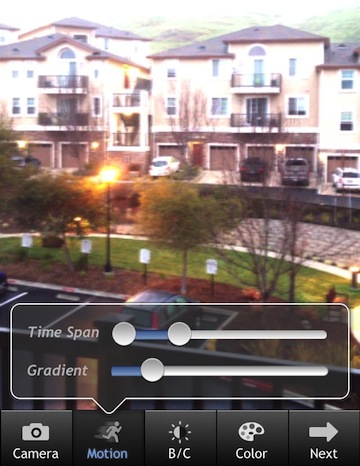
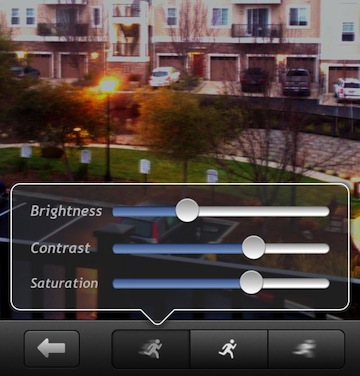
After a photo is taken, general fine tuning is possible via a set of sliders. The camera icon returns you to the camera and deletes the photo just taken.

04 LongExpo iPhone

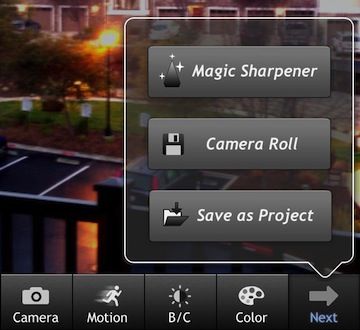
Images managed through LongExpo can be shared or saved at full resolution. I have found most editing apps like to downsize the output to help manage memory usage and the speed of the app. From the ‘Next’ button you can save to your iPhone photo library, create a project so you can edit that photo more later and access to the ‘Magic’ tool set.

5 LongExpo iPhone

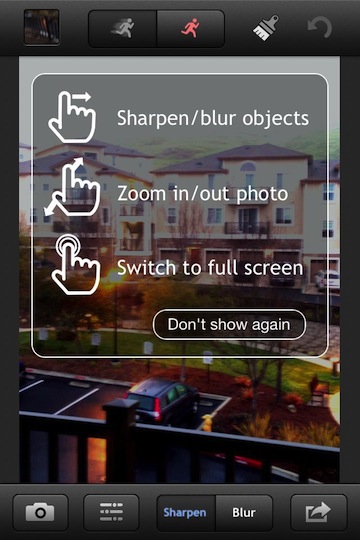
“Magic Sharpener” isn’t just a sharpening tool. The area of LongExpo is where you will find the ability to fine tune the image. The tuning is for sharpening and blurring. Paint an area, then choose which your trying to do. Also, the strength of the adjustments. Notice the image in the upper left corner, via this you can choose a photo within the time lapse photography in case an individual photo is better than the mix of the many used to create the long exposure. LongExpo attempts to keep the process easy to start, then more enhanced for those photos needing that extra touch for maximum effect.

06 LongExpo iPhone

07 LongExpo iPhone

Maximizing the iPhone camera with PureShot without the clutter of 645 Pro

Getting the most out of taking pictures with the iPhone, that is pretty much what this blog is about. The maximum is up to the user’s opinion. Some folks want the iPhone camera to be more like something else. They miss their film camera, they want better ways of sharing, they like the retro days, they want what they get out of their high end digital camera… the list goes on. In this case, how does one get more robust photos through the iPhone’s camera, prior to any edits or special effects.

Most editing apps offer their own doorway to the camera so that editing avoids extra steps. In the case of the 645 Pro app, it is all about getting a better shot to work with somewhere else. I found myself liking the features but hating the interface. The app attempts to mimic my physical camera with images of buttons to use for adjusting and every little fact about the photo capture happening is over laid on the view finder. To help others in my situation, 645 Pro’s developers released PureShot.

At first, I didn’t look beyond the app description as I saw it as a new app doing less than their earlier app, yet charging full price. Why not just have the ability to go ‘lite’ with the current? Once I got past what appeared to be a way to get more money out of people who already bought… I plunked down my hard earned cash and dove into a day with PureShot.

As promised, the view finder has far less clutter. Just the basics I need to get more from a photo being taken. Selecting and locking focus area has become standard for iPhone camera apps, good to see it’s on/off and use is quick and easy. As is the whole app, set up the preferences for shooting going forward, the app launches ready to start that shooting very quickly.
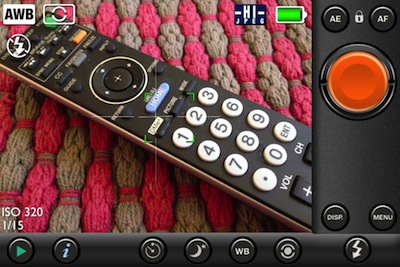
01 Pure Shot iPhone

PureShot offers many fine tuning features to get the most out of the actual photo taking experience. While the settings are easy to get to and quick to adjust, the power is more about getting things tuned the way you like and leaving alone. Like I mentioned, the view finder is cleaner and the app launches quickly so I spend my time getting the shot right rather than worrying about spinning dial. Making PureShot more like a built-in app than an add-on. Format setting 4:3 or 1:1 means framing on a street walk is shot for how it will be used later is one less thing to worry about.
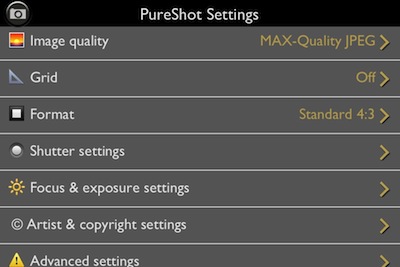
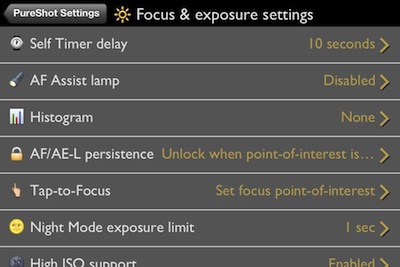
02 Pure Shot iPhone

03 Pure Shot iPhone

 The photo social sharing world get a bit excited when Instagram recently mentioned they may start using your uploaded photos in their ads without crediting your photography efforts. One solution has been for folks to start adding a Copyright to their photos. This isn’t just for Instagram uploads, imprinting your copyright on photos is an effective way of keeping your work yours no matter where you share.
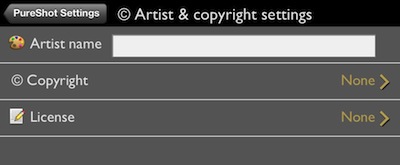
04 Pure Shot iPhone

Within the settings area is access to one of the features that PureShot is and will be best known for. Multiple format options for the resulting images:

“HI_Quality JPEG, MAX-Quality JPEG or dRAW TIFF output – The term “developed RAW”—dRAW—is used to describe a TIFF image that has had no in-app post-processing applied and, critically, no JPEG compression at any stage.”

05 Pure Shot iPhone

06 Pure Shot iPhone

07 Pure Shot iPhone

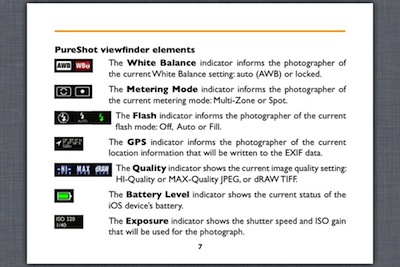
Everything you need to know about the features, icons and settings is available via the built-in manual. PureShot makes it available through the ‘i’ button along the bottom of the view finder screen.
08 Pure Shot iPhone

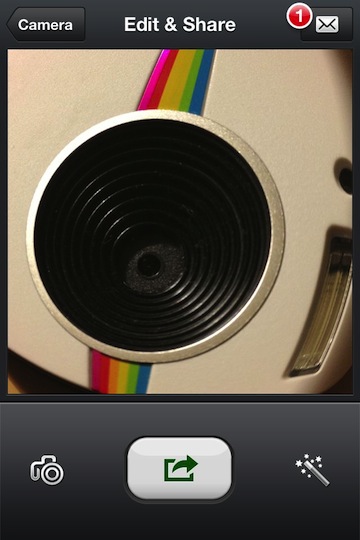
Retro Polaroid fun comes to the iPhone with Instant

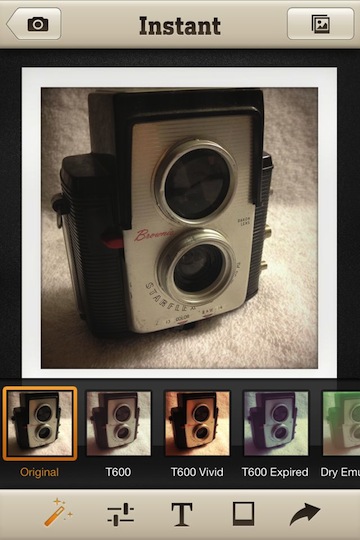
There are many vintage filters available to add to a photo after shooting the shot. And, there are camera apps that change the way the photo is initially shot to change the experience of iPhone photography. Basically, the second one is just applying a filter to an image from the start since we aren’t really changing anything hardware based on our iPhones. But, the change in the action of taking a photo can be part of the fun too. This is where Instant comes in, it’s all about the retro experience.

Instant first appeared on the iPad where I don’t do much with the camera so the fun was getting lost a bit. Even with the iPad Mini, when it comes time to shoot a photo, I still dig my iPhone out of my pocket. Instant on the iPhone starts off with the option to import a photo or snap a new shot. The viewfinder is similar in look to that of the ‘One Step’ camera. This is not a universal app so you have to buy a copy for your iPhone and another for your iPad if you want to use on both.

01 Instant iPhone

Instant offers a variety of filters to apply to mimic the wide variety of Polaroid photos came out of a camera. Some over exposed, others too dark, some film got a bit old so it was grainy, etc… “30 unique vintage style photo filters, with 10 of them closely mimicking the effects of various classic Polaroid films.

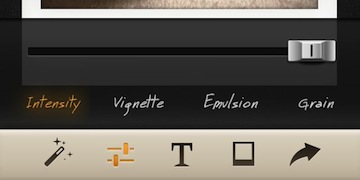
02 Instant iPhone

Age and highlights are adjusted with a slider, each option is adjusted individually.

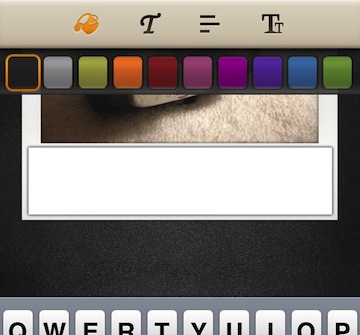
03 Instant iPhone

Writing on your Instant iPhone photos are not as limiting as the originals. If you didn’t get the writing exactly right on the old paper Polaroids, the photo was damaged with no way to re-print the photo. Now, Instant lets you use different fonts, formats and ink color till you get it right or completely remove without any damage to your snapshot.

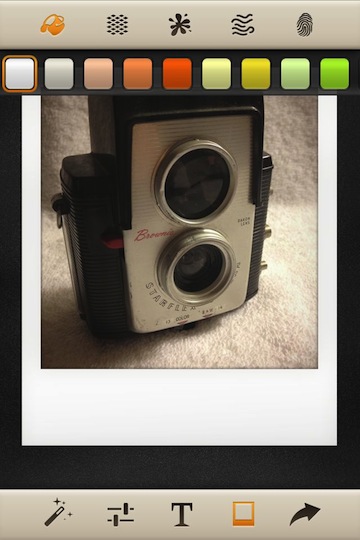
04 Instant iPhone

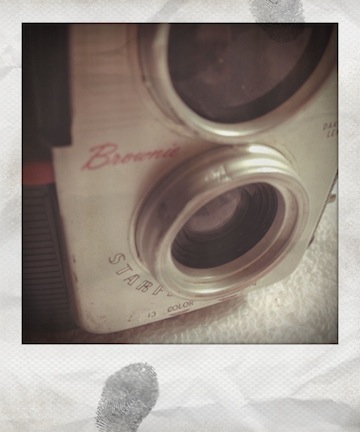
Unlike the original Polaroid film, Instant allows for the paper frame to be colorized. Along with the new feature comes the ability to add the wear and tear of a well shared photo with spots, wrinkles and finger smudges.

05 Instant iPhone

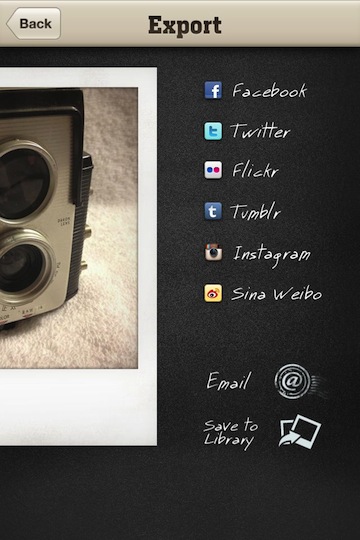
Instant offers ‘export’ to many of the popular social services as well to the iPhone’s photo library. In the settings, you can choose to save a copy of the original photo prior to edits or save only the final edited result.

06 Instant iPhone

Toss a bunch of the features at a photo to get the look like the old snap shot found between some old papers in the bottom drawer of that desk you never use. Finger prints, wrinkled paper, faded in the classic Polaroid Instant frame.

07 Instant iPhone

1 Second video per day stitched into your life movie

For years now, people have snapped a self photo per day and stitched together into a movie. It is interesting to see how a person’s face changes over time. Some of the photos reflecting the person in casual, some dressed up, some after work and others after working out. Recently, there has been a lot of talk about little video recording devices that are either constantly or near always-on recording what is going around the wearer. I’m not thrilled about people constantly recording all around me. Sure, there is traffic and safety cameras that catch me passing by every day. I’m talking about a person sitting in a meeting or talking to me at a personal level.

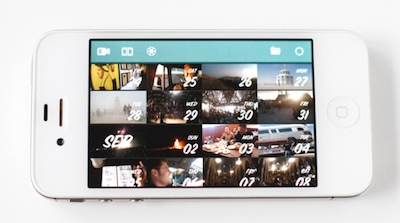
A Kickstarter project just wrapped up successful with a fun marriage of the two visual recording paths above. Instead of snapping a single photo or continuious video recording, 1 Second Everyday is an iPhone app that you use to record a moment in time every day. Then, merge the short one second videos into a movie. Within a second, you have a moment in time about what is going on around the user. While not collecting too much like a conversation or too little with a single snap that can’t always be put into context. The app also allows a second of time to be pulled out of longer videos you have on your iPhone.

Although the app is inexpensive, as a thanks for the Kickstarter funding ending well, Cesar Kuriyama is offering 1 Second Everyday for no charge on Thursday January 10th, 2013. This is a 24 hour only deal. I’m looking forward to seeing how those moments come together and how the story unfolds for the viewers in the future. Whether I keep the movie private or choose to share out directly through the app.

1 second everyday

KitCam on the iPhone enhances photography and photo editing in one app

Generally, there are two types of photography apps for the iPhone. There are Camera apps that alter the way photos are taken with the iPhone. Then, there are apps for enhancing images. The second of the two are more popular, tuning images for sharing on social sites with family and friends. Apps that alter how photos are taken from the beginning have a strong following amongst the retro and film camera fans.

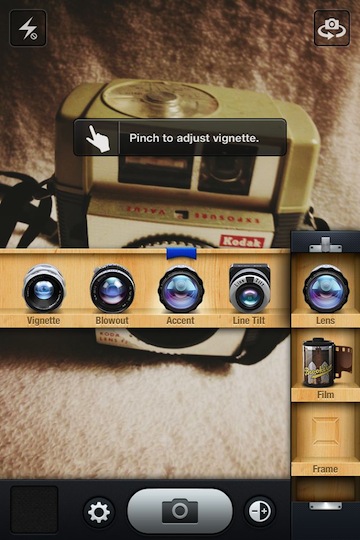
The folks that created the PhotoForge2 editing app has now released KitCam. An app that has film and lens options for how a photo is taken to start with, then editing tool for enhancing more. Amongst the enhancements is even the ability to change the film and lens used when the photo was initial taken.
01 KitCam iPhone

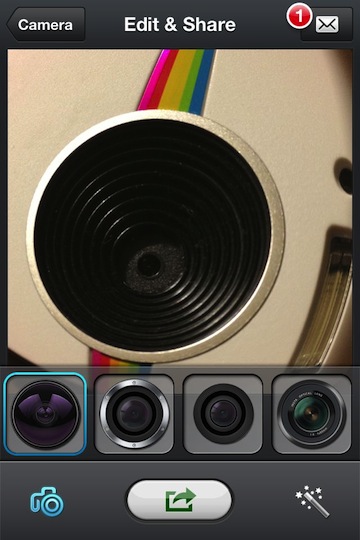
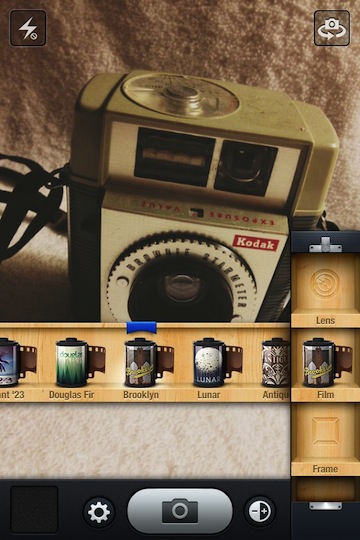
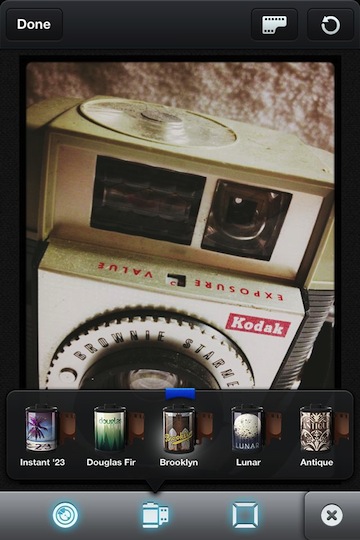
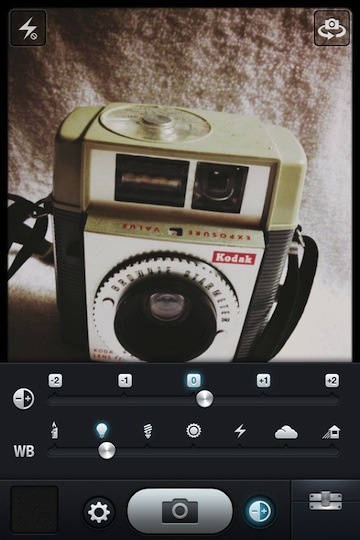
Tap the KitCam lens to slide out the options. Swipe left/right to choose and see the impact of each. Some allow fine tuning their enhancement impacts beyond just applying.

02 KitCam iPhone

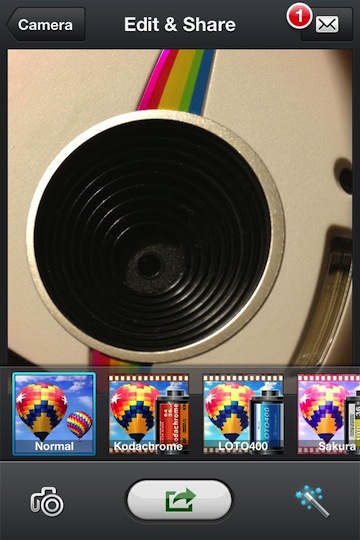
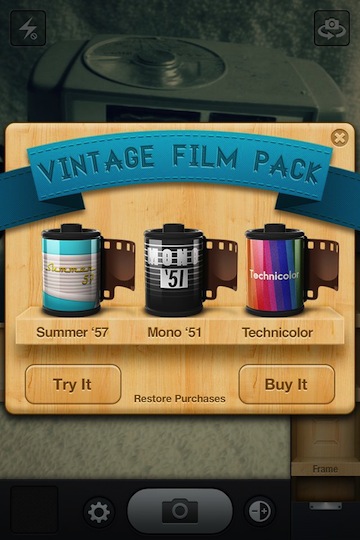
KitCam comes with a very nice selection of lenses, films and frames. If you want to go for an extra special effect, there are in-app purchasable groups of each. The built in options have kept me plenty busy, but I can imagine a few shots that would enjoy the upgraded bundle.

03 KitCam iPhone

Sliders for fine tuning contrast and white balance in real time.

04 KitCam iPhone

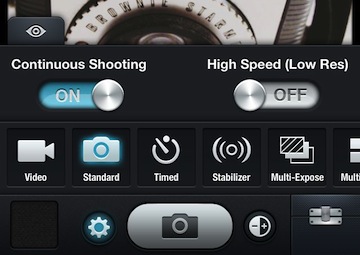
Popular photography camera are on the view finder screen through the settings icon. KitCam works with single photos and video too.
05 KitCam iPhone

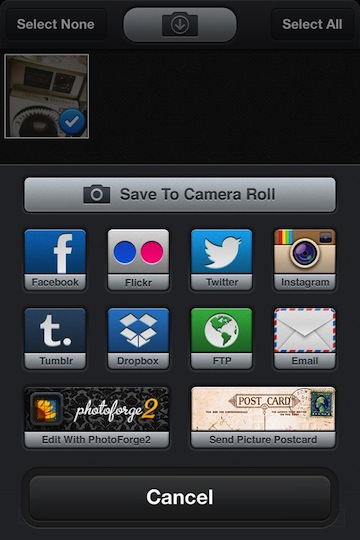
Photos directly after taking or after enhancing, can be shared out in a wide variety of ways. KitCam provides for saving to popular Social Services, cloud storage or open in other apps that you may prefer using to more adjustments.

06 KitCam iPhone

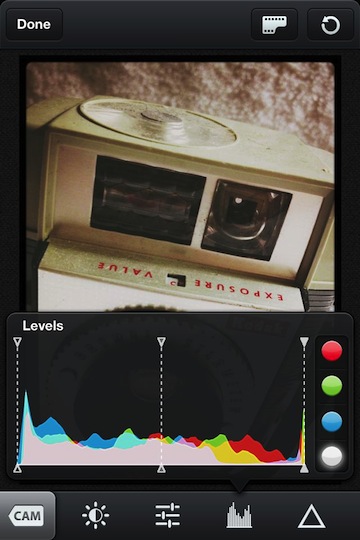
Basic adjustments can be made to the photos like crop, ‘enhance’, and contrast/white balance.

07b KitCam iPhone

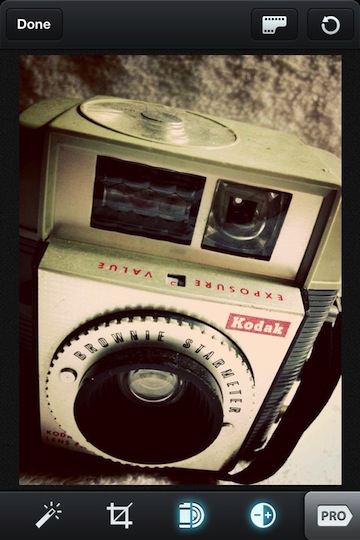
There are advanced ‘Pro’ photo editing options within KitCam. Even these tools are included without an extra charge.

08 KitCam iPhone

Choose the film icon in the upper right corner of the photo editing area to have access to the KitCam film/lens options that where available when first taking the photos. This feature works on imported photos that you have taken via the iPhone camera without KitCam.

09 KitCam iPhone

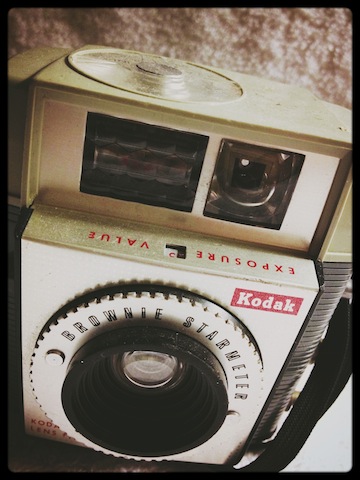
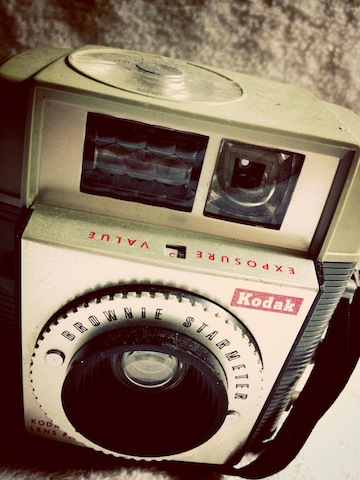
This is the photo as it was taken with the film/lens selections above.

10 KitCam iPhone

Where other apps that offer film/lens combinations to take the photo with initially then export the photo. KitCam lets you change your mind about the film/lens/frame later so nothing is ever stuck with a bad decision.

11 KitCam iPhone

New Black and White iPhone photography fun with release of Tintype SnapPak update

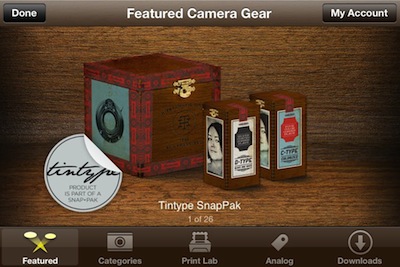
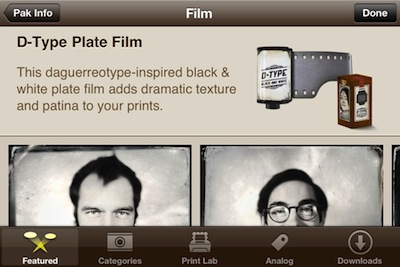
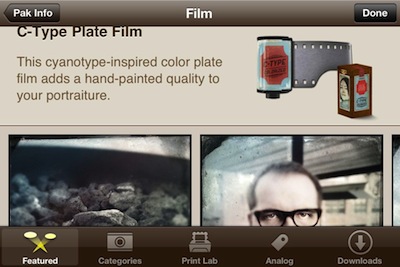
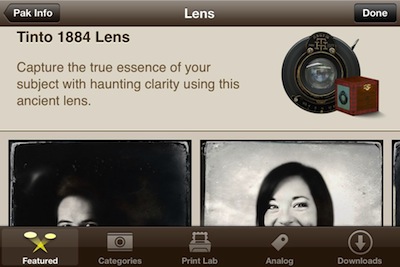
The iPhone camera app Hipstamatic has received a new film and flash updated called Tintype. The additional two vintage films and single lens are available via a 99 cent in-app purchase as a new SnapPak. The group offer a new take on black and white photography for the iPhone. One film leans towards the look found in a police mug shot while the other gives the effect of early photography colorization prior to color film photography.

01 Hipstamatic TinType

The new Tintype SnapPak should prove popular with folks using the Hipstamatic app on their iPhone where more than just a lack of color is required in a photograph. The films and flash are all about setting a mood for the photo’s viewer similar to what was found in an old Kodak Brownie camera.

03 Hipstamatic TinType

04 Hipstamatic TinType

05 Hipstamatic TinType

Send a photo to a friend with the iPhone that can only be viewed for seconds

The Poke feature of Facebook has been around since near the start of Facebook. You can ‘poke’ someone like a tap on their shoulder as you walk down the hall. They have shared a brief second with you and time moves on. Why, well… not sure beyond letting someone know your thinking about them.

An app, ‘Snapchat’ took that a step further by letting you remind them that your thinking of them with a photo. Instead of just sending a text message with a photo attached, you can use the app which will limit the length of time the photo will be viewable. Perhaps it could be used to show someone a interesting thing that is happening without worrying about the photo being shared or cluttering up the recipient’s iPhone photo library.

Facebook has taken their Poke feature and made it into a free iPhone app now. You can choose to ‘poke’ someone, you can send them a photo, a bit of text or even a short video. All will be viewable for the receiving person (Facebook contact) for how long you allow and then go away.

01 Facebook Poke

After you choose the type of ‘Poke’ you wish to send, like the photo below, you can do a little tuning and set how long the photo will be viewable to the person your sending it to. When you tap ‘Next’, you are presented with a lit of folks your connected to on Facebook allowing for one or many to be chosen. After you send, the Poke and who you sent it to is added to your list of ‘sent’. The list can be cleared if you do not want the history kept.

02 Facebook Poke

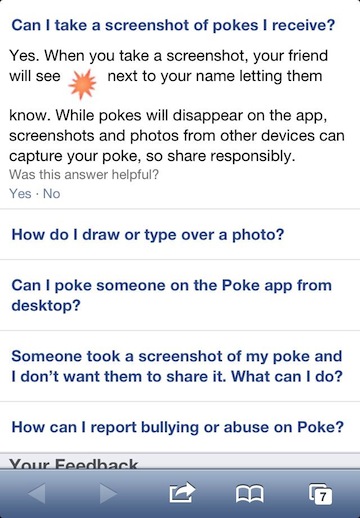
But, if someone was fast when their view a photo you send them with Poke, why couldn’t they just take a screen capture of the image. According to the ‘Help’ area, the sender gets a message that a screen capture was snapped. Of course, there are apps that record all actions when an app is open so that wouldn’t register as a screenshot. Also, they could snap a photo of the iPhone screen using a second device so don’t be misguided into sending something that could haunt you later thinking it will go away forever when Poke auto deletes.

03 Facebook Poke