Tag Archives: camera enhancement

Using the iPhone for Long Exposure photography with LongExpo

I have covered a few Long Exposure photography solutions over the last couple years. The camera on the iPhone is quite capable but you have to have more power over the exposure length which is possible with apps like LongExpo. There is actually more to long exposure photography then just holding the shutter open longer. It depends on what the end result is needing to be… a streak of light behind cars zooming by, blur of moving objects like water over a waterfall and low light. Each of those can require a different set up and tuning to the environment around the photographer. Usually, this means a lot of adjustment behind naming from film photography counterparts.

LongExpo attempts to give the options needed for all of the different long exposure via plain english options. Then, add on specialized editing tools to get the final photo closer to what was hoped for when the shot was imagined.

01 LongExpo iPhone

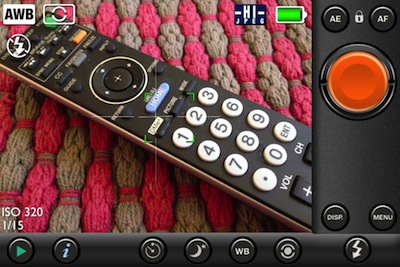
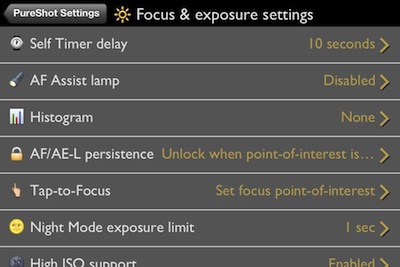
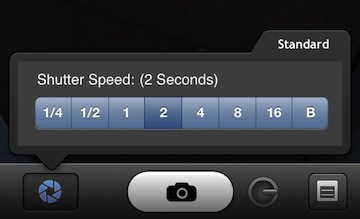
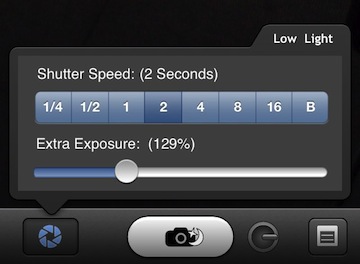
Choosing a different different photo type as seen above allows for access to different tools via the shutter setting button. I like the ‘keep it simple’ both in the options and the text used to describe the feature settings.

02 LongExpo iPhone

03 LongExpo iPhone

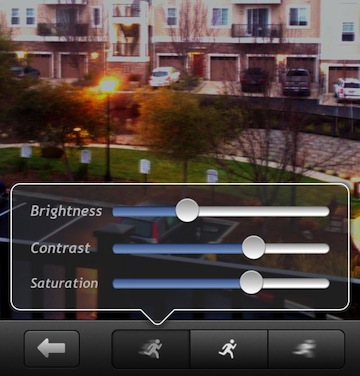
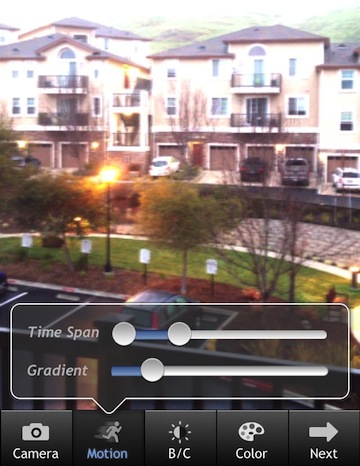
After a photo is taken, general fine tuning is possible via a set of sliders. The camera icon returns you to the camera and deletes the photo just taken.

04 LongExpo iPhone

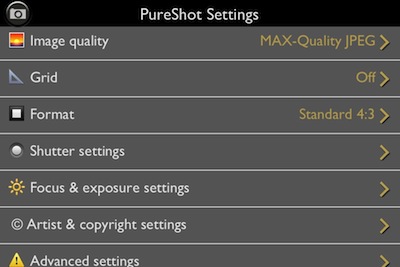
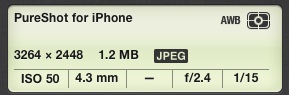
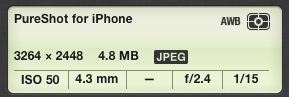
Images managed through LongExpo can be shared or saved at full resolution. I have found most editing apps like to downsize the output to help manage memory usage and the speed of the app. From the ‘Next’ button you can save to your iPhone photo library, create a project so you can edit that photo more later and access to the ‘Magic’ tool set.

5 LongExpo iPhone

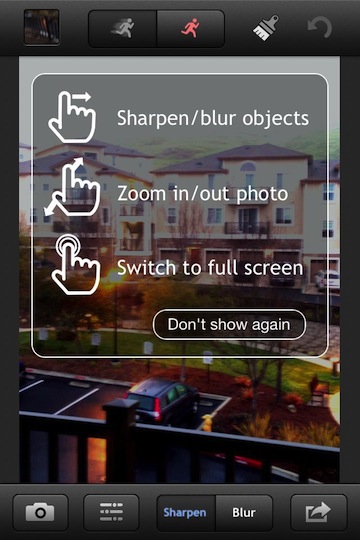
“Magic Sharpener” isn’t just a sharpening tool. The area of LongExpo is where you will find the ability to fine tune the image. The tuning is for sharpening and blurring. Paint an area, then choose which your trying to do. Also, the strength of the adjustments. Notice the image in the upper left corner, via this you can choose a photo within the time lapse photography in case an individual photo is better than the mix of the many used to create the long exposure. LongExpo attempts to keep the process easy to start, then more enhanced for those photos needing that extra touch for maximum effect.

06 LongExpo iPhone

07 LongExpo iPhone

Maximizing the iPhone camera with PureShot without the clutter of 645 Pro

Getting the most out of taking pictures with the iPhone, that is pretty much what this blog is about. The maximum is up to the user’s opinion. Some folks want the iPhone camera to be more like something else. They miss their film camera, they want better ways of sharing, they like the retro days, they want what they get out of their high end digital camera… the list goes on. In this case, how does one get more robust photos through the iPhone’s camera, prior to any edits or special effects.

Most editing apps offer their own doorway to the camera so that editing avoids extra steps. In the case of the 645 Pro app, it is all about getting a better shot to work with somewhere else. I found myself liking the features but hating the interface. The app attempts to mimic my physical camera with images of buttons to use for adjusting and every little fact about the photo capture happening is over laid on the view finder. To help others in my situation, 645 Pro’s developers released PureShot.

At first, I didn’t look beyond the app description as I saw it as a new app doing less than their earlier app, yet charging full price. Why not just have the ability to go ‘lite’ with the current? Once I got past what appeared to be a way to get more money out of people who already bought… I plunked down my hard earned cash and dove into a day with PureShot.

As promised, the view finder has far less clutter. Just the basics I need to get more from a photo being taken. Selecting and locking focus area has become standard for iPhone camera apps, good to see it’s on/off and use is quick and easy. As is the whole app, set up the preferences for shooting going forward, the app launches ready to start that shooting very quickly.

01 Pure Shot iPhone

PureShot offers many fine tuning features to get the most out of the actual photo taking experience. While the settings are easy to get to and quick to adjust, the power is more about getting things tuned the way you like and leaving alone. Like I mentioned, the view finder is cleaner and the app launches quickly so I spend my time getting the shot right rather than worrying about spinning dial. Making PureShot more like a built-in app than an add-on. Format setting 4:3 or 1:1 means framing on a street walk is shot for how it will be used later is one less thing to worry about.

02 Pure Shot iPhone

03 Pure Shot iPhone

 The photo social sharing world get a bit excited when Instagram recently mentioned they may start using your uploaded photos in their ads without crediting your photography efforts. One solution has been for folks to start adding a Copyright to their photos. This isn’t just for Instagram uploads, imprinting your copyright on photos is an effective way of keeping your work yours no matter where you share.

04 Pure Shot iPhone

Within the settings area is access to one of the features that PureShot is and will be best known for. Multiple format options for the resulting images:

“HI_Quality JPEG, MAX-Quality JPEG or dRAW TIFF output – The term “developed RAW”—dRAW—is used to describe a TIFF image that has had no in-app post-processing applied and, critically, no JPEG compression at any stage.”

05 Pure Shot iPhone

06 Pure Shot iPhone

07 Pure Shot iPhone

Everything you need to know about the features, icons and settings is available via the built-in manual. PureShot makes it available through the ‘i’ button along the bottom of the view finder screen.

08 Pure Shot iPhone