Category Archives: Editing

Editing pictures on the iPhone

Adding Depth and Movement to your iPhone Photos

In my early days of shooting film, I spent a lot of money on film as I took shot after shot, learning about different focal depths. It wasn’t that I was going for a particular look, I was trying to learn what visual impact the photo made depending on how what part of the photo was in focus. Recently, there has been a lot of attention to the Lytro camera in the area of being able to set the focus of the shot later (and a lot of other light versus color cool technology). The idea is that you take pictures with everything in focus, then say what depth you want in focus and everything else blurs to give the brain the idea of how far away you where looking when you snapped the shot.

On the iPhone, you can set what depth a item is away that will be in focus by tapping it on the screen. This makes a big difference for close up shots but for photos more than a few feet away, everything is in focus. So, how do you get the effect of depth focus like you could do with a old film camera lens?

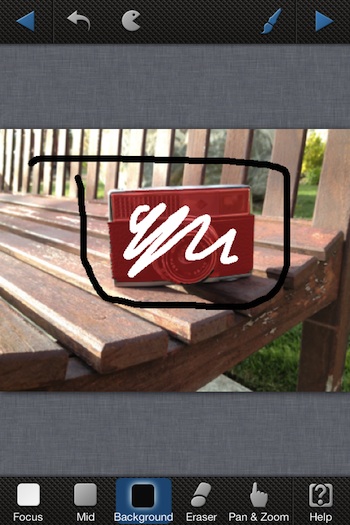
One way is through apps like AfterFocus. Many of the options just blur the background, similar to a TiltShift effect so read the feature list prior to buying. AfterFocus actually has some ‘smarts’ and offers a lot more options while being at the same price as those ‘simpler’ solutions. AfterFocus lets you ‘color’ in the area you want in focus, or you can use the Smart tool… which offers you the capability to put a quick line in the area of in ‘focus’ and ‘background’. The app will calculate the outline of the focus point area and split for you. Completely removing the back and forth of trying to get a perfect line around a object with your finger.

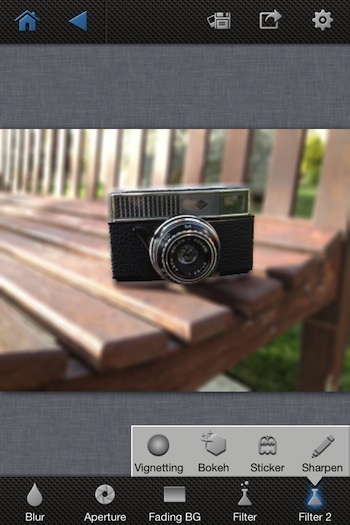
After the areas of focus/blur have been applied, you can fine tune the type of depth on the next screen. Here also, AfterFocus lets you add a vignette or sharpen the image to bring out the details.

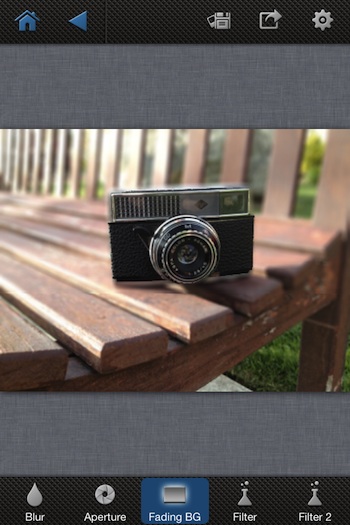
After the areas of focus has been chosen and applied, you can adjust the level and type of blur too. AfterFocus has a ‘motion’ blur option that will give a slight movement to the background like you would get if you where taking a photo of a person running. Also, below is the ‘Fading Background’ applied where the foreground is brought back into focus. Normally apps require you to go back and do that manually, otherwise you end up with a camera floating in air when the blur is all around it.

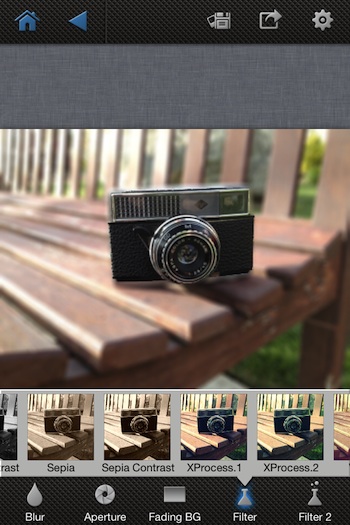
What iPhone photo app would be complete without ‘filters’? Yes, AfterFocus lets you apply a variety of filters too.

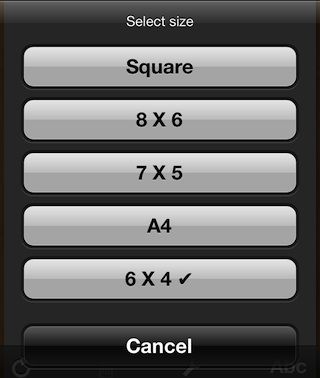
Normally I would cover what the output size of the image is at this point of the post. AfterFocus lets you choose that sizing, everything to small Web graphic to full resolution size. Sharing is through saving to the iPhone’s photo library, as an attachment to an email and through the social sites Facebook, Twitter, Flickr and Picasa.
 

The fun of film toy cameras on the iPhone

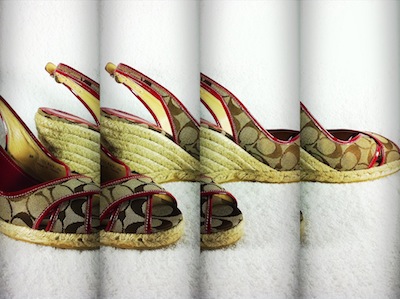
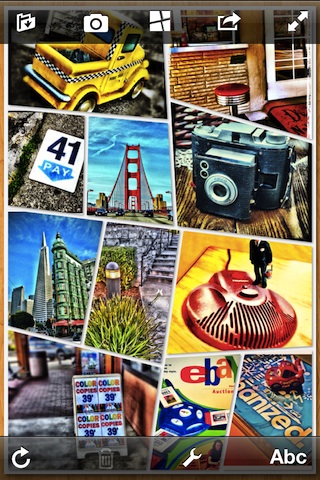
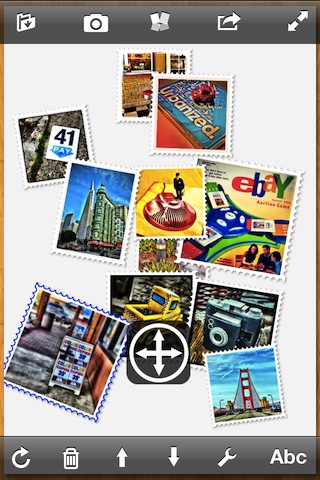
When I first started playing with the iPhone camera app PictureShow, I mostly used it for breaking single photographs up into multiple parts. It was a lot of fun for a couple concept photo shoots I was on then and got people thinking outside of the box.

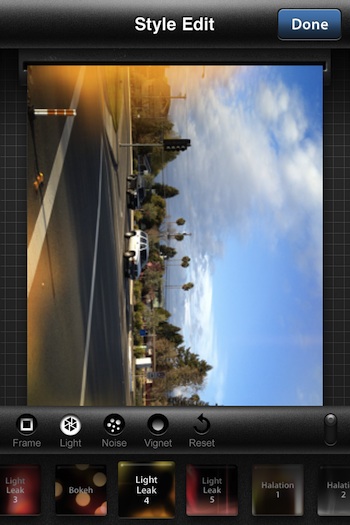
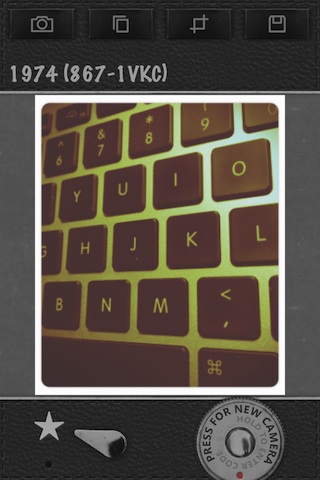
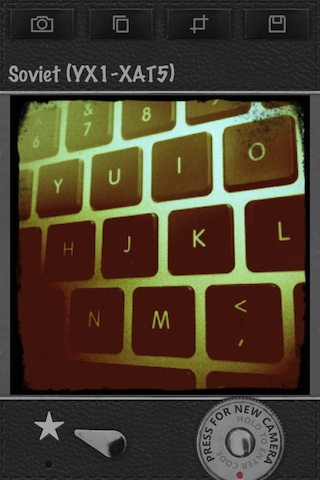
Now I find myself using less of the fun splitting feature and more of the tools to produce the plastic camera effect. Both work very nicely in PictureShow, it all depends on the final desired image impact.

Using the pull down, you can choose to apply a long list of filters. PictureShow was one of the first apps that I really started deep diving into the effects of filters and photo tones without using a desktop photo editor.

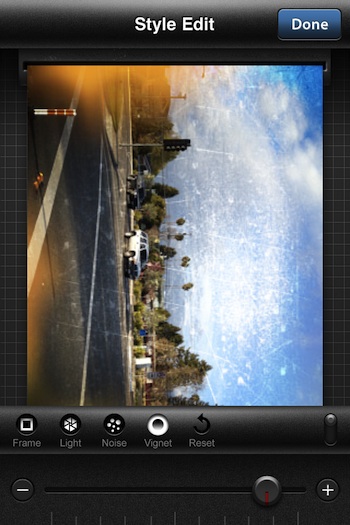
More often now though, it’s the effects in the area of ‘style’ and ‘color’ that I tap PictureShow to help me with. As the popularity of Lomo cameras and iPhone photo sharing services increase, more people ask for photos in their designs to have a older, less tuned look.

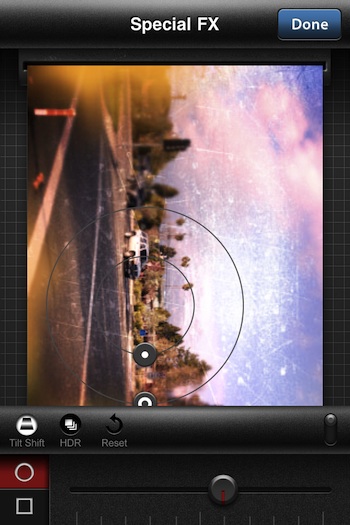
Touch up the area around the focal point with a vignet and add a bit of noise since this picture has been sitting in the drawer for a while.

PictureShow even handles TiltShift and software HDR effects.

When the image is as you hoped, getting the image out of PictureShow has a lot of options. Share out to Facebook, Twitter or Flickr, post on a Tumblr or Blogger site, send as an attachment to an email or save to your iPhone’s photo library. The photo I edited in this post was exported at: 3265 × 2449 although you can export in: 450 x 600 px, 600 x 800 px, 900 x 1200px, 1200 x 1600 px if there is a need for smaller.


Think Instagram filters are good, but you could have done better? Here’s your chance.

Just about ever photo app I have covered has some level of filter enhancements available to apply to your iPhone photos. Many  filters have a common name from one app to the next but act slightly differently. The most common know filtered photos are those coming out of Instragram with it’s group of offerings.

No matter which app, I find myself wanting a bit more of some part of a filter to get the effect on the particular photo I’m going after. “That filter would be perfect if it was married with this other filter”. To get around this, a few apps even allow the application of multiple filters one after another. Piling filters is not what I’m talking about, but it’s better than not.

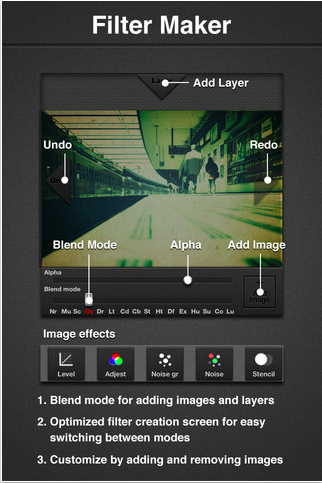
The app Pro Filter is giving us a chance to create and share our own filters. With Layers, there are 18 effects and 16 blends to mix and match in an attempt to create the filter effect envisioned for the photo. Since the concept is new to a lot of folks but there still may be a desire to create, a built-in ‘How to’ is included.


When done, Pro Filter supports sharing the photo (you can also share the photo with the filter) out through an email, Facebook, Twitter and Flickr. Getting started, it isn’t a bad idea to look over what others have created to get a feel for a direction you may want to go.

Full Featured iPhone Camera App – Camera Genius – on sale today only

Recently one of my more often used ‘all-in-one’ camera apps was updated and I got plenty excited with it’s new power. Yesterday, it was mentioned to me that I may want to look at Camera Genius. The timing was right as it had just gone on sale so I thought I get the word out. Jumping to the end, I would have been happy to have paid full price for Camera Genius.

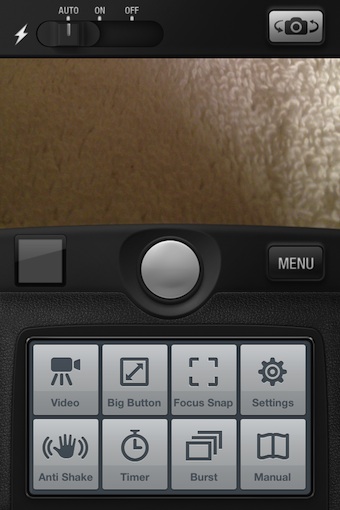
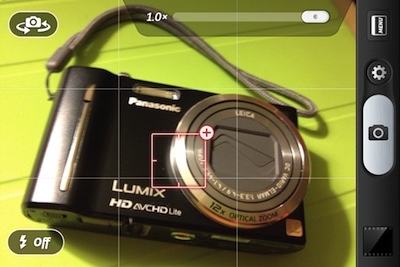
The opening screen is for getting directly to snapping a photo. Choosing the ‘Menu’ button will bring up a group of options that Camera Genius offers for better fine tuning your shots. Across the top is the flash control and the camera chooser. The lower box of buttons are for using Self Timer, Multi Photo Bursts, Anti-Shake, Big Buttons, Focus Point, Switch to Video and access to the built-in Manual.

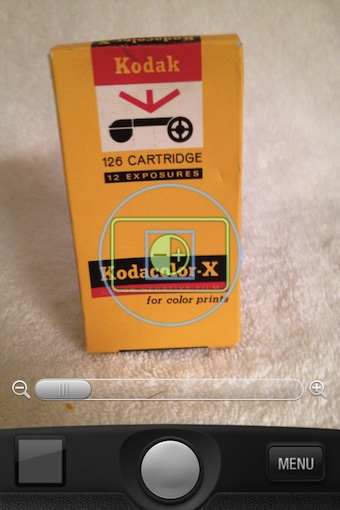
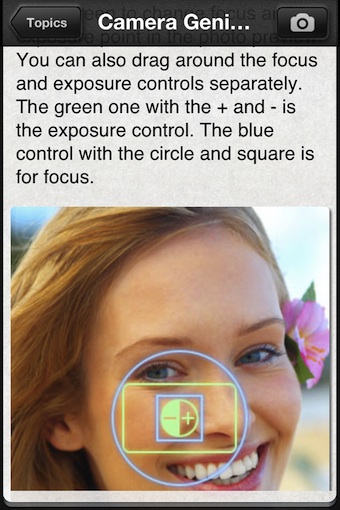
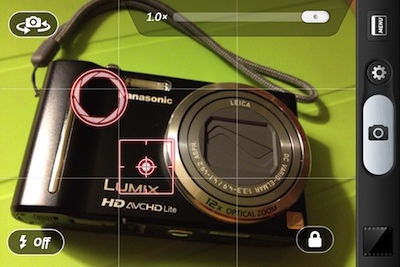
Camera Genius provides the Focus and Exposure splitting capabilities through a circle/square graphic. Tap to focus then drag the square to set the exposure. If you don’t like the split, just double tap on the screen again to pull them to a single point.

When a photo is taken, it is automatically saved to your iPhone’s Photo Library. Camera Genius doesn’t save it in a area of the app so you don’t have to worry about having your photos spread across multiple locations. The basic shot results in a 2448 x 3264 image.

After the photos are taken or if you want to edit a photo taken outside of the app, just tap the icon in the lower left corner of the screen to bring up the iPhone’s Photo Library. Choose a picture, then choose the edit button in the lower right corner.

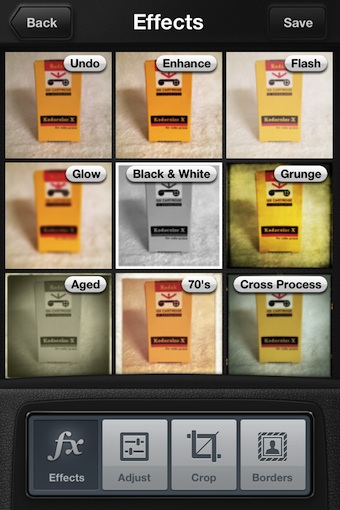
Several screens of Effects and Tuning Adjustments are all included in Camera Genius. Scroll the options up/down to view a thumbnail of the effect applied. Tapping one will show the photo with the effect applied, some have sliders to fine tune a bit. Cropping and a selection of borders is also available. Using the back button will take you to the previous screen without the filter effect being added, you must use the ‘apply’ button to set the filter in place. By Applying, the thumbnails will change to show effects/adjustments on the photo with the filter applied. This means that you can apply several effects without having to save the photo to your library and re-importing every time.

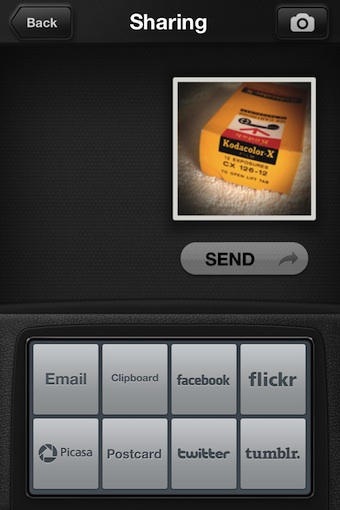
Sharing with Camera Genius has all the basics covered. Just saving the final photo creation saves it to the iPhone’s photo library. Through the app though, sharing through email, Web sites and social networks is a button tap away.

Built in is a nice how-to-use-this-app manual. It covers all the features and how to use them.

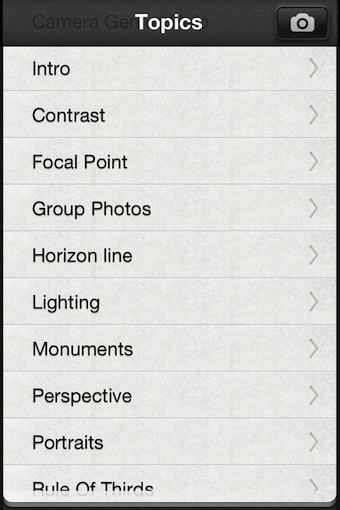
An interesting thing about that ‘help’ file in Camera Genius is that is actually a full manual too. The top topics of photography are covered, explaining what the technique is and how to get it. I will be adding this to my list of recommendations to new iPhone owners looking to get into photography.


Big updated to one of my favorites iPhone Photography apps – Camera+ goes 3.0

Camera+ gets used a lot. That is to say, I have a large selection of iPhone Photo apps I use every day. They go from very specialized to very generalized. There are a couple that are ‘do it all’ apps that I can shoot with, as well do my final edits in. Camera+ is one of those apps that I shoot with very little but turn to when I do edits  and enhancements. It isn’t like SnapSeed for tiny spot changes, rather for editing the full photo.

With this update, I will be using Camera+ for more of the actual photography too.

The list of updates to Camera+ is long, thus it is now version 3.0 (on sale right now!). To start, the ability to have focus and exposure as separate spots is now supported. What is nice is the way it was implemented. When frame up a shot, you may tap the screen to choose the focus area like normal. In other apps, you have to choose if you want to do a focus spot or a focus/exposure difference. Notice the small ‘+’ on the focus box, just tap that if you want the split.

Camera+ doesn’t require you decide up front through a setting if you want to do focus or focus/exposure, you decide on the fly.

The filter selection continues to be a quality area of Camera+. With three screens of 9 filters in each area, there is also an additional specialized 9 for a 99 cent in-app upgrade. The best known of the enhancements offered by Camera+ is the ‘Clarify’ which received an upgrade in this update too. Below is a shot that was cropped, clarified, and filtered within Camera+… whole process took less than a minute including saving to the iPhone photo library.

Knowing that not all people work the same, Camera+ lets you: take a single picture and edit it right away, take multiple pictures to edit later and import one/many photos from the iPhone’s photo library to edit.

Along with the above, the folks that created Camera+ have opened an API to other app developers that may want to use the photo editing powers they provide. Titles like WordPress, Tweetbot, Twitterrific, Foodspotting, and Twittelator Neue apps.

The sharing speed has improved too… done via email, attach directly to a ‘message’ (cool now that Messenger works on the Mac too), through social services like Facebook and Twitter, as well now the creation of Web Links is supported.


Random iPhone Photo Filters… just swiping through to find what you like

I’m a precision kind of iPhone photo editor. I know when I take a picture that I’m going to leave as it or which app and which enhancement I will be using on it to get what I’m going after. A few times, I will use an app that provides the image I’m working on as thumbnails with the filters applied to get an idea how close one is over another.

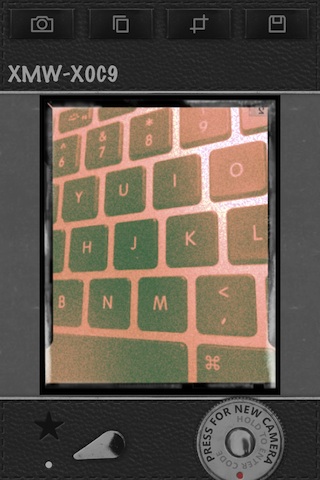
An app I came across this weekend goes the other way, to an extreme. Infinicam on the iPhone is a way to be shown how a iPhone photo you took will look with a filter applied in full size. What you don’t know is what the next filter may be. Infinicam literally assembles and applies a filter in the background amongst all of it’s variables, then shows you what they created. Of course you don’t have to choose the creation, you can sweep to the next one to see what is possible in a completely random different direction. This isn’t just twenty filters applied in random order, Infinicam uses the many bits that make up a filter and scrambles, then applies for your viewing.

If you prefer not sweeping through one random filter effect to the next, you can use the camera button in the lower right corner. Tap the button for Infinicam to apply the next effect.

If you like the filter effect but not the frame, swipe your finger up the screen to cycle through the Infinicam frame options.

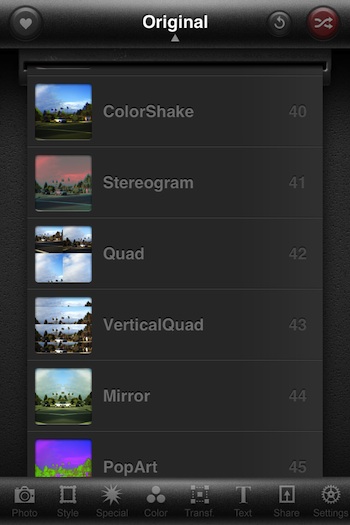
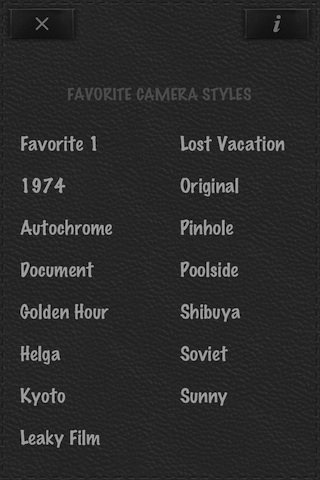
If there is a camera style you prefer, there is a list available to jump to photo filters created using that as a starting point. Notice that this is the area that any filters you saved as Favorites will be accessed to use again.

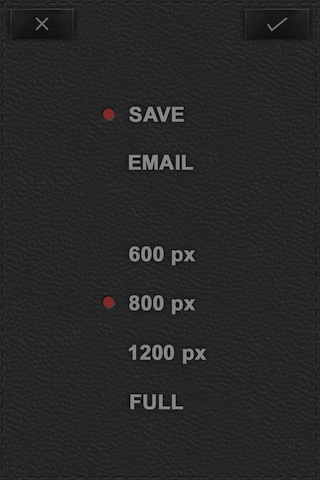
The image you choose can be saved to your iPhone’s photo library in a variety of sizes. A photo taken with the iPhone and saved at ‘FULL’ was 2448 x 3264. If you choose to email the photo to someone, the email includes the code of the bits that made up the filter. They can just insert that code into a copy of Infinicam on their iPhone to apply the same filter.


Merging the best parts of multiple photos into one on the iPhone – Free app till March 11th!

At first when I saw this app, I thought about the number of times I take group shots of people. It is a pretty low number so I didn’t see the need to load it on my iPhone.

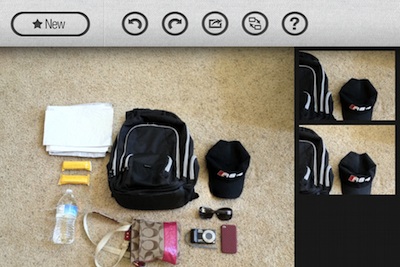
Last weekend I was taking a photo for a collector’s site about the things to carry when walking big outdoor shows. When I went to use one of the photos later, I found that the strap of the backpack was showing in one photos where everything else was perfect. Another photo the backpack was better but there was glare on a couple of the object. Normally, I would set out to handle the glare. Instead, this time I went looking for that Group Shot app I had seen earlier.

With an option like GroupShot, it does remind us though that taking an extra shot or two is pretty good idea. If I had been taking photos of groups of people, I could use GroupShot to find the best parts of all of the shots and merge into one! Having seen that the app GroupShot is FREE till March 11th, it might be an item to add to your iPhone camera bag now to have when you need it later!
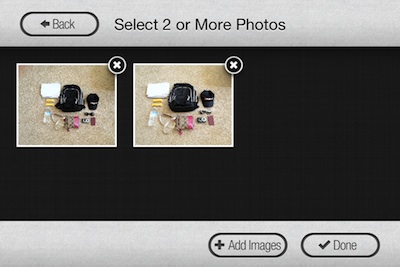
Back to the collector’s bag shoot. GroupShot can be used to take pictures or you can import shots in from your iPhone’s photo library.

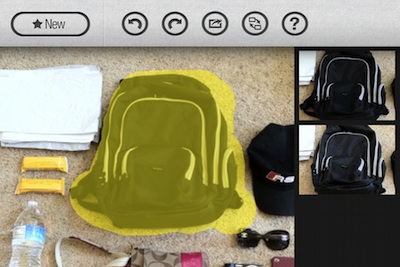
Choose which photo will be the core photo to have other ‘better’ parts added too. GroupShot supports two finger zoom in/out so you can do better precision work. Highlight the part of the photo you want replaced.

Now choose which of the photos you imported has the part you want. GroupShot automatically replaces the highlighted part of the photo with the same area from the chosen photo. You can repeat if you have other parts of the photo to replace – like a group photo of five people could be the best faces from all the photos taken into one final photo.

The finished photo can now be saved to the camera roll, attached to an email or shared on Facebook/Twitter. One item to note about Group Shot is that the end photo is 800 x 600, so great for sharing online and posting to a Web site, but a bit small for printing. Works pretty well, and the ‘free’ through this weekend isn’t bad either!

HDR FX for the iPhone Photographers should really be getting a lot more attention!

Over the last week, there has been a lot of press around Camera Awesome. A free iPhone photo app that isn’t so free. Offering a sampling of features, then requesting 99 cents per grouping (10 groups) for more features. Since it is offered by SmugMug, the extensive extra charges isn’t being as negatively covered as it would be if it was an app by a smaller developer.

So, onto a positive iPhone photo note… a app that is 99 cents and that is all. Full of simple to advanced filters and many fine tuning options – no extra charge! It’s a quick, easy to use and inexpensive option that does what it claims it will.

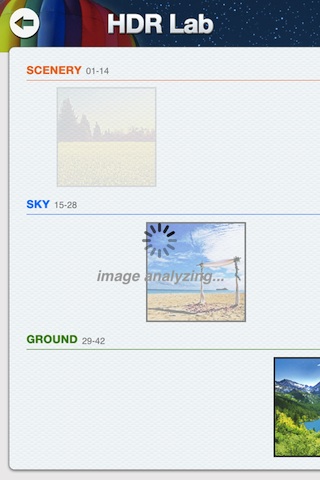
The app, HDR FX, accepts taking a picture through it or bringing an image in from your iPhone’s photo library. Cropping options are first, then the app does an analysis of the photo. Full disclosure – if I could have one feature added it would be to allow the focus and exposure to be set separately when taking pictures through HDR FX like many other ‘all-in-one’ apps provide.

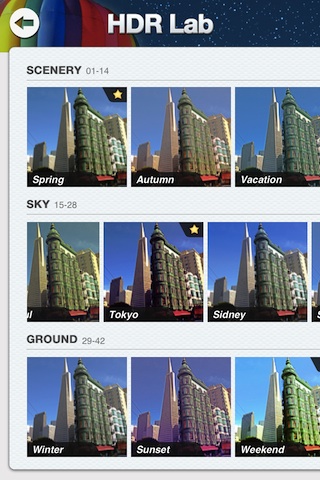
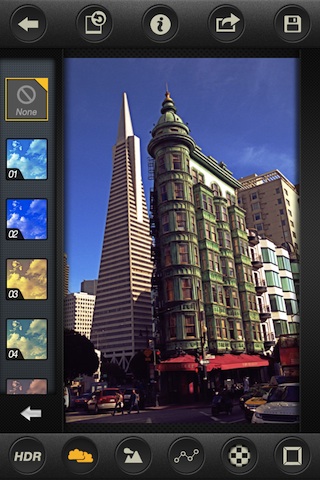
When HDR FX has reviewed the image for a few seconds, it comes back with all of the 42 included filters applied for your quick reference. The analysis results in a few having ‘stars’ as filters that seem to work best with the image your working on.

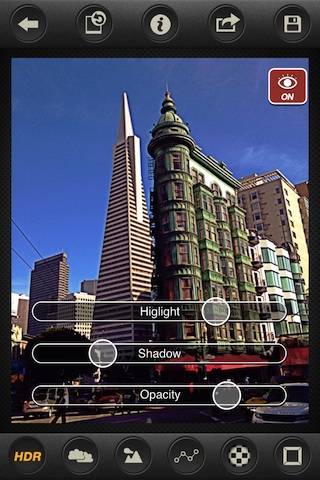
After you choose a filter (if you don’t like one, hit the back button), the option to apply and ADJUST the HDR effect is provided. The changes you make through HDR FX do appear right away so you know if your headed in the right direction. Undo, save (full resolution!) and sharing is also supported.

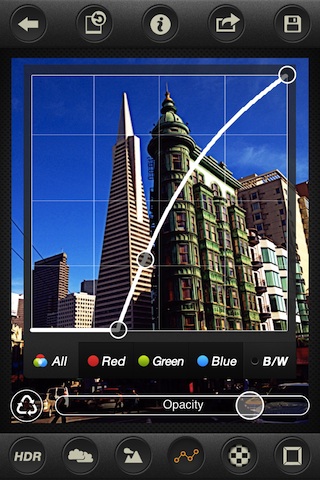
If you need to adjust the curve, there is that option too.

Adjustment/filters are offered in HDR FX to tune the sky and the ground. On both, you set the horizon via a draggable line, then choose the effect you want for the area. A great way to get my vineyard photos to be stronger colors on the field without causing the sky to go too bright. There are also textures and frames options to get the full impact you were looking for.