Recently one of my more often used ‘all-in-one’ camera apps was updated and I got plenty excited with it’s new power. Yesterday, it was mentioned to me that I may want to look at Camera Genius. The timing was right as it had just gone on sale so I thought I get the word out. Jumping to the end, I would have been happy to have paid full price for Camera Genius.
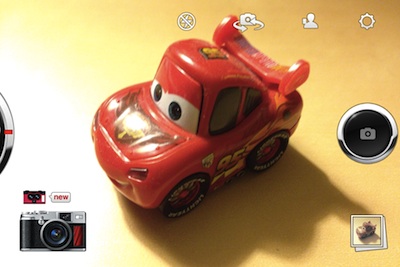
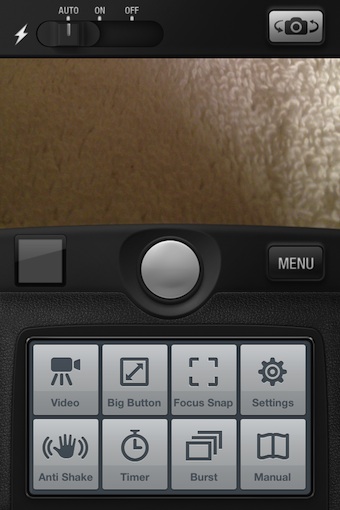
The opening screen is for getting directly to snapping a photo. Choosing the ‘Menu’ button will bring up a group of options that Camera Genius offers for better fine tuning your shots. Across the top is the flash control and the camera chooser. The lower box of buttons are for using Self Timer, Multi Photo Bursts, Anti-Shake, Big Buttons, Focus Point, Switch to Video and access to the built-in Manual.
Camera Genius provides the Focus and Exposure splitting capabilities through a circle/square graphic. Tap to focus then drag the square to set the exposure. If you don’t like the split, just double tap on the screen again to pull them to a single point.
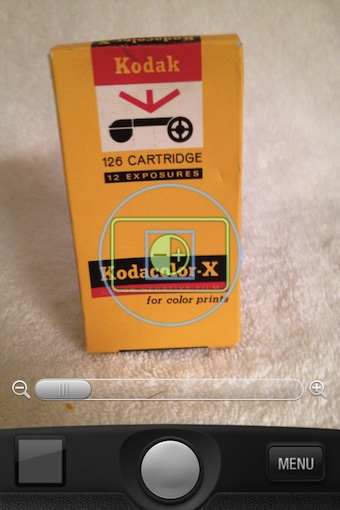
When a photo is taken, it is automatically saved to your iPhone’s Photo Library. Camera Genius doesn’t save it in a area of the app so you don’t have to worry about having your photos spread across multiple locations. The basic shot results in a 2448 x 3264 image.

After the photos are taken or if you want to edit a photo taken outside of the app, just tap the icon in the lower left corner of the screen to bring up the iPhone’s Photo Library. Choose a picture, then choose the edit button in the lower right corner.
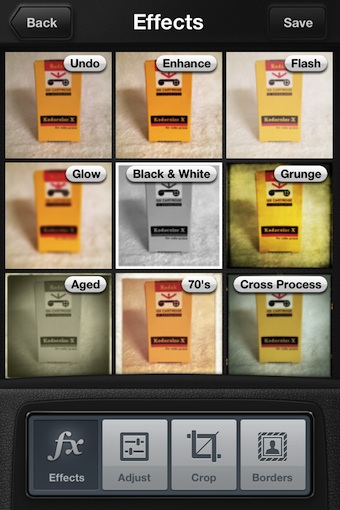
Several screens of Effects and Tuning Adjustments are all included in Camera Genius. Scroll the options up/down to view a thumbnail of the effect applied. Tapping one will show the photo with the effect applied, some have sliders to fine tune a bit. Cropping and a selection of borders is also available. Using the back button will take you to the previous screen without the filter effect being added, you must use the ‘apply’ button to set the filter in place. By Applying, the thumbnails will change to show effects/adjustments on the photo with the filter applied. This means that you can apply several effects without having to save the photo to your library and re-importing every time.
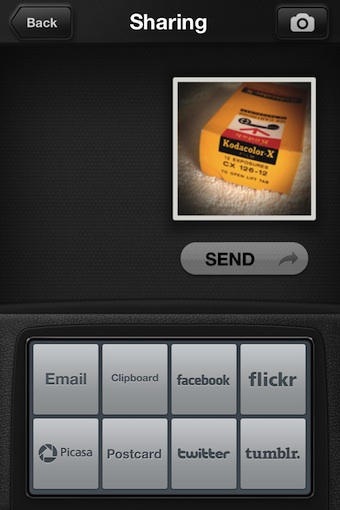
Sharing with Camera Genius has all the basics covered. Just saving the final photo creation saves it to the iPhone’s photo library. Through the app though, sharing through email, Web sites and social networks is a button tap away.
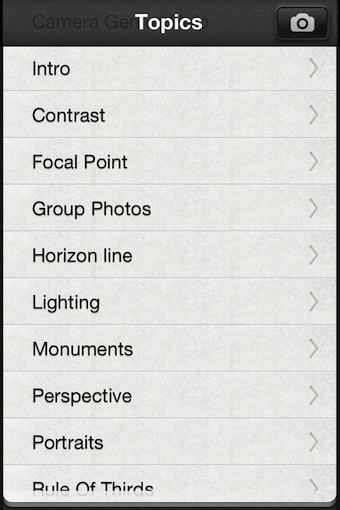
Built in is a nice how-to-use-this-app manual. It covers all the features and how to use them.
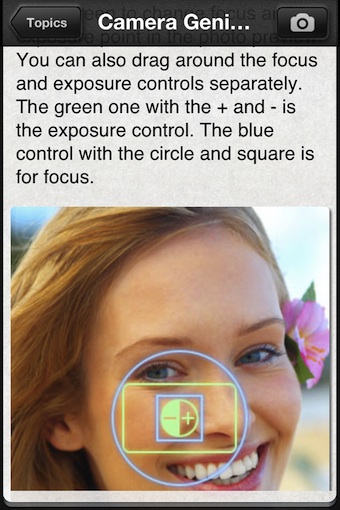
An interesting thing about that ‘help’ file in Camera Genius is that is actually a full manual too. The top topics of photography are covered, explaining what the technique is and how to get it. I will be adding this to my list of recommendations to new iPhone owners looking to get into photography.
