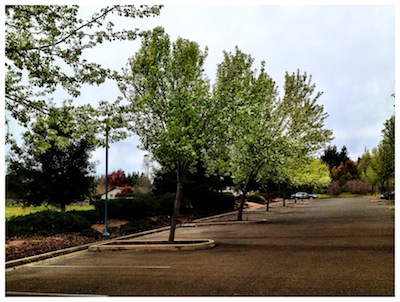
In my early days of shooting film, I spent a lot of money on film as I took shot after shot, learning about different focal depths. It wasn’t that I was going for a particular look, I was trying to learn what visual impact the photo made depending on how what part of the photo was in focus. Recently, there has been a lot of attention to the Lytro camera in the area of being able to set the focus of the shot later (and a lot of other light versus color cool technology). The idea is that you take pictures with everything in focus, then say what depth you want in focus and everything else blurs to give the brain the idea of how far away you where looking when you snapped the shot.
On the iPhone, you can set what depth a item is away that will be in focus by tapping it on the screen. This makes a big difference for close up shots but for photos more than a few feet away, everything is in focus. So, how do you get the effect of depth focus like you could do with a old film camera lens?
One way is through apps like AfterFocus. Many of the options just blur the background, similar to a TiltShift effect so read the feature list prior to buying. AfterFocus actually has some ‘smarts’ and offers a lot more options while being at the same price as those ‘simpler’ solutions. AfterFocus lets you ‘color’ in the area you want in focus, or you can use the Smart tool… which offers you the capability to put a quick line in the area of in ‘focus’ and ‘background’. The app will calculate the outline of the focus point area and split for you. Completely removing the back and forth of trying to get a perfect line around a object with your finger.
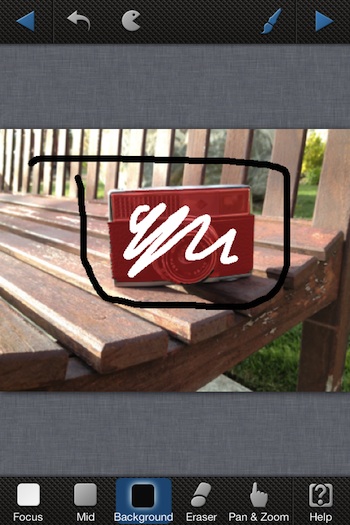
After the areas of focus/blur have been applied, you can fine tune the type of depth on the next screen. Here also, AfterFocus lets you add a vignette or sharpen the image to bring out the details.
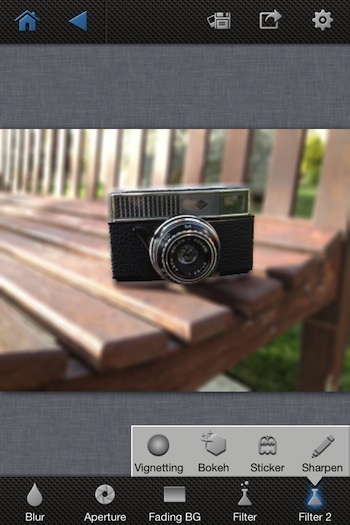
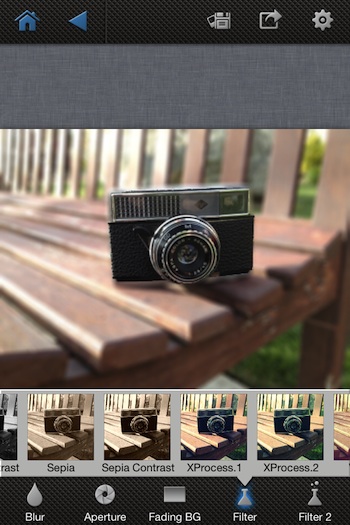
After the areas of focus has been chosen and applied, you can adjust the level and type of blur too. AfterFocus has a ‘motion’ blur option that will give a slight movement to the background like you would get if you where taking a photo of a person running. Also, below is the ‘Fading Background’ applied where the foreground is brought back into focus. Normally apps require you to go back and do that manually, otherwise you end up with a camera floating in air when the blur is all around it.
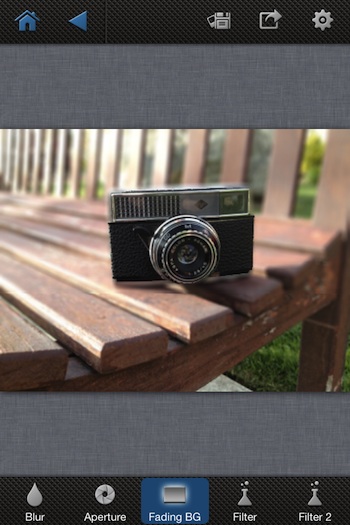
What iPhone photo app would be complete without ‘filters’? Yes, AfterFocus lets you apply a variety of filters too.
Normally I would cover what the output size of the image is at this point of the post. AfterFocus lets you choose that sizing, everything to small Web graphic to full resolution size. Sharing is through saving to the iPhone’s photo library, as an attachment to an email and through the social sites Facebook, Twitter, Flickr and Picasa.

