Tag Archives: swipe to change

For the love of EyeEm iPhone photo share, updates and Ambassadors

Many times, services and apps are reviewed by how they do against another solution. Feature lists, support, accessibility and user interfaces of a new app have get compared to another that people think set the standard.

In the world of iPhone photo sharing, many compare others against Instagram. While I agree, the solution is very well done, there are others with a different take on the sharing problem that are equally well designed, but they are different. EyeEm is one that is a service and an app where iPhone photo sharing is at the center. Photos on the service are generally quality over quantity. People post up fewer photos, seemingly picking only their better shots. Each photo is tagged with what the photographer was doing and where they were. The location being an item they choose from a list of nearby business options or enter their own instead of being locked to a Geolocator.

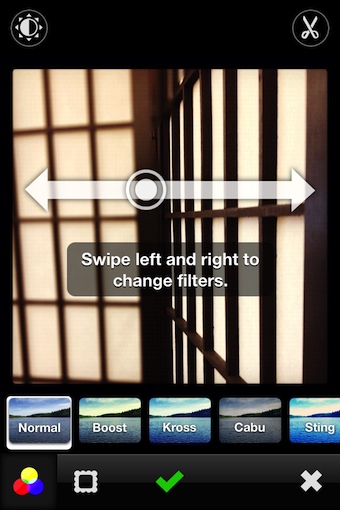
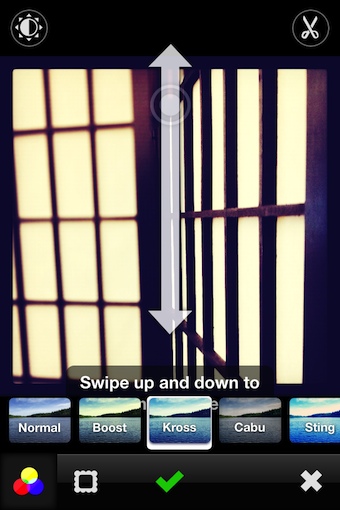
A recent update to EyeEm made the application of the included filters and frames easier. While I do almost all of my tuning outside of the app, the ease of selecting an additional filter is nice. Swipe side-to-side to move through the available filters (14), seeing each one being applied, reaching the end moves you back to the start. Swiping up/down takes you through the frame options (12) to outline the photo your uploading.

You can still use the buttons along the bottom to show the filters and frames which can be manually picked. Across the top of the ‘edit’ area of EyeEm is a ‘clarify’ like enhancement tool and crop.

To get the word of EyeEm out to more possible users and to gather with people to exchange set up and usage stories, EyeEm is now offering the opportunity to be an Ambassador.

While looking at the Ambassador information, you may want to look around a bit at EyeEm’s very nice tutorial pages. Full of instructions and inspirational photos.
Another Free iPhone photo filter app – Lens+ kicks it up a notch with Real Time Enhancements

Photo filters for your iPhone photography is a regular feature for every iPhone camera app in the store. A few offer the ability to see enhancement filters applied through the iPhone camera viewer prior to taking your photos. Today’s free app, Lens+ offers that real time filter application, and the app adds the ability to move through the filters without having to spend a lot of time tapping around.

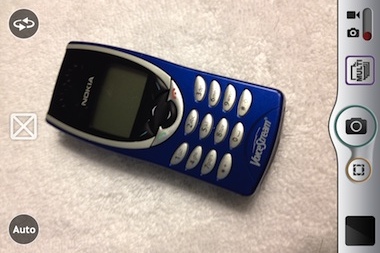
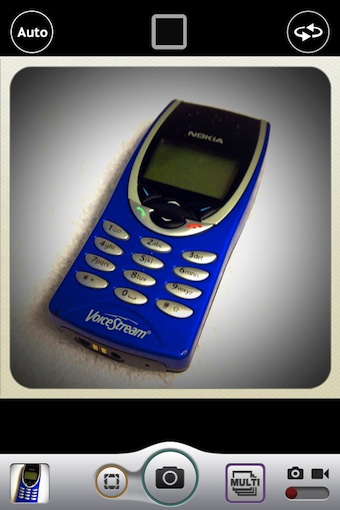
When in the Lens+ photo taking mode, all the usual camera tools that you would expect are showing on the screen. Zoom isn’t showing on the screen shot below, but is supported. As is video recording using the real time effect applied.

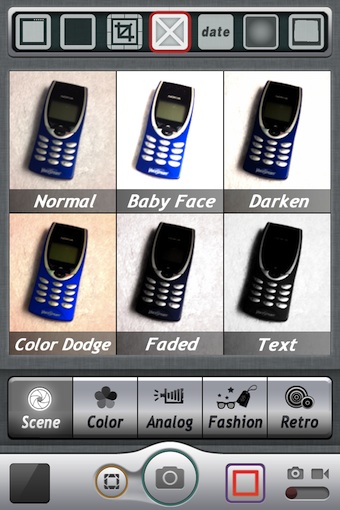
Choosing the ‘Multi’ button presents all of the filters effects supported in Lens+. Whatever the iPhone camera is pointed at will be showing on the screen with the enhancement applied.

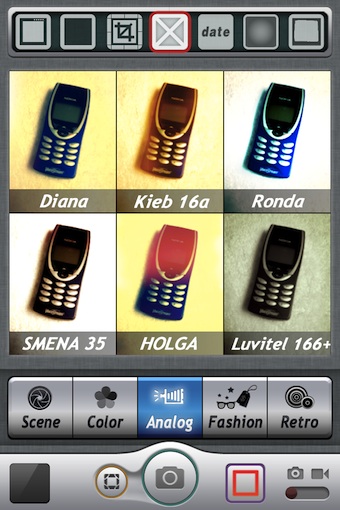
The Lens+ enhancements are divided across categories: Scene, Color Analog, Fashion and Retro. All of the 6 effects in each group are included. Choose one to apply and return to the photo taking view.

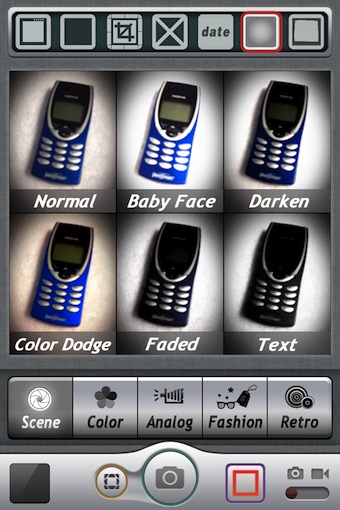
The top bar of the Lens+ overview area is for choosing the frame and cropping area that the photo will be taken in.

Back on the Lens+ main screen to snap the next shot. The chosen effect is shown applied, if it isn’t exactly what your looking for, sweep across the screen to see the next/previous enhancement. The button top/center is for changing the outer borders. Notice below the border chosen is for a square image rather than just a frame type.

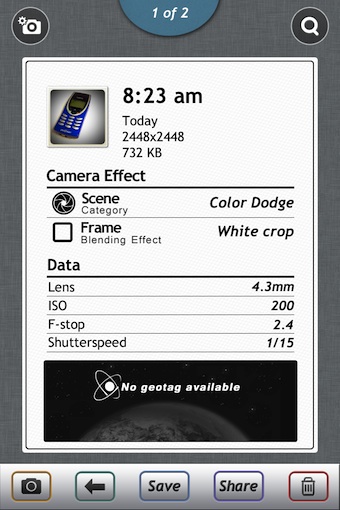
All photos save to the Lens+ photo album accessible through the lower left corner. Tap to view photos, save to the iPhone’s photo library, share via email or Facebook. Also, each photo carries full information to reference about size, location and effect used to take the picture.


Random iPhone Photo Filters… just swiping through to find what you like

I’m a precision kind of iPhone photo editor. I know when I take a picture that I’m going to leave as it or which app and which enhancement I will be using on it to get what I’m going after. A few times, I will use an app that provides the image I’m working on as thumbnails with the filters applied to get an idea how close one is over another.

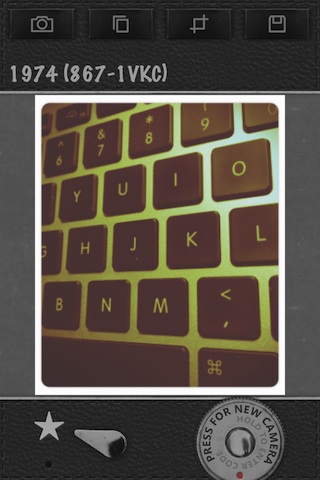
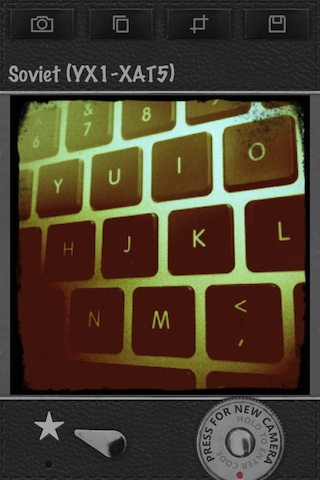
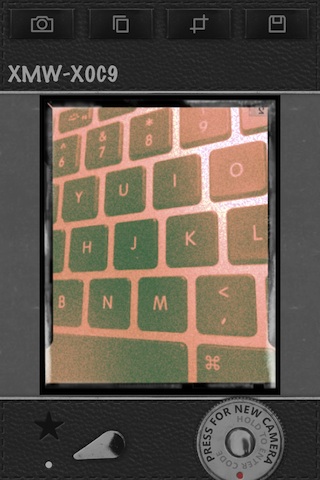
An app I came across this weekend goes the other way, to an extreme. Infinicam on the iPhone is a way to be shown how a iPhone photo you took will look with a filter applied in full size. What you don’t know is what the next filter may be. Infinicam literally assembles and applies a filter in the background amongst all of it’s variables, then shows you what they created. Of course you don’t have to choose the creation, you can sweep to the next one to see what is possible in a completely random different direction. This isn’t just twenty filters applied in random order, Infinicam uses the many bits that make up a filter and scrambles, then applies for your viewing.

If you prefer not sweeping through one random filter effect to the next, you can use the camera button in the lower right corner. Tap the button for Infinicam to apply the next effect.

If you like the filter effect but not the frame, swipe your finger up the screen to cycle through the Infinicam frame options.

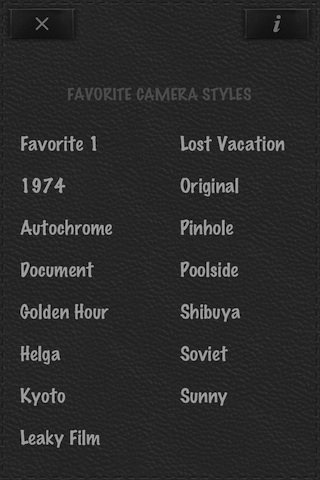
If there is a camera style you prefer, there is a list available to jump to photo filters created using that as a starting point. Notice that this is the area that any filters you saved as Favorites will be accessed to use again.

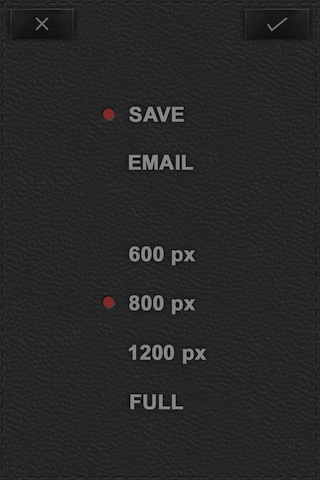
The image you choose can be saved to your iPhone’s photo library in a variety of sizes. A photo taken with the iPhone and saved at ‘FULL’ was 2448 x 3264. If you choose to email the photo to someone, the email includes the code of the bits that made up the filter. They can just insert that code into a copy of Infinicam on their iPhone to apply the same filter.