Category Archives: Taking Pictures

Taking photographs with the iPhone

Free iPhone Retro Camera with Film – Popular Lomo Cameras on your iPhone

I mentioned the Pudding social photo share service earlier. There is also a Pudding Camera, that seems to be a big secret. Non of my iPhone photographer friends seem to know anything about this fun little app.

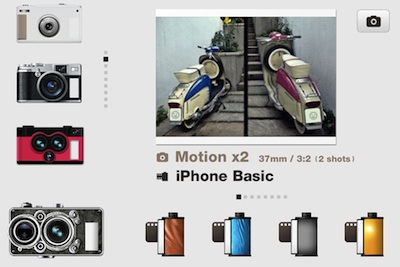
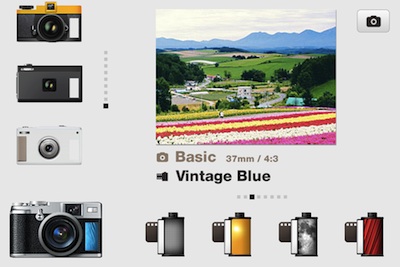
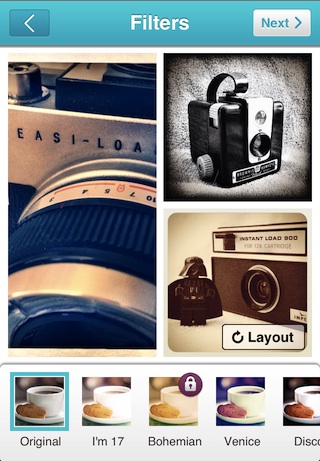
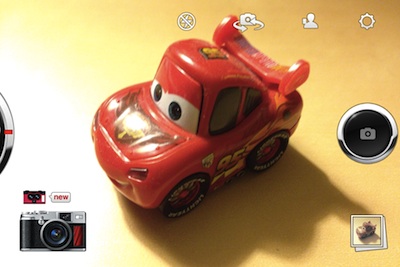
Pudding Camera offers a variety of ‘retro’ cameras that you may recognize by their Lomo names. Also, instead of filters, the app has ‘film’ that gives the same effect as adding a filter. Choose a pair to use and snap away.

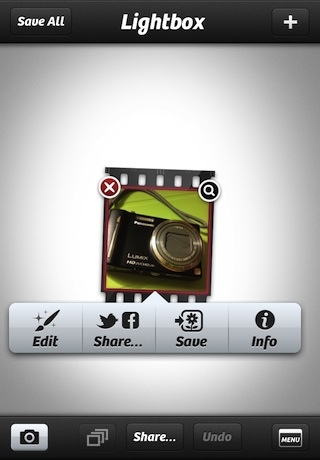
After photos are taken, they are added to a library within the Pudding Camera app. Go to the area via the thumbnail image in the lower corner. Photos are shown in an overview of thumbnails, opening a single image gives you info about the camera/lens used to capture the photo.

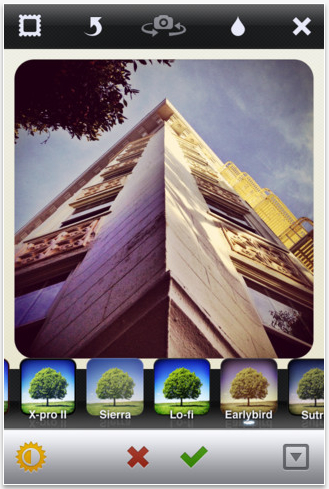
Swipe up/down on the left through the Lomo ‘like’ camera and across the film area for the different Pudding Camera film filters. The window showing the result of matching the camera/film together is nice.


The resulting Pudding Camera photo can be saved to the iPhone photo library or shared on the Pudding.To, Facebook and Twitter social services. Output photos are 1280 x 960.


Full Featured iPhone Camera App – Camera Genius – on sale today only

Recently one of my more often used ‘all-in-one’ camera apps was updated and I got plenty excited with it’s new power. Yesterday, it was mentioned to me that I may want to look at Camera Genius. The timing was right as it had just gone on sale so I thought I get the word out. Jumping to the end, I would have been happy to have paid full price for Camera Genius.

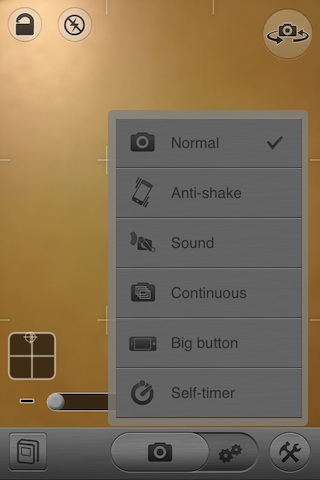
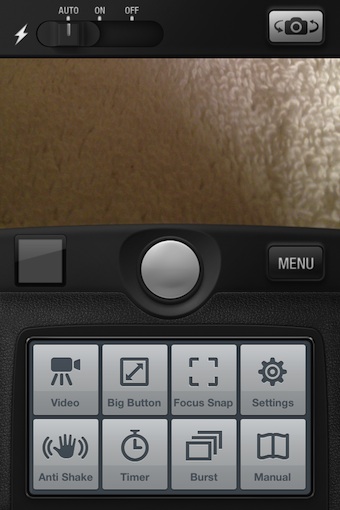
The opening screen is for getting directly to snapping a photo. Choosing the ‘Menu’ button will bring up a group of options that Camera Genius offers for better fine tuning your shots. Across the top is the flash control and the camera chooser. The lower box of buttons are for using Self Timer, Multi Photo Bursts, Anti-Shake, Big Buttons, Focus Point, Switch to Video and access to the built-in Manual.
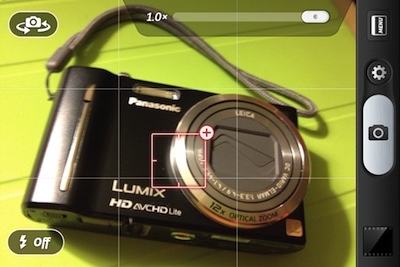
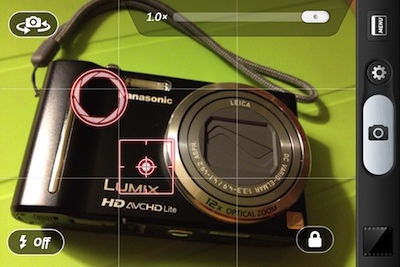
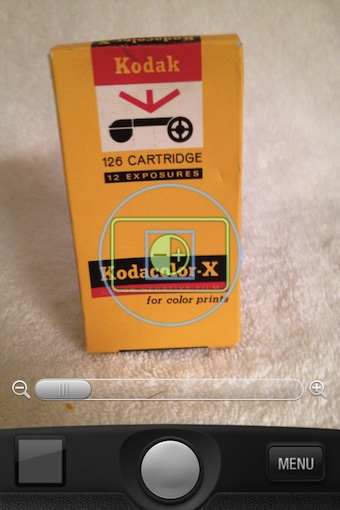
Camera Genius provides the Focus and Exposure splitting capabilities through a circle/square graphic. Tap to focus then drag the square to set the exposure. If you don’t like the split, just double tap on the screen again to pull them to a single point.
When a photo is taken, it is automatically saved to your iPhone’s Photo Library. Camera Genius doesn’t save it in a area of the app so you don’t have to worry about having your photos spread across multiple locations. The basic shot results in a 2448 x 3264 image.

After the photos are taken or if you want to edit a photo taken outside of the app, just tap the icon in the lower left corner of the screen to bring up the iPhone’s Photo Library. Choose a picture, then choose the edit button in the lower right corner.

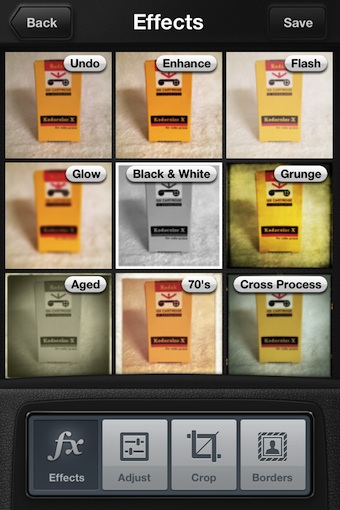
Several screens of Effects and Tuning Adjustments are all included in Camera Genius. Scroll the options up/down to view a thumbnail of the effect applied. Tapping one will show the photo with the effect applied, some have sliders to fine tune a bit. Cropping and a selection of borders is also available. Using the back button will take you to the previous screen without the filter effect being added, you must use the ‘apply’ button to set the filter in place. By Applying, the thumbnails will change to show effects/adjustments on the photo with the filter applied. This means that you can apply several effects without having to save the photo to your library and re-importing every time.
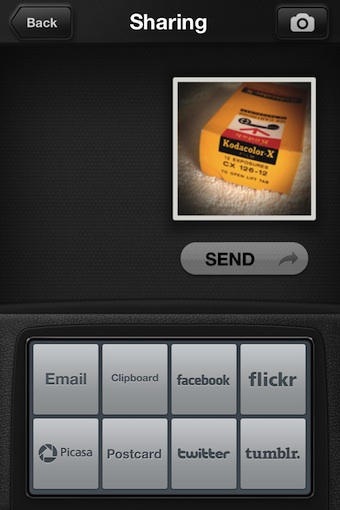
Sharing with Camera Genius has all the basics covered. Just saving the final photo creation saves it to the iPhone’s photo library. Through the app though, sharing through email, Web sites and social networks is a button tap away.
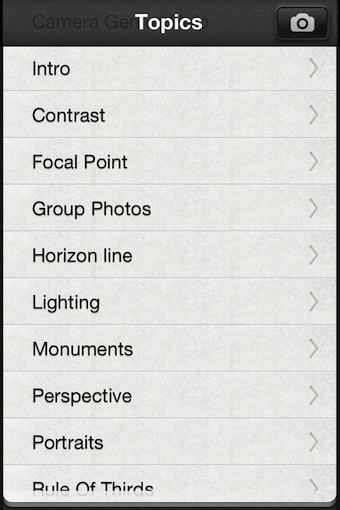
Built in is a nice how-to-use-this-app manual. It covers all the features and how to use them.
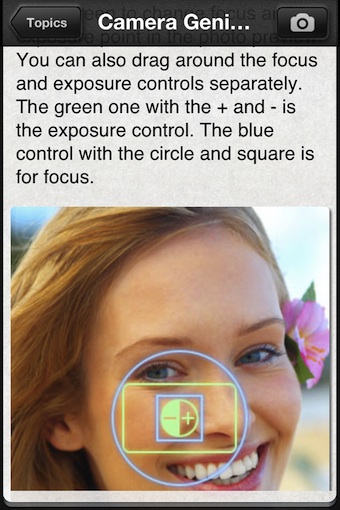
An interesting thing about that ‘help’ file in Camera Genius is that is actually a full manual too. The top topics of photography are covered, explaining what the technique is and how to get it. I will be adding this to my list of recommendations to new iPhone owners looking to get into photography.
 

Cool night iPhone photography app… but I seem to be missing something

I have played with a few apps that claim to help with night photography. They either hang the shutter open longer or they won’t take the photo till the camera is perfectly still. Either way, a tripod is a must.
I happened across a app today, Night Shot-Handheld, that has a different take on getting better night shots with the iPhone. It works by taking several photos very quickly, then stitching them together. It actually works very well.

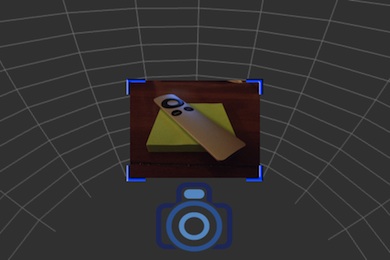
The interface is similar to that of panorama iPhone photography apps. There is a grid area that the area you wish to take the picture of must be inside of. Only when the image is in the grid will the shutter button appear.

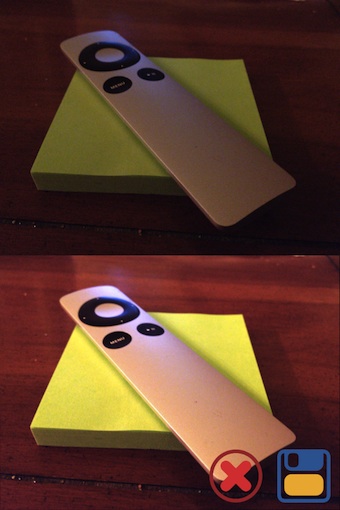
Tap the button, a bunch of snaps happen and your presented with a two image view. A darker and an amazing well lit one. At the bottom of the screen is a ‘x’ to start over and a ‘floppy’ icon to save the image to your iPhone’s photo library.
This is the part I’m not understanding… the saved photo that Night Shot-Handheld produced is just like the preview, two images in a single photo. It measures 852 x 1280. The lower photo is actually pretty impressive, but what am I supposed to do? Maybe crop out the upper part. But, then I’m left with a rather small photo.
As a comparison, this is a photo I took at the same time. It is the HDR version of what the iPhone camera would normally take. Like I said, the Night Shot-Handheld app does a nice job. Being taken with the iPhone 4s, the photo is 3264 x 2448.


Fisheye Lens for iPhone goes high resolution

The Fisheye effect is one of those items you never need till you need it. There has been times when looking at a doorway or bridge that I think I would really like to produce a fisheye view of the scene. I have played with a variety of lenses but they all do a bad job at the outer edges.

I was reminded of my desire for a method to do better fisheye photography via my iPhone when I saw an ad for a new app this morning. Upon looking over the reviews, most saying that the app had issues even creating anything, I moved on. Bad reviews are effective, which is why I like the lite versions with in-app Pro upgrades. I get to play with the app a bit before I actually spend the money. Money which is very difficult to get back if the app isn’t what it was saying it was.

OK, back to the Fisheye effect. Looking further, I found the app Fisheye Lens. What set it apart from the others I looked at was the resolution of the output photos.

That is the back camera, the face one is lower, but that is the camera and not the app’s fault.

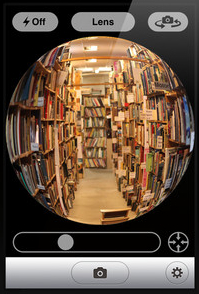
Fisheye Lens shows the effect applied in real time. Although fun to do, I don’t recommend walking around the house just looking through the iPhone’s screen, you will bump into things! At the bottom of the image is a slider which is used to play a bit with the lens curvature. The cross hair button brings the image out to the edges (something you can’t do with a physical lens!).

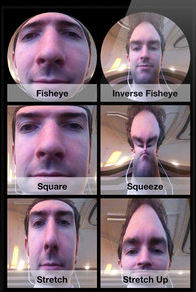
There is also filters/effects included in Fisheye Lens. I can’t think of when I might use them but they are handy to have in my pocket when the need hits me.


Big updated to one of my favorites iPhone Photography apps – Camera+ goes 3.0

Camera+ gets used a lot. That is to say, I have a large selection of iPhone Photo apps I use every day. They go from very specialized to very generalized. There are a couple that are ‘do it all’ apps that I can shoot with, as well do my final edits in. Camera+ is one of those apps that I shoot with very little but turn to when I do edits  and enhancements. It isn’t like SnapSeed for tiny spot changes, rather for editing the full photo.

With this update, I will be using Camera+ for more of the actual photography too.

The list of updates to Camera+ is long, thus it is now version 3.0 (on sale right now!). To start, the ability to have focus and exposure as separate spots is now supported. What is nice is the way it was implemented. When frame up a shot, you may tap the screen to choose the focus area like normal. In other apps, you have to choose if you want to do a focus spot or a focus/exposure difference. Notice the small ‘+’ on the focus box, just tap that if you want the split.

Camera+ doesn’t require you decide up front through a setting if you want to do focus or focus/exposure, you decide on the fly.

The filter selection continues to be a quality area of Camera+. With three screens of 9 filters in each area, there is also an additional specialized 9 for a 99 cent in-app upgrade. The best known of the enhancements offered by Camera+ is the ‘Clarify’ which received an upgrade in this update too. Below is a shot that was cropped, clarified, and filtered within Camera+… whole process took less than a minute including saving to the iPhone photo library.

Knowing that not all people work the same, Camera+ lets you: take a single picture and edit it right away, take multiple pictures to edit later and import one/many photos from the iPhone’s photo library to edit.

Along with the above, the folks that created Camera+ have opened an API to other app developers that may want to use the photo editing powers they provide. Titles like WordPress, Tweetbot, Twitterrific, Foodspotting, and Twittelator Neue apps.

The sharing speed has improved too… done via email, attach directly to a ‘message’ (cool now that Messenger works on the Mac too), through social services like Facebook and Twitter, as well now the creation of Web Links is supported.


iPhone photographers interested in video? FiLMiC Pro is free for a limited time!

Funny, I’m involved in the movie making industry, yet I record almost no video with my iPhone. I lean more towards taking photographs and playing with a snapshot of history.

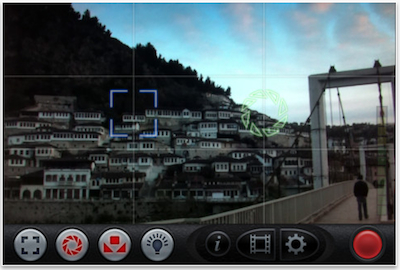
An app I have had on my iPhone for those times I do want to record video is FiLMiC Pro. I bought it the first time I saw one of the team’s creations using it on their older iPhone. It’s list of features is much longer than I will most likely use in the near future. As I keep playing with it around town on photo walks, the features start making more sense to get the movie effect I was hoping for. With FiLMiC Pro being FREE right now, if you have ever thought about doing video with your iPhone, grab it quick. Share directly to YouTube, DropBox, Vimeo, Facebook, Tumblr and even to a FTP Server

From the FiLMiC Pro Developers:

– 3 separate shooting modes
– 4 selectable resolutions
– 26 different variable frame rates
– Audio monitoring levels
– Stereo recording support
– Custom slate configurations
– Grids
– Front Facing Camera Support
– Import Button for easy editing
– Overlays
– Colorbars up to 15 seconds
– 6 different upload destinations
– 4 bitrate options per resolution

CameraSharp – it’s about taking the photo with your iPhone and not about filters – Today’s Free App

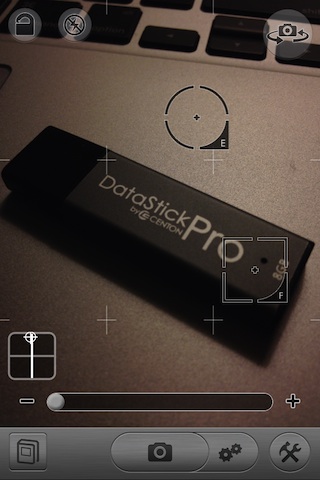
Getting back to actually taking the photos with your iPhone. Forget filters and frames and highlights and even cleanup. CameraSharp takes me back to the actual action of taking the photo and not the clean up. The (current free) app starts off by making it easy to do a focus and exposure area split. Instead of a single area that has to be dragged about, CameraSharp focuses where you tap with one finger and set’s the photos’ exposure where you tap with two fingers.

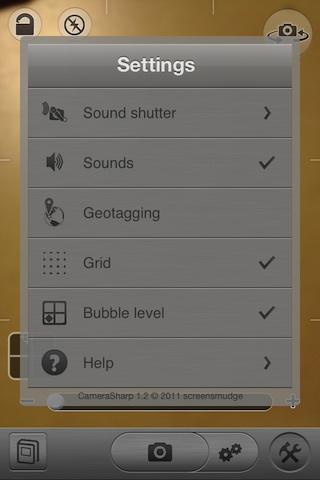
On the screen is quick access to a zoom slider and a nice level indicator too.

There is also a variety of photo taking helpers to use while taking your pictures available through the menu next to the shutter button. Each of the CameraSharp options have additional tuning like the Continuous offers numbers of shots and interval between the pictures in seconds.

The CameraSharp Settings area lets you turn on/off what you see while your taking your photographs.


Fast Two Photo HDR iPhone app, HDR Fusion free today only!

Just about every iPhone photo filter and enhancement app offers a filter for creating a HDR effect to your photos. There are a few apps that I have covered that take true two image HDR photos. One was HDR Fusion, that I had mentioned worked very fast… well, faster than most of the options I have used.

HDR Fusion is currently shown in the iTunes store for Free, today only.

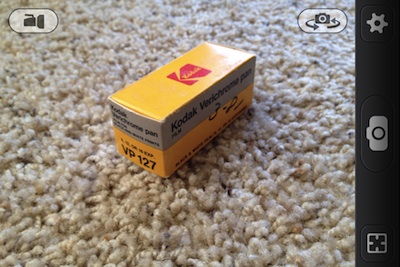
Launching the app provides the option to use either of the iPhone’s camera and a shutter button. The box button allows you to have HDR Fusion automatically or manual take the photos. Also, to use multiple images from the iPhone’s photo library for merge/HDR processing.

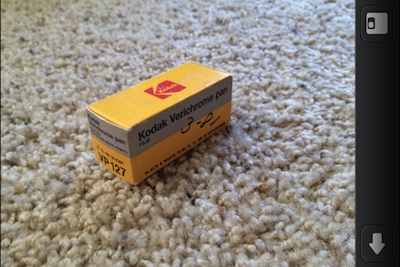
After the photos are taken, HDR Fusion presents the final photo with a button to save to the iPhone’s photo library.

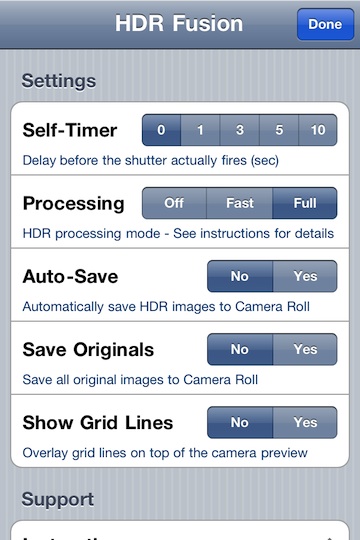
Settings in HDR Fusion allows for adjusting how long till the photo is taken and if you wish to auto save original and final photos.

The finished photo out of HDR Fusion is a huge 3237 x 2436… most HDR apps produce a much smaller size.