Some iPhone photo editors start out looking the same, then you dive in deeper and find your first impression was right, it’s the same ol bunch of filters wrapped in a different name.
A free (doesn’t say how long it will be free) solution I was playing with this week is Photo Power. It is very much not the ‘norm’. There are very few simple filters to add, everything else is adjustable and the final result is full resolution even on the 4s!
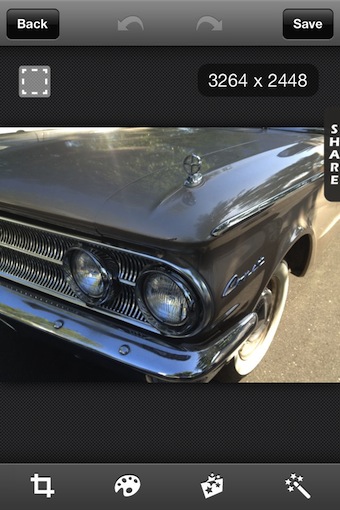
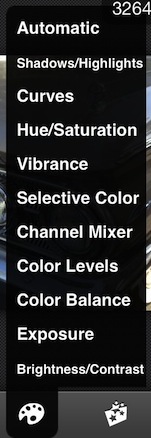
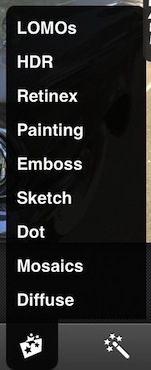
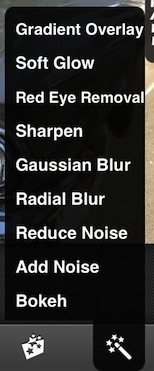
Across the bottom of the window is Crop/Resize/Rotate, then three scrollable lists of tuning options to use with the photo. Photo Power lets you apply and undo as many as you like so you can spend a lot of time getting just the right effect or clean-up the particular photo is in need of.
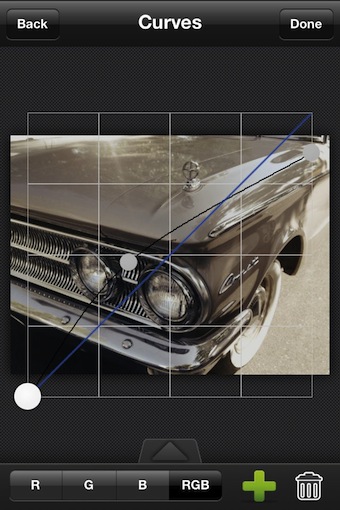
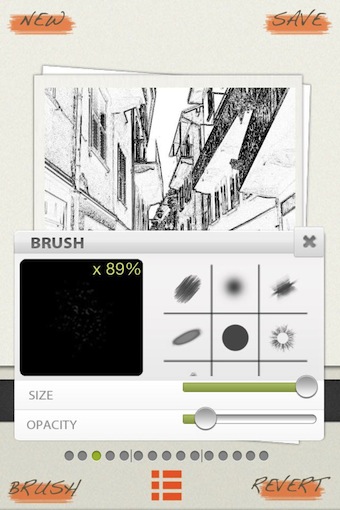
In this case, there are a few ‘filter’ options given to apply. Choosing one applies the effect right away. Photo Power lets you tune the amount of the filter applied by sliding your finger left/right across the image. Note the ‘%’ for the effect being used in the upper right of the screen.
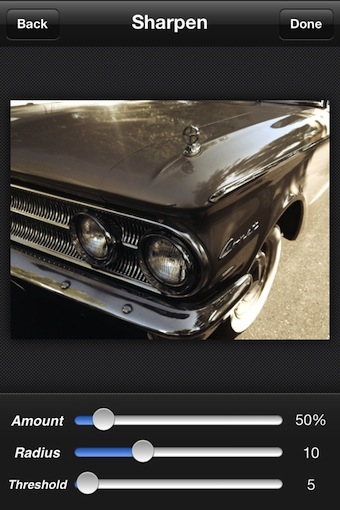
Where needed, Photo Power offers sliders to tune the enhancement application to your photo.
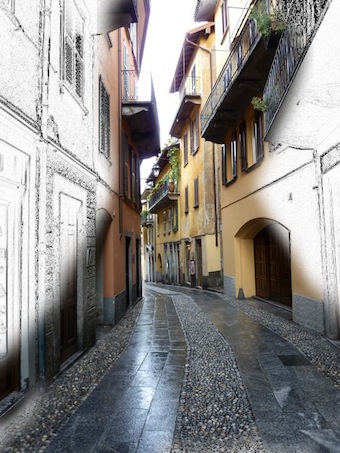
Yes, I am applying many different filters and adjustments to the photo without having to stop and save a copy of the image along the way.
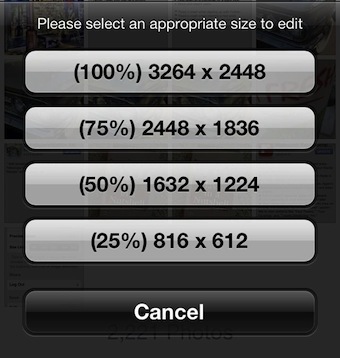
If you know you don’t need a full size image at the end, why take the time for an app to pound through the process of working against a high resolution image. But, your output need isn’t always the same from one photo to the next. Photo Power gives you the option when starting off your editing to choose what size you will need at the end so you work with the image in that dimensions from the beginning. The small, the faster the adjustments are applied, letting you move onto the next tuning option.
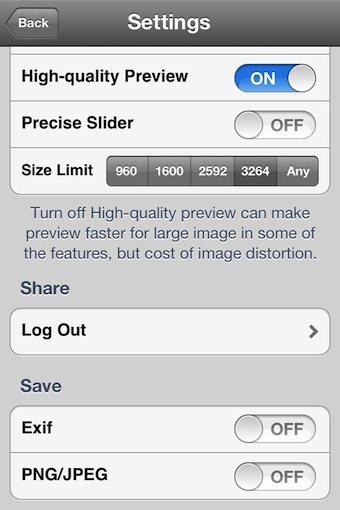
The Settings is all about getting the finished product your looking for. Usually this area in other apps is filled with how to tune the camera for taking the picture. With Photo Power, the adjustments are in the area of what you expect out of the app when done. Preset your resolution as well the file type. EXIF has to be chosen if your concerned about keeping all of the meta data with the image. I used JPEG so I didn’t have to convert the image later when posting to 500px.
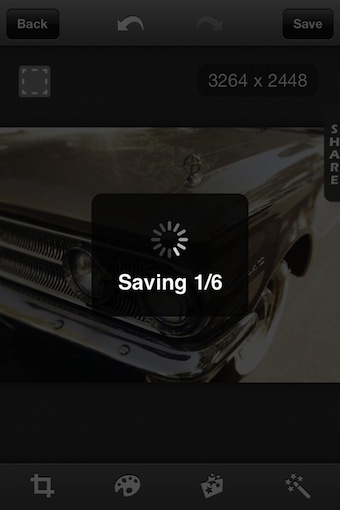
When the ‘save’ button is hit in Power Photo, the app sets out and applies all of the adjustments you made to create a final image. I had chosen to save the final as a JPEG using the above setting. This meant that the finished creation didn’t show up right away when I exited the app, but it did show up on full resolution after a short time.
