Tag Archives: available filters

Snap the shot, create the product and sell… all through your iPhone

I have mentioned a few services that I use with the photos I have taken to share as well to create products for selling. One service that offers a lot of products that you can have your photos applied to is Zazzle. To help end-to-end, they offer a store you can set up where Zazzle will collect the money, assemble and ship without you having to do anything more than the initial product set up. The service pays you the percent you chose to mark up each product. Some of their offerings seem like people can get a great deal, others may appear a bit expensive and people may explore other options with no fault of your photo work.

To help their service offerings expand, and to make it easier for you to create new products, Zazzle product creation can now be done via a free iPhone app (works in 2x on the iPad). Start by taking a photo via Zazzle Instant or importing from your iPhone’s photo library.

The only placement and sizing of an image is possible on the first import screen above. Once you have chosen ‘Choose’, Zazzle Instant will automatically place the image on the product. Moving the image around a bit like you can via the Web site interface would be nice. For now, a bit of experimentation via the move/scale screen is needed to get the image placement as you had envisioned.

There is a variety of filters available to apply to you image. Sweep left/right to see each effects impact on your photo. Normally, I would have the photo edited prior to getting to the point of using Zazzle Instant, but it’s a nice feature to make sure there isn’t a small tweak to get a bigger visual impact to the finished product.

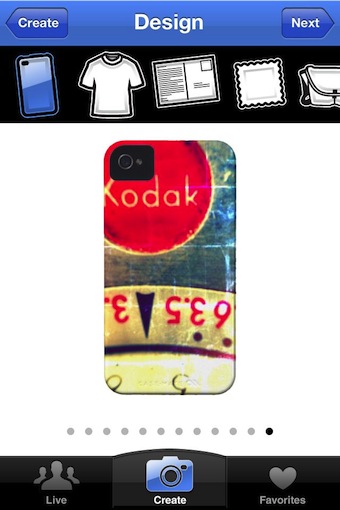
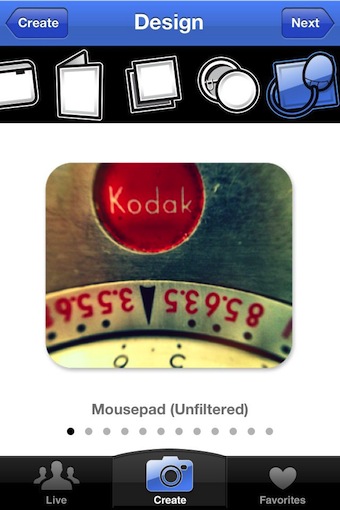
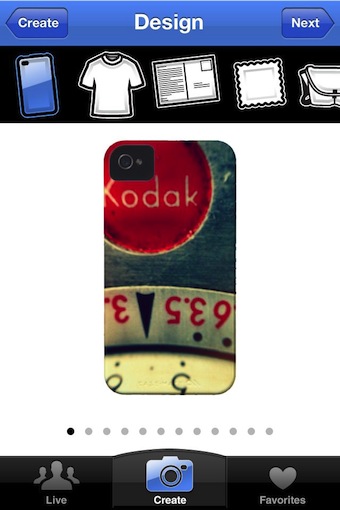
Sweeping across the upper bar takes you to other products that can have the image applied to. The list is small compared to what your able to do via the Web site, but Zazzle Instant hits all the major product types. Select one to instantly see the product with your photo on it. Since you can’t move the image around the product within the app, some photos don’t work well with some products.

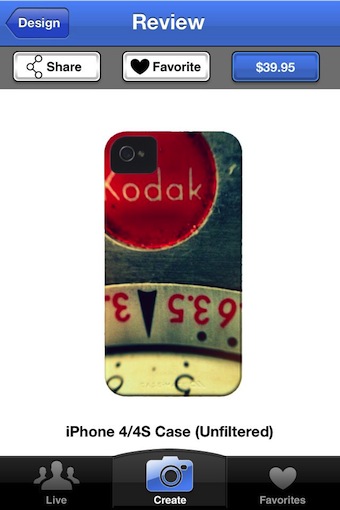
When you have the product as you like it, the ‘Next’ button makes it a reality. Zazzle Instant lets you share a link with others as well add it to your own ‘Favorite’ area on your iPhone for quick reference later.

The products you create on your iPhone do not need to live in a void, they can be added to your current Zazzle account. This way, products you create on the Web site or on your iPhone will all be grouped in the same Zazzle store with your ID. The product does appear pretty quickly on your site with a default mark up and category, you can edit on the Web site to better personalize the experience without causing the product link to change.

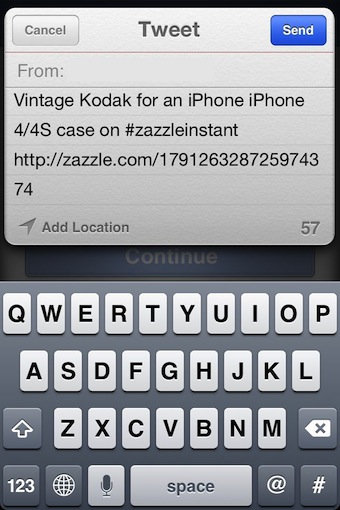
It’s the little things that make me happy! If you choose to share the news with others of your creation, the Zazzle Instant app lets you do it via Twitter, Facebook or an email. I like that you can edit the text prior to sending, other services just fire out what always appears to be an ad for their service rather than a call to action for your followers.

When finishing up your product design, Zazzle Instant allows you to ‘Allow in Live’. This is an area that is accessed through the left ‘Live’ button. Anyone using the app can sweep through a variety of creations from other users of the app. Both for inspiration and for purchasing opportunities.

 

EyeEm for iPhone goes 3.0 with new UI but stays true to quality over cute

No matter how you like to view and share your photos, there is a service available for you to do it just the way you like. EyeEm is a free social photo share service that I enjoy due to the type of people hanging out on the service. The service attracts photo uploads from folks that are leaning more towards creative photography rather than what they had for lunch. Of course, there is a little of everything, good and bad, but for the most part EyeEm attracts people interested in sharing work over fluff. Which means, there is no gamification involved. You don’t get extra likes because you liked someone else’s photos, you don’t get points because you commented on a photo of a washed out family photo… which means there is less quantity and more quality.

When I saw that EyeEm had done a complete UI rewrite, I was a bit afraid to launch the app. Happily, the business model has not changed, just the buttons and navigation through the app. The developers didn’t ‘sell out’!

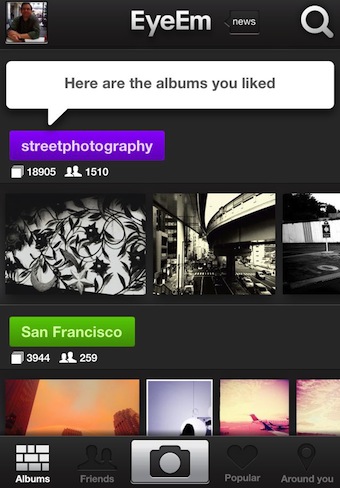
In the original EyeEm, you had single line lists of different photo groups, based around two tag groups of where your at and what your doing:

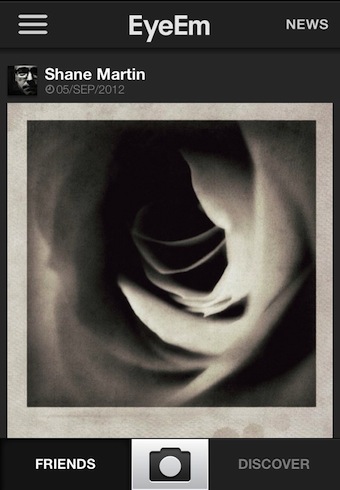
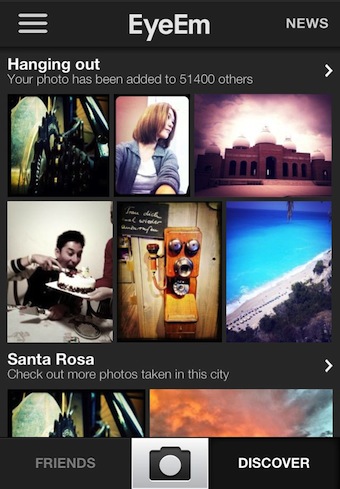
Launching EyeEm 3.0, the new app starts right off with a view of the photos recently uploaded by Friends. Notice the reduction from 5 to 3 buttons across the bottom of the screen. News access and Quick Navigation buttons are still across the top of the screen.

Similar to a feature very popular in Pinterest, depending on the direction of your scrolling, information on the screen changes. Scroll down and EyeEm 3.0 hides the navigation bars so you have more room to view the photos. Only the photo owner and tags show. Scroll up and the nav buttons re-appear.

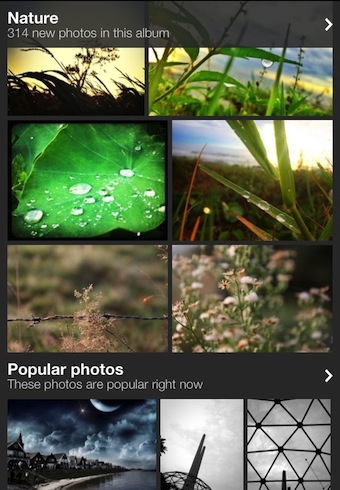
The groups of photos view has lost the colored header text box in favor of the name and quantity of photos in the group information. Scrolling up/down will still take you through the groups. The less ridged look of the Discover area is a small change that creates a whole new feel. The auto hide/show of the navigation buttons happens on this view too.

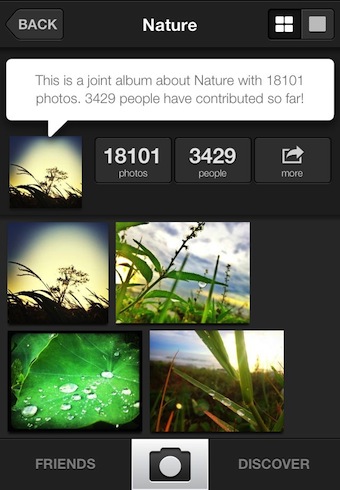
Click any group header to be taken to that area for viewing the photos specifically tagged to your interest. You can view in small thumbnails or full size views through the buttons in the upper right corner.

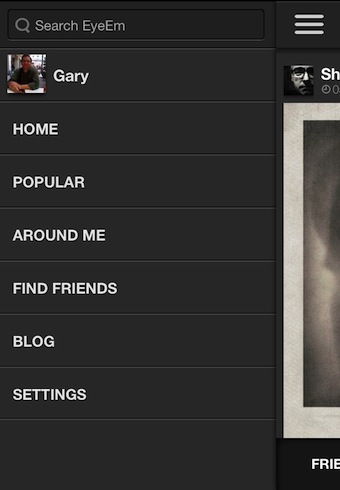
Settings and quick access to the different areas is via a slide out from the left – accessible via the button on the upper left corner on the Home screen. This shows the groupings of photos broken down to a particular area of interest. Note that if you use EyeEm a lot, you can go to the settings area and see/clear the cache of photos saved to your iPhone.

The ‘What’s new?’ area is still available to see the news from the EyeEm staff as well recent adds to the groups you follow and notification of others liking your photos. The layout doesn’t make it easy to see a whole bunch of people ‘liking’ your photos since the experience is about cross sharing with like interests rather than how many people tap the heart button.

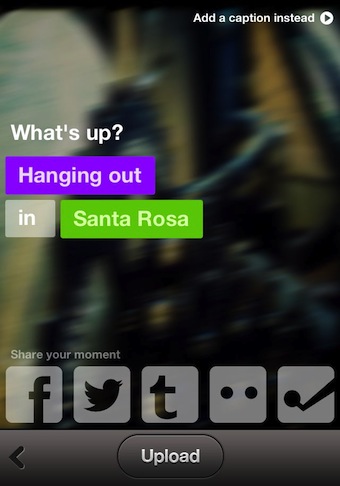
Uploading an image has not changed. Choose the camera button at the middle bottom of the screen then snap a shot or upload one from your iPhone’s photo library. There are a few filters available to use, that isn’t the thrust of the service though. When you choose to upload, you are offered the ‘what are you up to’ and ‘where were you at’ tag pickers. To cut down on having to go to other popular social sharing sites to show off your creative work, there are buttons on the screen that will post from within EyeEm 3.0 for you.

If you view your list of photo groups via the Discover button right after uploading a photo, the groups you added to will appear at the top of the list. Exiting the area and returning will have these intermixed with the rest of the areas, no longer at the top. EyeEm makes it easy to add multiple photos to an area, just go to the group via the arrow to the right of the header and add your photo.