Extract a single image from a movie on the iPhone, Using the Free app Photo Extractor

It’s a simple request, which I honestly thought was built into iOS5 on my iPhone. The ability to grab a single frame from a video I recorded with my iPhone and save it as a image. While I found the feature wasn’t built in as hoped, it can be done via the free app Photo Extractor.

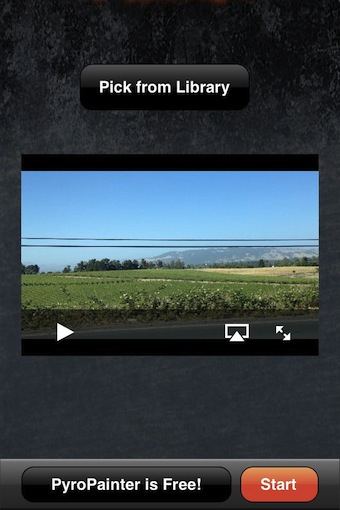
Sit down, this is going to go fast! Upon launching Photo Extractor, choose a movie from the app’s library or from your iPhone’s ‘photo’ library (the app will only show videos in the library so you don’t have to sort through all the photos).

Slide your way through the video via moving the yellow box in the lower video stream image. The main window shows you what that image will be when extracted. Tap the screen or magnify glass button to have everything else disappear and the image go to full screen to be sure you have what your looking for. Then, just tap Photo Exposure’s lower right ‘Save’ button. The image is saved to your iPhone’s photo library. The screen doesn’t change so you can continue and pull out as many images as you would like without having to start over every export. The video remains intact as it was prior to starting this process.

I used a video I shot by accident (thought I had it in camera mode) in this post. Imagine if you had a party or event that you shot video at, now you can pull out photos from the video to keep. No need to watch the whole video to catch a glimpse of someone or a place. Remember that you are slicing a image out of a video though so it isn’t as high as resolution as if you had take it as a photo with your iPhone. Photo Extractor gives you a 1920 x 1080 image to work with… huge by yesteryear’s limitations.

Tumblr 3.0 for the iPhone, now upload posts with high resolution images

When sharing your iPhone images, why not add a bit of text and start your own blog? Tumblr is a popular free blog service that I had one of my first technology blogs on. The service is quick to set up and easy to update directly from the iPhone. The free app, to post from the iPhone to the free service has been handy, but not that intuitive for the new user.

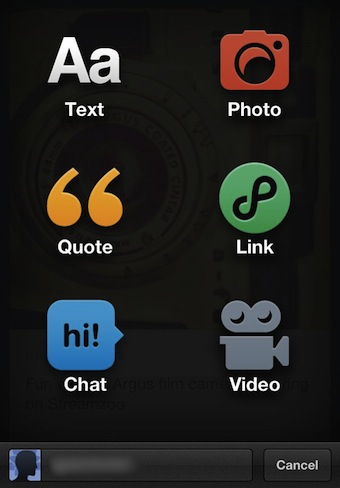
Happy news today with the release of Tumblr 3.0. Still free, but now much more user friendly. Launching the app takes you right to the different types of posts you can create, all with the iPhone while on the go. Photos are no long reduced by Tumblr, the 3.0 version of the iPhone app will post high resolution photos for maximum visitor impact.

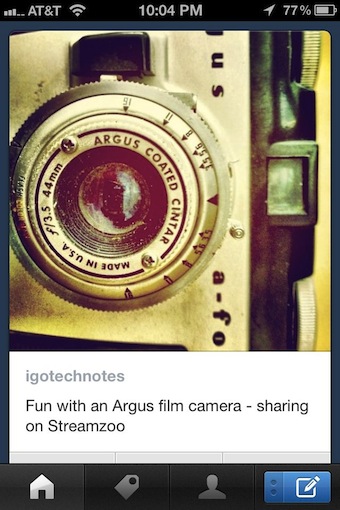
After you choose an image, add post content text. The ‘Options’ button lets you choose the blog to post to, handy if you have multiple Tumblr blogs. You can also choose to hold the post for more edits before pushing to your site. Interesting is that you can also customize the URL the post will appear within your site… tuning to meet the needs of the search engine.

After you post, your taken to the blog in ‘mobile’ view. Tumblr does offer a few extra options across the bottom of the screen to view and search for Tags on posts/images on other people’s Blogs. And, if you want to follow other peoples blogs or see who is following yours, access that information from the little ‘profile’ looking button. The bottom right corner is your ‘new’ post button.

Lesson for better Depth of Field Photography – works for iPhone too

This is post isn’t about an app for the iPhone, rather a nice video I saw that covers tips for better Depth of Field photography. I have covered a few apps where you can add the effect to a photo on your iPhone after you have taken the photo (eg. AfterFocus). You can still use those apps or use the focus ability of many iPhone camera apps (like ProCamera), there is more involved than just grabbing a photo and blurring out everything but your key object.

The video, Depth of Field by Cristina Mittermeier is about framing an image to tell a story. This can apply to taking the photo with your iPhone perfect when you hit the shutter button or later in your editing. The tips hold true whether your using a digital camera, a film camera or a iPhone. I’m not able to imbed the video here on this page, but you can jump over to Digital Photo Magazine and watch it there. Hope you find it as helpful as I did.

Paint FX brings fine tuning of iPhone photography effects

Paint FX was recently updated with 3 HDR and new background effects. It is an app that I use from time to time and really should have mentioned it before. You know, I just use it and don’t think about it.

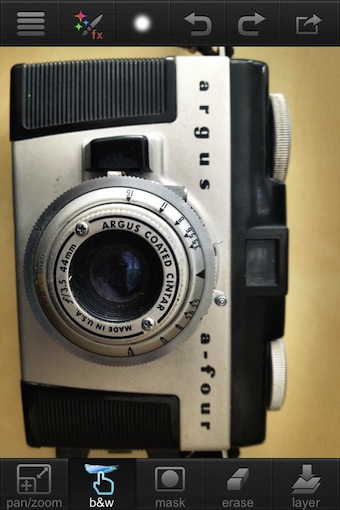
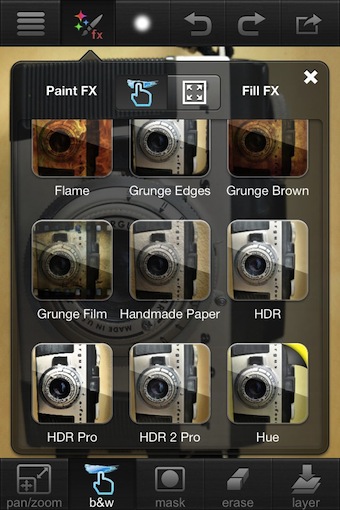
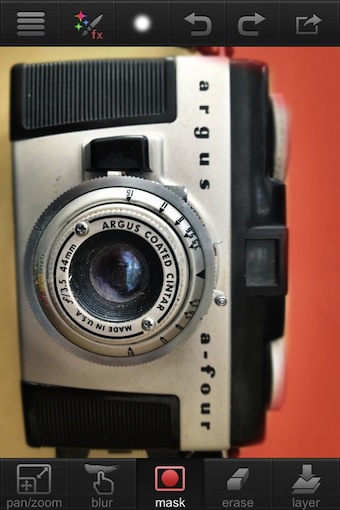
What makes Paint FX a bit unique is that you don’t have to use their filters and effects on the full picture. Instead, you paint the effect onto your iPhone pictures to apply only where you want. It means a bit of a rethink about enhancements to photos. Instead of applying a filter or effect to all parts of an image at one time. Paint FX has you create a layer, then choose an effect to apply only to parts you need the enhancement on. Brighten on area, sharpened, darken, make it vintage, HDR, grunge and more… 71 in all.

Import photos from the iPhone photo library, Flickr or Facebook.

From the effects button, you can choose effects to paint on or apply to the full image at one time (Paint vs Fill). Sweep up/down through the options, choose to use. Next to the Effects option across the top bar is a button that offers the fine tuning of the brush tool: size of tip, strength and brush edge. When ‘painting’ on the effect, you can undo/redo. Along the bottom, the eraser will let you edit the filter edge to get more precision around corners.

Almost every effect can be fine tuned. In fact, many allow for multi levels to get the most out of every filter. So, 70+ filters/effects can each be adjusted to make it almost impossible to count how many options are included in Paint FX.

I’m surprised more apps that allow you to apply selective effects don’t offer a ‘mask’. As you can see here, when on you can see exactly where the effect is being applied. This is a must where you altering an image with a soft effect that you may not be able to see on the small screen. If you want to see your work on a ‘big’ screen, your in luck… Paint FX is a Universal app so when you buy for your iPhone you can install on your iPad too at no additional charge.

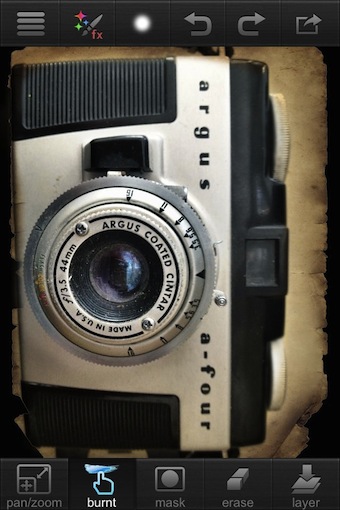
Yes, you can use an effect to apply to the outer edge of an image that will create a frame appearance. Like I said, when using Paint FX, think outside of the box!


iPhone Photogs, ProCamera is on sale during WWDC

Just a quick shout out that ProCamera for the iPhone is on sale right now. The developers state that it is for the World Wide Developers Conference, which I don’t know if it mean in advance of the Monday kick off or through to the end of the event. So, if you have been thinking about grabbing ProCamera since I last reviewed in, now might be a good time.

Refresher on ProCamera. It is the app that lets you quickly get to fine tuning adjustments during the actual photography step. You can split your focus and exposure key points via a simple draggable square/circle interface. You can quickly jump to an enhanced zoom and anti shake setting so you can get ultra close ups. And, amongst many more camera features, you can zip off a bunch of photos in high speed via the Burst option. When you have the photo taken, ProCamera has a wide variety of fine tuning tools to get the most out of the images prior to saving to the iPhone’s camera role or sharing out through your favorite social sharing services.

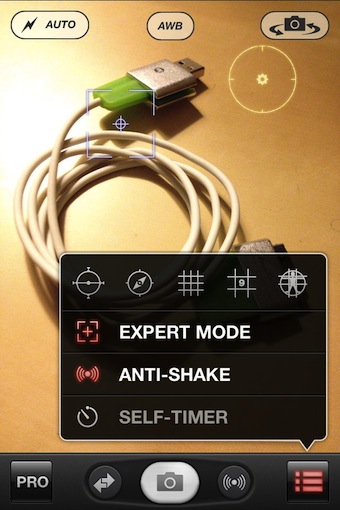
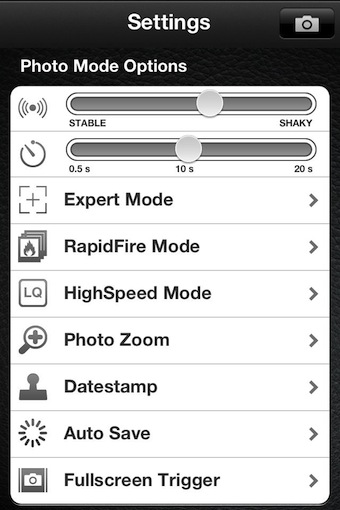
Outside of the quick access tools via the camera view, ProCamera offers several screens list of items that you can adjust to get the tools to work the way you want them to. Choose the level of stabilization checking, turn on/off the volume button as a shutter release, adjust what additional data is saved with each photo taken, select framing for videos shot through ProCamera and to use Expert mode or not… just a few in the list to get the iPhone camera working for you rather than you adjusting to it.

As promised, a easy to use Polarizer Filter Lens for the iPhone

If you have done much photography with a full size film camera, you most likely have a polarizer filter to screw onto the end of your lens. It cuts down on reflections on shiny objects so you don’t have the sky reflecting off of cars and you in the picture when photographing a window. A lot of pictures I take with my iPhone involving shiny objects, I want the reflection. But, I have longed for a polarizer filter to place over the iPhone’s lens those times I’m trying to take a picture through a window such as when doing street photography.

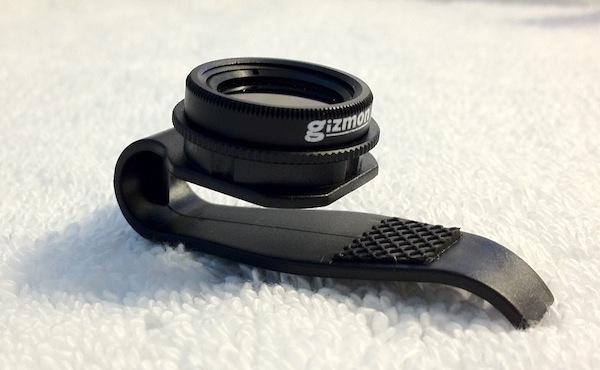
I mentioned recently that I found a ‘clip-on’ Fish Eye lens for the iPhone that also came as a twist Polarizer filter lens option. There are a couple full case Polarizer options, but we already covered how that option didn’t meet my needs as I don’t need the lens on all of the time so the case would be on/off all day. Instead, I spent the last couple weeks playing with the Gizmon clip (sold by Four Corner for $25 US) on option, and I can say it works as I had hoped.

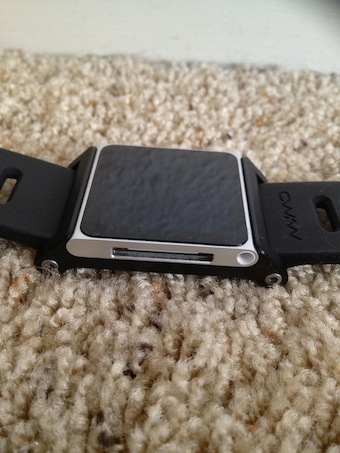
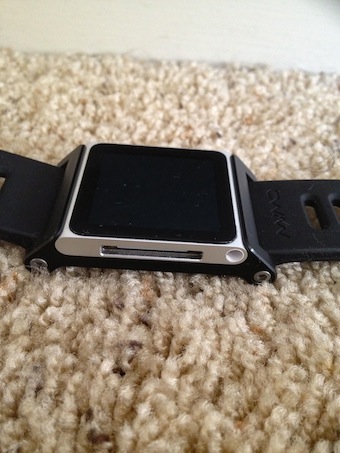
The Polarizer filter lens turns freely so you just twist till the reflection goes away. Below is a shot with the lens on (image is the same without the polarizer clipped on) the iPhone but not adjusted to effect the reflection on the Nano’s screen. Notice the dark area in the upper right corner of the image, that shows I didn’t have the lens aligned correctly (just didn’t take a second to pay attention when I took the shot but it is something that should be watched for). The lens opening to go over the iPhone camera (or iPad or most other smartphone cameras) is plenty large to take a picture without any edge distortion.

A quick twist of the Gizmon Clip-On Polarizer lens and the reflection goes away…

Your iPhone photography stats automatically created into an Infographic for you

If you get info on your photos you have taken with your iPhone, you can find out where you took the image, the time, if you used a flash, what app you used and much more. All you have to do is go through each photo to see that information.

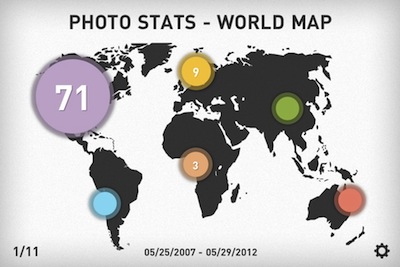
Or, you can use a new app to analyze all of the photos on your iPhone and create a Infographic to show you all that data through graphic images. Photo Stats Infrographic Creator is that app which gives a fun view to that data you normally have to dig for.

The data collected is for photos on your iPhone only, in my case that is a few saved folders from trips and events, a Photo Stream (max 1000 photos) folder and the main big iPhone Photo default library

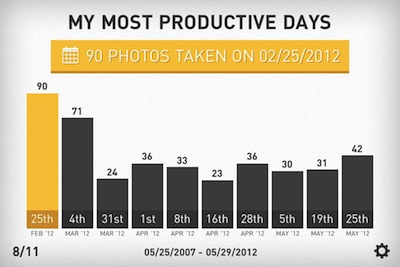
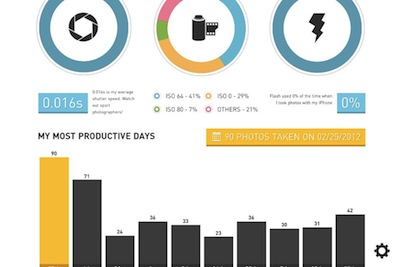
Notice the number in the lower left corner, showing that there are 11 information graphics created by me and the Photo Stats Infographic app. My part was waiting a few minutes as the app went through all of the photos, barely enough time to grab a cup of coffee! Looking at the graphic below, I need to go back and see where I was on Feb 25th!

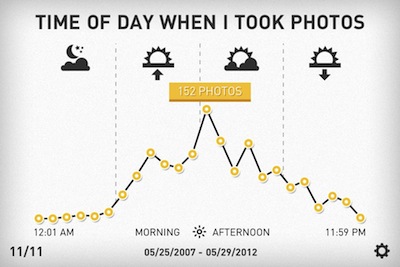
It would appear that Photo Stats says I spend most of my time taking photos in the middle of the day. Makes sense since I shoot a lot on my daily lunch walk.

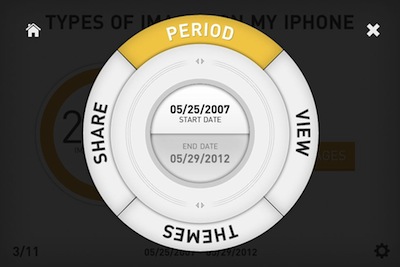
Choose the settings gear in the lower right corner to get to a few fine tuning options. Turn the circle to get to the options, the upper most is the one your adjusting. Period is for start/finish photo dates, Share is for sharing your infographic to social services, Themes has a couple options to customize the look and finally ‘View’ is how the graphics layout.

If you choose the ‘View’ option, you can have the data appear side-by-side to swipe through or all of the data stacked, which makes more sense if your going to share for others to view. Photo Stats Infographic Creator a must have app I’ll use every day? No, but it will be fun to use from time-to-time to get an overview of the photos I have on my iPhone.

Doing something with your iPhone Photographs beyond social sharing

If your like me, you take a lot of pictures with your iPhone’s camera. There are the snaps and there are those that you know are destine for more. While sharing photos with friends via social services get you pics out in front of others, there really is much more that can be done with them.

Getting your photos into galleries can be difficult, unless of course you want to pay. There are online ‘Gallery’ services that you can post you picture to. If you do nothing, your photos are in with everyone else’s. A bit of promoting and effort on your part to create your own area on those sites can be a nice showcase. The services, like 500px will allow you to license your images for people to privately use. Many even offer to handle selling licenses of your photos to larger companies that will use them for marketing and other professional services. Be aware, the license photos must be over 3000 pixels across so you will need to be uploading full resolution photos from your iPhone 4s. You can post any photos to show your abilities, the size is only a factor for licensing.

I came across an interesting opportunity Rebekah Jacob Gallery, on their site they are requesting submissions of iOS photographs to round out their exhibit.

Be a part of an exciting summer project!  July 2012, we will organize an exhibit entitled Ways of Seeing:  Phoneography.  The installation will include no more than 500 photographs.  At least 250 of the photographs selected will be by artists on our gallery roster or artists in our our broader network who we respect as professionals.  RJG is proud to open the selection process to a larger audience and launch an open submission. -Digital submission deadline, June 3, 2012 @ midnight EST -Selected submission announcement, June 11, 2012 via email – See their site for specifics.

I have covered a few apps that let you create cards and products that a company prints and sends to you. You can send for free or sell your creations. The only negative is you have to pay for inventory up front if your thinking about buying any quantity.

iPhone Photos printed on cards and mailed… for you!
Your iPhone pictures infused onto scratch resistant aluminum

A optional service you may want to look at is zazzle.com . They provide you with easy to use tool to create products with your iPhone photos. Different from the services I was talking about above is Zazzle also lets you set up a store in their system (no charge) which will sell products created just-in-time. This means you don’t have to buy any products to inventory, Zazzle just gives you a percent of all sales on items carrying your images.

Take a picture with your iPhone, add a filter, share on Facebook…. Facebook gets their own camera app

Everyone is talking today about how Facebook bought Instagram and now has a light version of the Instagram app with some filters connected to Facebook. The Facebook folks mentioned back when they were first making the purchase that they were about to release a Free Facebook camera app that had nothing to do with Instagram. I have a tendency to believe them that this new app had no Instagram employee assistance. But, everyone mixes the two to get readers.

So, what is this Facebook Camera app? It is to the Facebook app as the Facebook Messenger app is to the full Facebook app. The Facebook Camera app is for viewing your friends photos, like you can do with the full app. The difference is though that you can do a little tuning of your photos before sharing.

When you launch Facebook Camera, your taken to a scrollable list of photos your friends have posted to Facebook. You can view, comment and like the photos as your scroll through them.

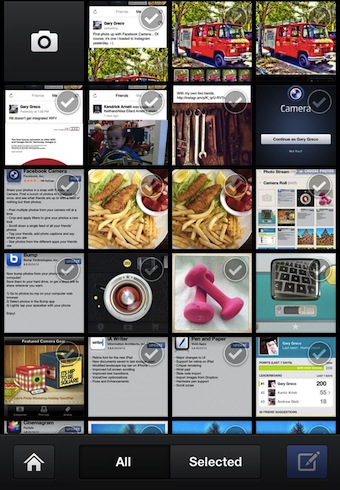
From the main screen of the Facebook Camera app, you can use the camera icon in the upper left corner to take a photo, or choose the row of images to be taken to your iPhone’s photo library. If you pull down the thumbnails, you will see a list of the different libraries you have on your iPhone to choose from. Select one or many photos to upload to Facebook.

Your chosen photos appears in a new enhancement area of Facebook Camera. Buttons across the bottom will; take you back to the overview of photos on your iPhone, Crop, the magic wand brings up filter effects to apply, and the blue button will let you add text then post to Facebook.

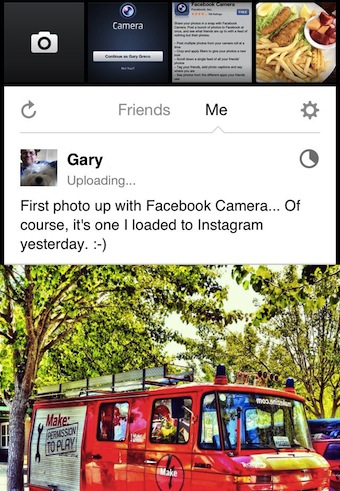
When you post your photo, it appears with the text you added in the ‘Me’ area.

Bump photos from your iPhone to your computer goes official, Open for all to use!

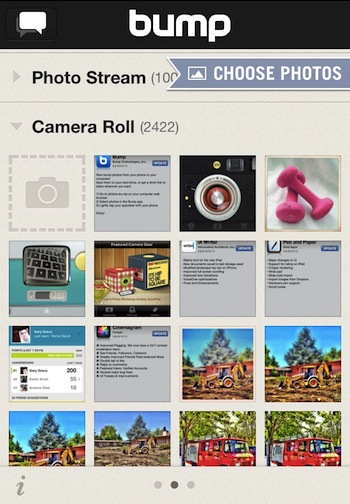
I mentioned earlier about playing with the public beta of Bump’s iPhone to computer photo transfer. It has continued to work well for me. The service works by launching a Bump provided Web site, having my iPhone connected to the internet over Wifi (doesn’t have to be on the same network as the computer), then tap the iPhone to the computer’s space bar. The photo(s) zip from the iPhone to the computer.

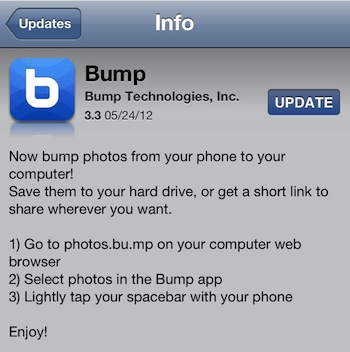
The fun has gone official today as Bump is now promoting it through their newest update. The Web address has changed from the one I was using previously, now: photos.bu.mp

If you don’t use Bump, when you launch the app, it starts with your contact info (editable) on the screen so it’s quick to Bump someone else’s iPhone and transfer your information. If you swipe across the screen, the next is the photos overview. You can select one or many photos to transfer to another iPhone or now (officially) your computer. Swipe again to go to a list of contacts that you can choose to Bump to another iPhone if you need to share a person’s name, address, and phone with other people (great around the office).