Category Archives: Editing

Editing pictures on the iPhone

Yahoo buys GhostBird Software which means no more KitCam and PhotoForge2

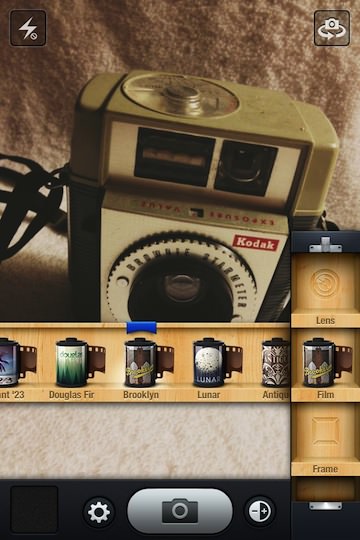
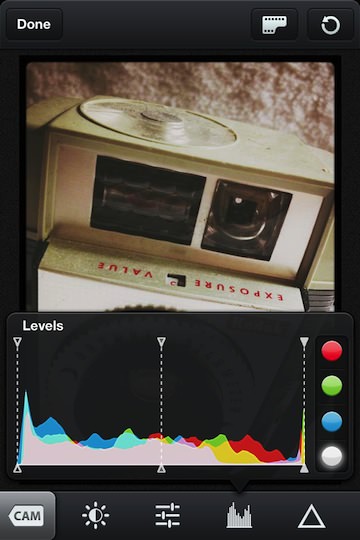
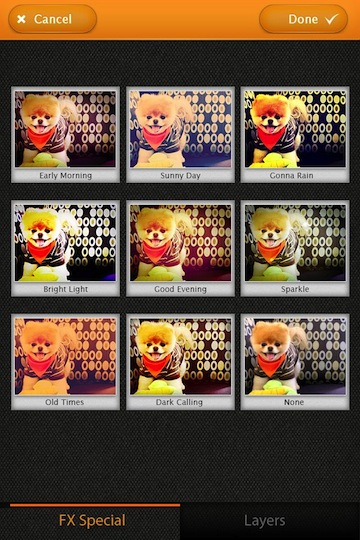
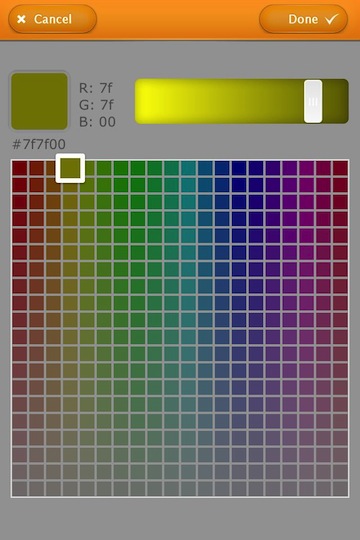
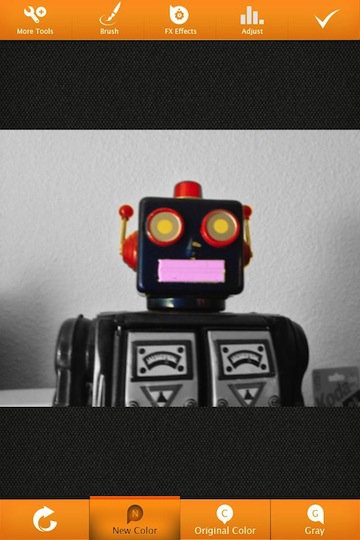
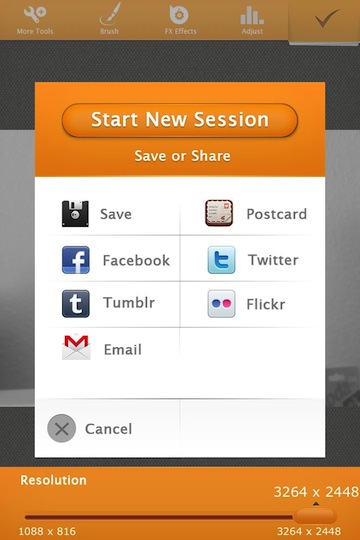
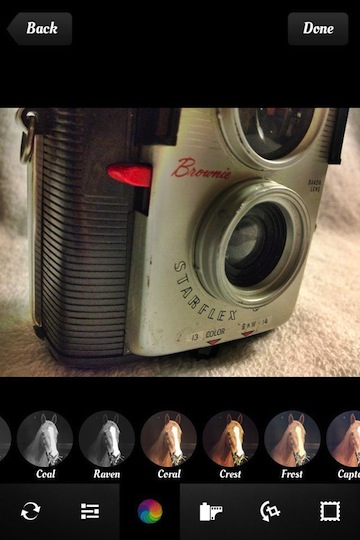
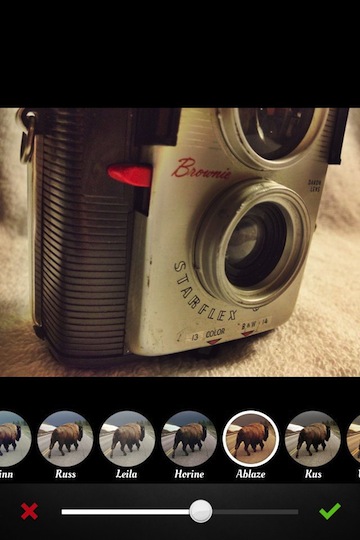
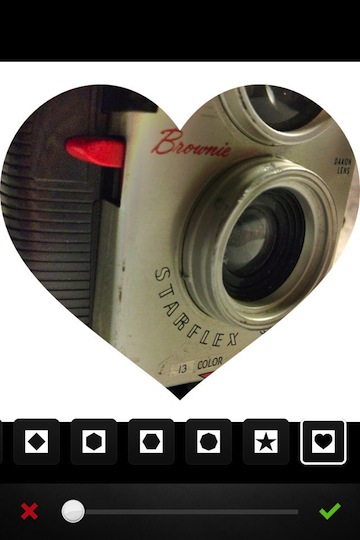
A quiet announcement happened today that many iPhone photographers may have missed. On GhostBird Software’s Web site is a page of text explaining that the development team has joined Yahoo to work with the Flickr team. The company is best known for PhotoForge, PhotoForge2 and KitCam. The last two has gotten a lot of press as well I covered it in the past. The apps all had lost of power for editing iPhone photos. More than just filters (arranged as ‘lenses’ and ‘film’), there was also fine tuning adjusters too.

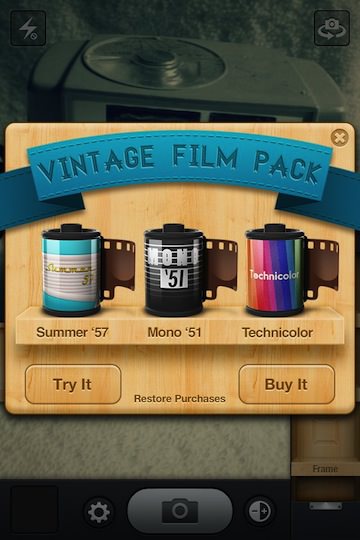
The majority of the filters where an extra charge. The app as it was initially loaded onto your iPhone did a few things, but to get the full potential realized, a person had to spend some bucks for the extra bits.

From the GhostBird Software site, you can continue to use the software but the team will not be working on it anymore so it will interesting to see how the apps fit into the future iOS7 world. While people new to the apps wont be able to purchase, current owners can always reload the last copy they had updated to via iTunes unless deleted from there too.

“If you already have the KitCam or PhotoForge2 apps on your devices, you will be able to continue to use them in their current versions.  However, we will not continue to update the apps as future versions of iOS are released.  Anyone who previously purchased GhostBird Software’s apps, including KitCam and PhotoForge2, will be able to re-download those apps through iCloud.  As of today, KitCam and PhotoForge2 are no longer available for download from the App Store.”

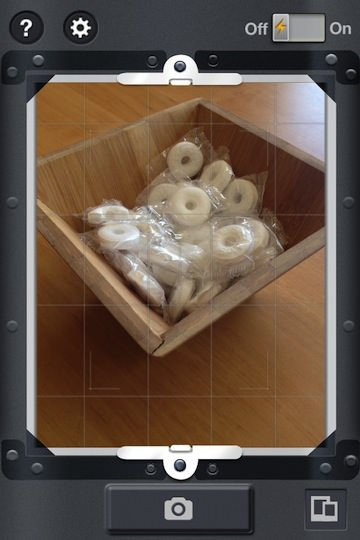
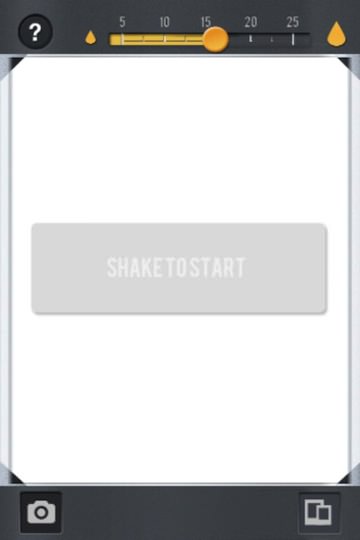
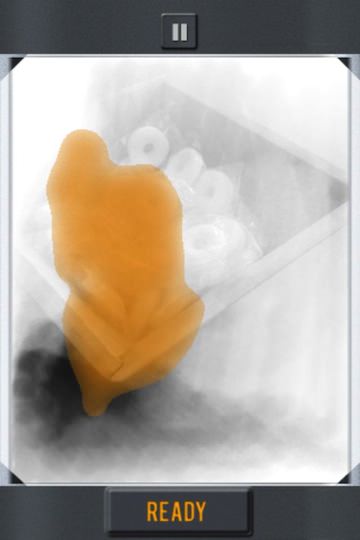
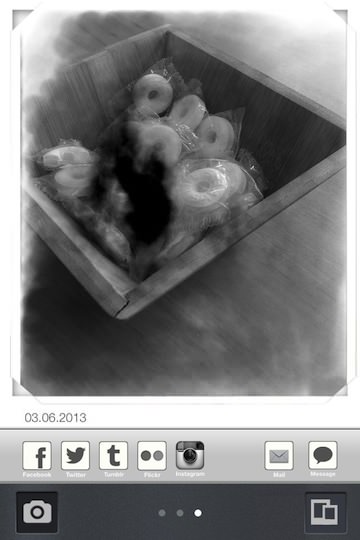
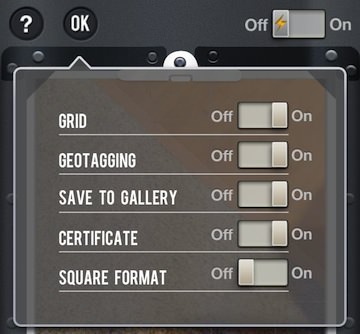
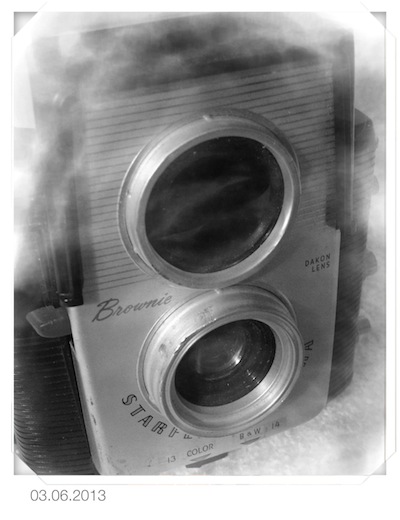
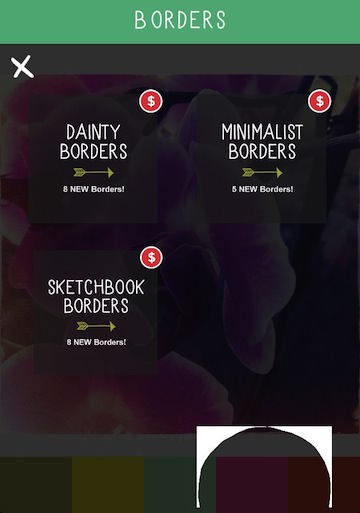
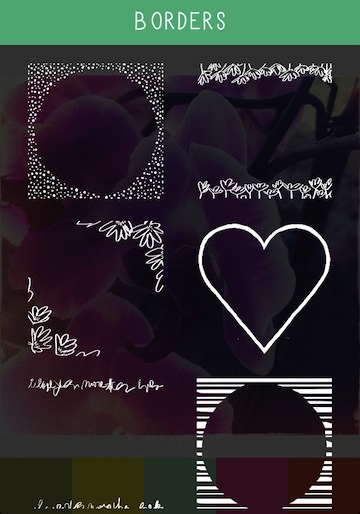
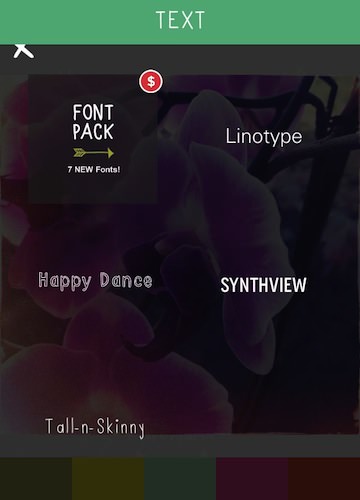
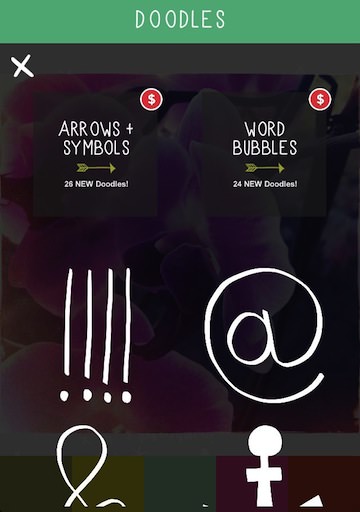
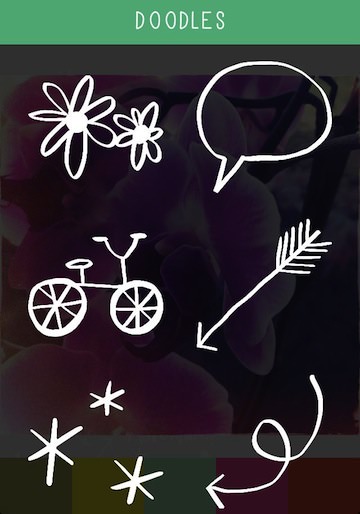
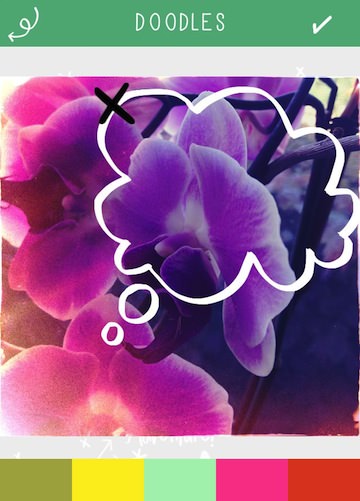
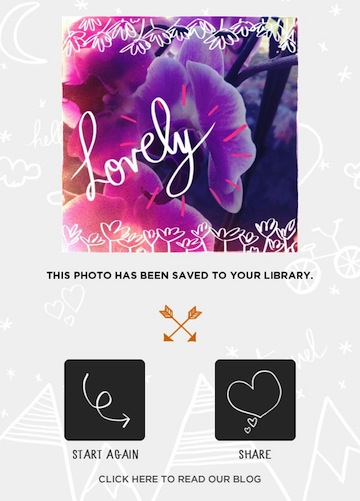
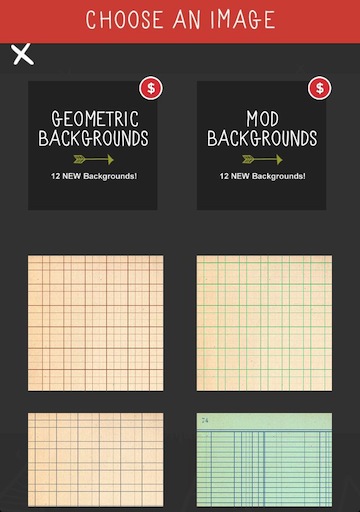
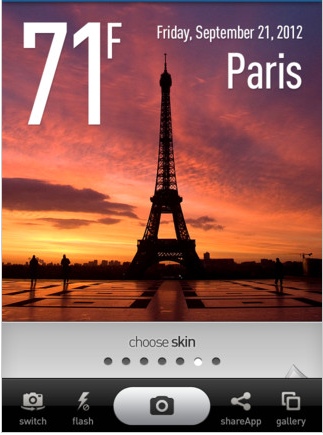
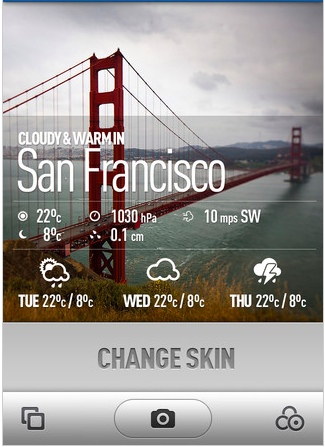
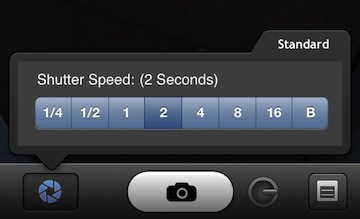
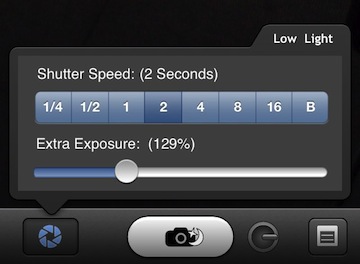
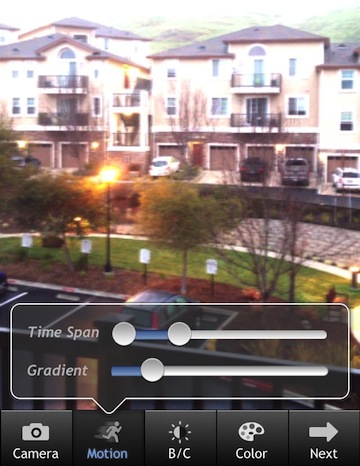
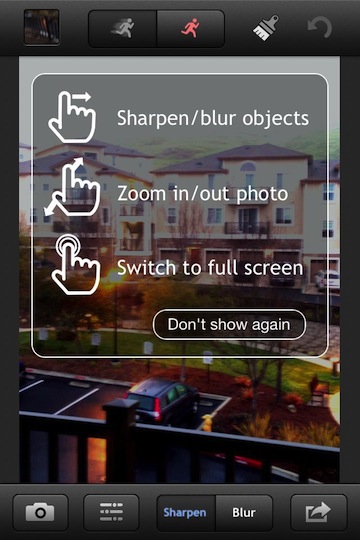
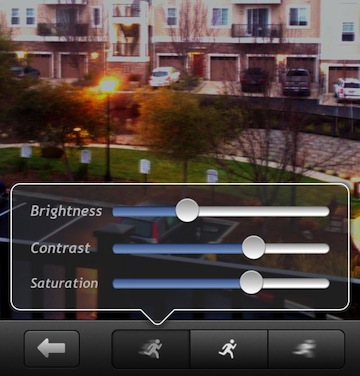
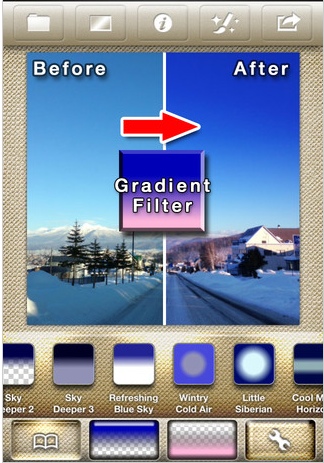
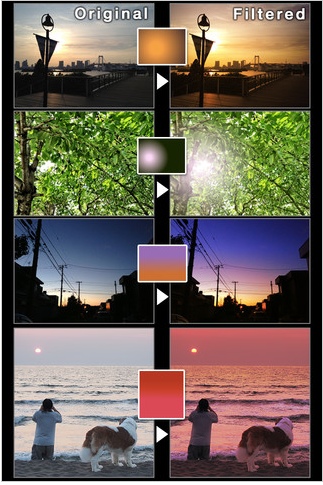
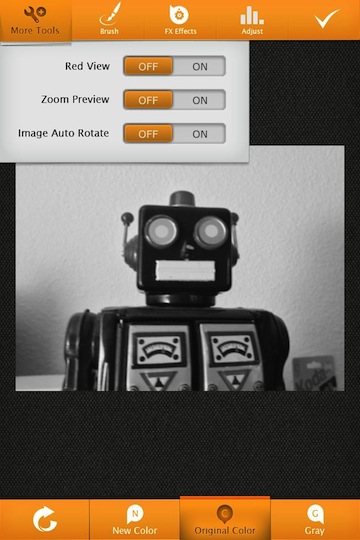
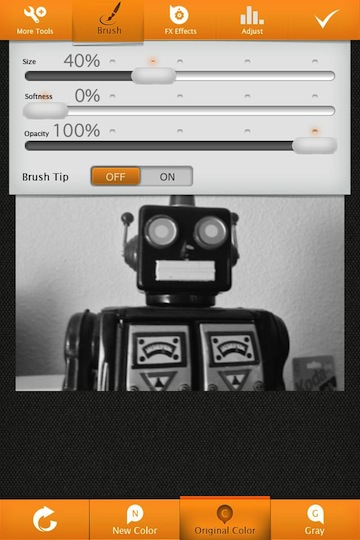
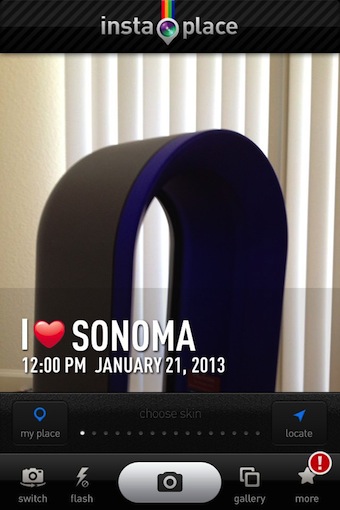
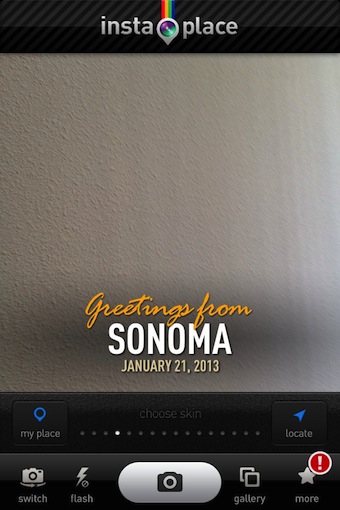
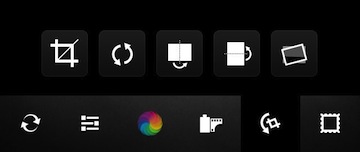
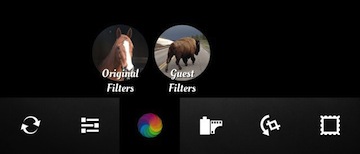
A few screen shots from KitCam as a reminder of the apps capabilities. How much of this will appear in a future Flickr iPhone app?

01 KitCam iPhone

02 KitCam iPhone

03 KitCam iPhone

The classic fun of chemical processing photos brought to the iPhone

During my early 35mm film shooting days, I shot a lot to learn about the impacts of changing camera/lens settings. Rather than having to pay a local lab to process my film, I had the chemicals and a dark closet to do the work myself. Printing the negatives onto paper required equipment beyond my budget and available room in the closet. A local school and a couple kind lab owners let me use their equipment for passing light through those negatives onto special paper in a controlled environment where I mixed and adjusted my chemicals and timing of processes. That is to say, there is a lot of room for being creative when making paper prints of my film photography. Of course, now we use a lot of filters and digital tuning before sending to a printer that applies ink a dot at a time onto paper.

If you want a bit of creative fun without the smell or chance of burning your cloths, give the iPhone app Koloid a try.

No, the app isn’t something you will start taking all your pictures with. With it’s feature limitations, the app is all about having fun being a bit unpredictable. Koloid starts with a view finder to snap the photo… options around the screen include Settings, turning the Flash on/off, Shutter and the built in Gallery. Be aware that you don’t have a big budget with the app so you couldn’t afford color paper, the resulting image will be Black and White.

01 Koloid iPhone

After you snap the shot, the first step is to adjust the collodion. The higher number will process the photo quicker but is less precise. Like, running strong chemicals and moving fast vs weaker and taking extra time to get a more detailed result.

02 Koloid iPhone

Shaking the iPhone introduces a blob of photo developers chemical. Since the iPhone doesn’t have smell-a-vision, you will need to imagine a bit of thick heavy smell to match up with the yellow area on the screen. Tipping the iPhone will cause the Koloid processing chemical to move around the white area, exposing the black and white photo.  If the chemical sits on an area of the photo too long, it will go fully black. There is no way to ‘undo’ a chemical burn on the image so use the movements smoothly to adjust the photo ‘print’ dark and light areas.

03 Koloid iPhone

Popular photo social share services are supported. Photos are saved to Koloid’s own gallery and optionally auto save to your iPhone photo library. If you want to share directly from the app, choose one of the options, add some text and send. When your done, the lower left camera button returns you to the view finder screen.

05 Koloid iPhone

There is a settings area to decide if your shooting square photos, need a grid overlay, geotagging and more. As you will see in the final photo in the post, I have not been able to not have the date on the finished photos.

06 Koloid iPhone

Of course, your milage will vary. Below is a quick image I snapped and ‘treated’ with Koloid where I didn’t overdo any areas. Since you can’t import photos or ‘undo’, the process is very much to being down to your last piece of photo paper in the lab… the pressure is on.

00 Koloid iPhone

Echograph – A new view of creating animated GIFs on the iPhone

Animated GIFs… I can take em or leave em. When I head the term, I think of the little cute icons on Web pages years ago that where just fluff on the page. More recently, there has been a few services that are encouraging more creative thinking around a few images put together into a story. If the images are thought through a bit, it can be a fun way of sharing a moment. There are two methods that the popular services are using, either it’s a video shot at a very slow speed or a person shoots a series of photos that the app stitches together.

Now, there is Echograph, offering a third way of showing motion in an animated GIF. The movement is set to a particular area of a photo so only the parts needing to move to tell the story are moving, the rest of the image is frozen. This removes a lot of the jerky look found on most multi image GIFs.

The Echograph app is simple to use, but actually pretty powerful. This is a Universal app, so the fun doesn’t have to be limited to the iPhone, editing on the larger iPad screen may have ultimately better results if your looking for maximum impact.

Shoot or import a video. Cut it down to a maximum of 5 seconds long via a slider along the bottom of the screen. Choose the area you want to allow movement to happen by painting over it with your finger or stylus (a person in the shot, a flowing river, etc…), then share or export in low or high resolution. Yup, it’s that easy! Admittedly, this is not the solution for all animated GIF, it is more for those images where only want a particular part to move. Some animated GIFs need the full screen to be changing for the message, but for those shots that you want a still photo and a part of it alive, Echograph has you covered.

Share weather information on photos for where they were taken

Last week I found an app that provided a easy method of inserting location text onto photos. It was a feature I saw a few folks using on Instagram and thought it must be an app rather than everyone getting creative adding text. This week, there seems to be a lot of folks posting pictures showing weather information. The weather numbers don’t always match what I may have assumed looking at the photo. A nice sunny photo showing below freezing numbers reminds me of a few days in Colorado.

An app, Instaweather Pro offers similar features to the location app I previously covered. You can take a photo with the app and add the weather information for where the photo was taken. There are a variety of templates to choose from, just swipe across the screen to choose the layout and quantity of information. The period of time can be today, the next few days or the whole week. While temperature is the info I have seen used most often, Instaweather Pro can also overlay text for air pressure, rain, wind strength and direction.

01 Instaweather pro

02 Instaweather Pro

Using the iPhone for Long Exposure photography with LongExpo

I have covered a few Long Exposure photography solutions over the last couple years. The camera on the iPhone is quite capable but you have to have more power over the exposure length which is possible with apps like LongExpo. There is actually more to long exposure photography then just holding the shutter open longer. It depends on what the end result is needing to be… a streak of light behind cars zooming by, blur of moving objects like water over a waterfall and low light. Each of those can require a different set up and tuning to the environment around the photographer. Usually, this means a lot of adjustment behind naming from film photography counterparts.

LongExpo attempts to give the options needed for all of the different long exposure via plain english options. Then, add on specialized editing tools to get the final photo closer to what was hoped for when the shot was imagined.

01 LongExpo iPhone

Choosing a different different photo type as seen above allows for access to different tools via the shutter setting button. I like the ‘keep it simple’ both in the options and the text used to describe the feature settings.

02 LongExpo iPhone

03 LongExpo iPhone

After a photo is taken, general fine tuning is possible via a set of sliders. The camera icon returns you to the camera and deletes the photo just taken.

04 LongExpo iPhone

Images managed through LongExpo can be shared or saved at full resolution. I have found most editing apps like to downsize the output to help manage memory usage and the speed of the app. From the ‘Next’ button you can save to your iPhone photo library, create a project so you can edit that photo more later and access to the ‘Magic’ tool set.

5 LongExpo iPhone

“Magic Sharpener” isn’t just a sharpening tool. The area of LongExpo is where you will find the ability to fine tune the image. The tuning is for sharpening and blurring. Paint an area, then choose which your trying to do. Also, the strength of the adjustments. Notice the image in the upper left corner, via this you can choose a photo within the time lapse photography in case an individual photo is better than the mix of the many used to create the long exposure. LongExpo attempts to keep the process easy to start, then more enhanced for those photos needing that extra touch for maximum effect.

06 LongExpo iPhone

07 LongExpo iPhone

Changing a photo’s impact using gradient fills

I was recently looking to see if there was anything new with Squaready, an app that fills around ‘not square’ photos so they can be posted to sites that require square. Looking over the developers work, I saw they did an app for applying different gradient effects to iPhone photos. Normally, I think of gradients as simply a light to dark area fill, particularly when I want an area of a photo highlighted more than other areas. Looking over the examples their app had, it got me thinking about the many other natural and un-natural enhancements that can be done to a photo.

The app, Gradgram – Fast Gradient Image Editor for Instagram, Facebook, Twitter – …. (serious, that is the apps name!) is an iPhone only app that can be yours for less than a US dollar. Uh, I still can’t get over that name.

Back to gradients. The app allows for the application of gradients colors that you choose from a picker, then apply from an area to another using a horizon or even circle areas. Then share the finished result directly out through the sites mentioned in the app’s name but also to other apps like Camera+ if you want to do additional editing. Looking over Gradgram’s examples, it gives me a few ideas to play with photos I recently took of interior rooms that would pop with the proper area shading.

01 gradgam gradient iPhone

02 gradgam gradient iPhone


AfterGlow with adjustable photo filters and a new look to frames

“Just another photo filter app” drives me crazy. I pay for and use everything I review here so when I find someone’s creative marketing was just a wrapper for the standard set of filters, I’m not a happy user.

So, I went into AfterGlow a bit slowly. On the surface, the developer’s mentions of 34 Filters, 23 Textures, and 13 Frames put it right in the middle of the many other options. But, I found people talking about the filters and frames being adjustable. Nice… that is something I have mentioned before as being missing from the major iPhone Photo Editing apps.

01 AfterGlow iPhone

02 AfterGlow iPhone

The AfterGlow filters are divided into two groups, the Original Filters that the app developers have created and Guest Filters provided by others.

03 AfterGlow iPhone

The Original Filter group consists of 21 filters, many of which you will notice are similar to other apps. Notice that the image representing the filter is not a small image of your photo with the filter applied, like you may see in other apps. Each of the filters can be adjusted for strength though!

04 AfterGlow iPhone

Choosing the AfterGlow Guest Filters option (currently 15 filters) gives you a similar row of filters to use. These are a growing group of filters created by users of the app and are included at no extra charge. Notice the slider? Yes, you can adjust the strength of the filter effect added to your photo. No longer are you having to apply all or nothing.

05 AfterGlow iPhone

A selection of light flares and textures are available to apply. Notice in the screen shot below how AfterGlow doesn’t force you to use the light as a set filter. Instead, you can resize, move, flip, and rotate… as well adjust the strength. I was just using another app earlier today applying a bit of light to a photo and not happy with how the developer had it set, AfterGlow is letting me tune the effect to match the photo’s needs.

06 AfterGlow iPhone

Framing a photo with AfterGlow isn’t the usual little frame around an image that is basically a boarder. Instead, the majority of the ‘frames’ are actually cut outs. You can drag the photo around to get it aligned within the opening and adjust the size of the cut out with the slider. After playing for a day, I’m pretty happy with the money spent on AfterGlow.

07 AfterGlow iPhone