Author Archives: admin

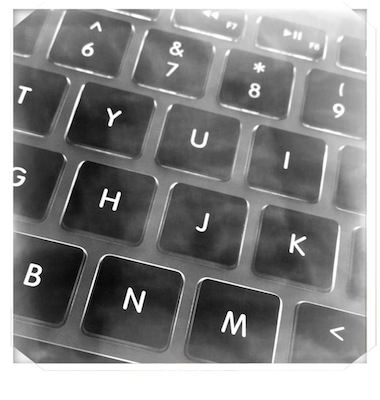
Shooting with BlacKeys Extra Fine Black and White Film on the iPhone

Last week I discovered a nice surprise, a free film pack in Hipstamatic!

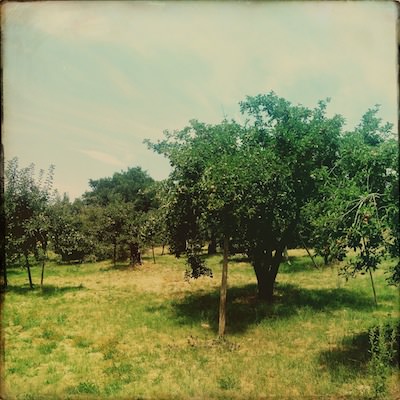
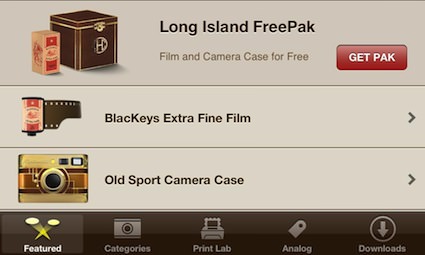
Normally, there will all kinds of news from the Hipstamatic team about a new film, lens and flash pack. This time though, a new pack called “Long Island FreePak” went under my radar. As the name implies, this ‘Pak’ is free. Included is a film and a fun camera body, no lens or flash. But, that is fine as the film is a nice extra fine black and white so it matches up nicely to my currently installed lenses.

01 blackeys extra fine film

02 blackeys extra fine film

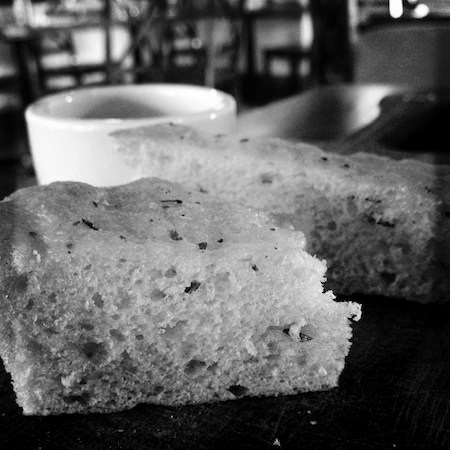
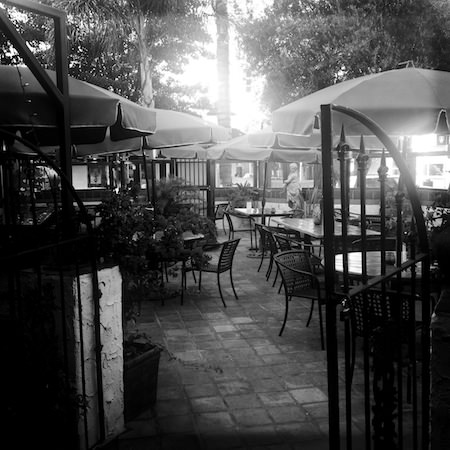
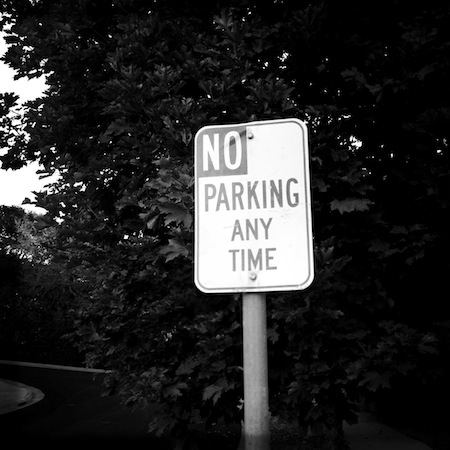
Nothing special about getting the free offer, just go to the Hipstamatic retro camera app on your iPhone, choose the cart and find/download. Then head out and shoot! As promised in my last post about add on film, lens, filters and effects, here are a few photos I took the afternoon I installed the update so you can see a real world results.

03 blackeys extra fine film04 blackeys extra fine film05 blackeys extra fine film

Olloclip Introduces Lens Kit with Circular Polarizing and 2x Telephoto

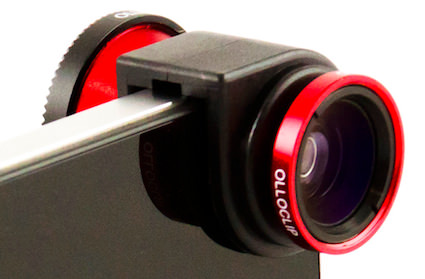
If you have heard of Olloclip lenses for the iPhone 4s and iPhone 5, it most likely was for their Fisheye, Wide-Angle and Macro. Their iPhone lens solution is a two sided slip over metal device. On one side is a fisheye lens, which gives a true fisheye photo over a software generated fisheye image. On the other side is a Wide-Angle lens and a Macro lens layered over each other. The lens corner ‘clip’ is a solid piece so there is one for an iPhone 4s and another for the thinner iPhone 5.

01 orig olloclip

Today, I received several emails from Olloclip announcing a new version. The new solution isn’t more lenses on the original unit, instead it’s a whole new clip that carries two lenses to further expand the options for the iPhone photographer. The new Olloclip is similar in size to the original, small enough to have in my pocket without having to carry in an external case.

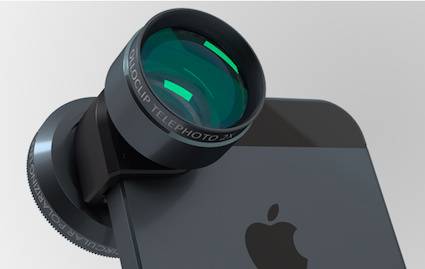
The first lens is a 2 x Telephoto. Things at a distance can be magnified by 2x with a mechanical lens, rather than the built in digital. As electronic zoom gets better at image correcting, a lens solution will make less of a difference. For now though, a lens should have a sharper image.

02 telephoto olloclip

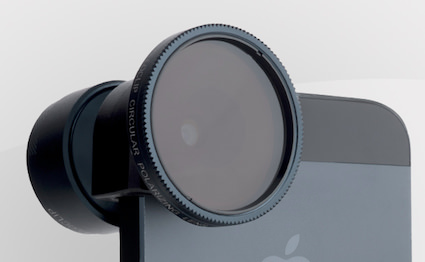
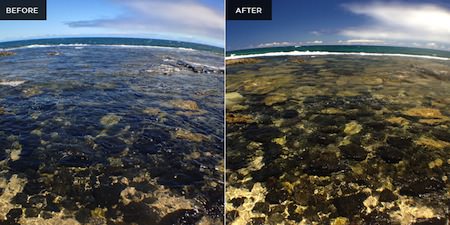
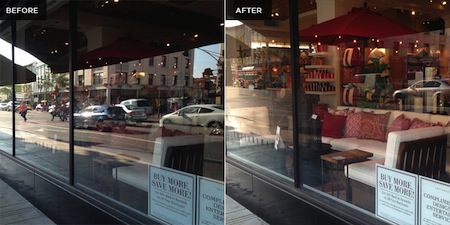
On the other side is a round Polarizer lens. While I enjoy taking reflection pictures, I have been missing the option of a polarizer. I covered in an earlier post a less expensive clip lens I use, based on their original device quality this solution should be nice. My full size cameras all have lens polarizer filters for those time I need to see through a transparent surface that could be reflecting the sky or even me!

03 polarizing olloclip

I am anxious to get my hands on one of these new Olloclip lens packs to see if it is much larger than the original. What has made the first Olloclip so usable is it can be tossed in any bag I’m carrying or even my pocket. The solid construction means I don’t worry about it getting squished like the less expensive spring clip or magnetic options.

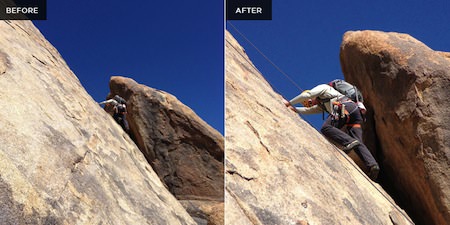
Till I have shots to show the lenses in action, here are a few from the Olloclip site.

compare1

compare3

compare4

2013 iPhone Photography Contest Winners Announced

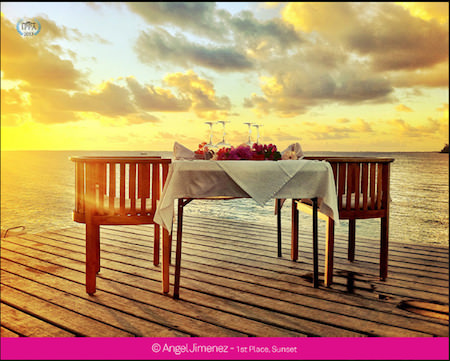
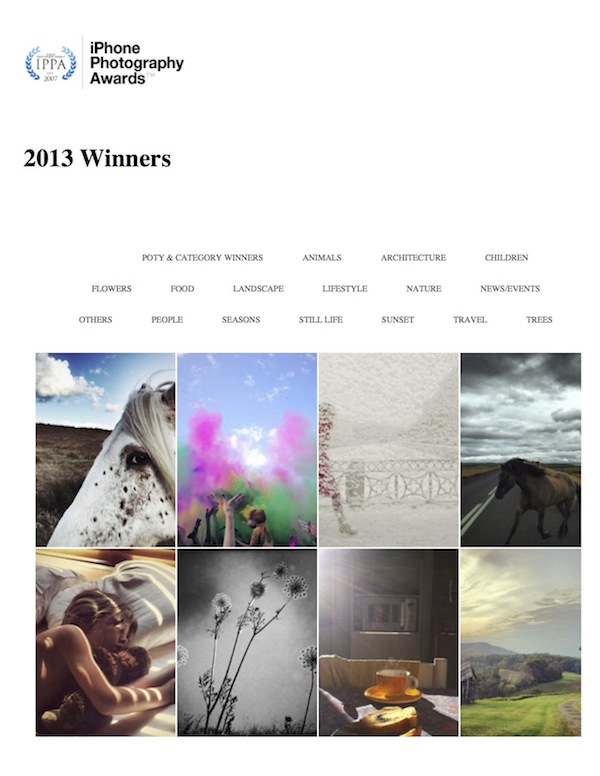
The 7th annual (that means, this has been going on since 2007), iPhone Photography Awards have been announced. Rather than just a couple pics to see on the wall, the IPPAWARDS site all of the winners across the many groups. It is fun to get inspired, launch a photo and start to sweep through the collection. There are a lot of very talented  photographers in the world, calling their iPhone their camera.

1st place sunsets I should warn you about the site though… it seems to be going up and down a lot over the last couple days. So much traffic the site is going down? One would think that is a thing of the past after having been awarding talent for seven years. I hope it opens successfully for you so you can enjoy the talent.

7th Annual iPhone Photography Awards 2013

Layering up your iPhone photos via Camera+ update

While there are powerful photo tuning apps available on the iPhone, talking with the tools folks around me us, they generally keep it simple. When time allows, a features of the advanced tools are great. I’m usually on the go so I hit the quick adjustment apps to bring out the message of the photo, share, and move on.

Camera+ is one of those quick go-to apps to do a few touchups without having to take a lot of time. It has a handful of full image filters and enhancements with a pre-view available to speed up choosing a path forward. While there are a few workflow adjustments I would like to make the app more efficient, it does what it promises very nicely.

This week, an update to Camera+ was introduced. There is a large enhancement to image processing flow via the addition of Enhancement Layering as well a few for-pay additions in filters and frames.

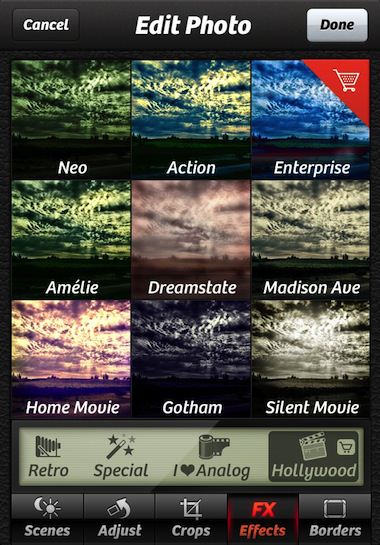
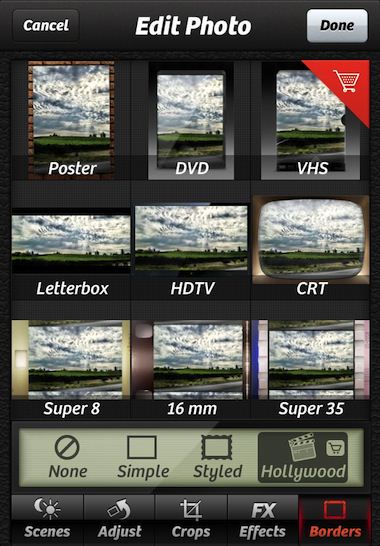
The ‘for-pay’ updates are wrapped in a new option called Hollywood. The package includes new Enhancement Filters and Frames to add the look and feel of yesteryear movies.
02a camera+ layers

02b camera+ layers

In the more robust photo editing apps, there is the option to layer effects over each other. With Camera+, until now, layering meant saving a photo with it’s enhancements, then re-importing to add another. Layers is now built into Camera+’s workflow. Allowing multiple effects to be added and adjusted quickly and easily. Well, easily when you understand where the feature is. After handing my iPhone off to several people to have them try the new feature and their stumbling around a bit, I thought I should cover the feature with a quick ‘how to’.

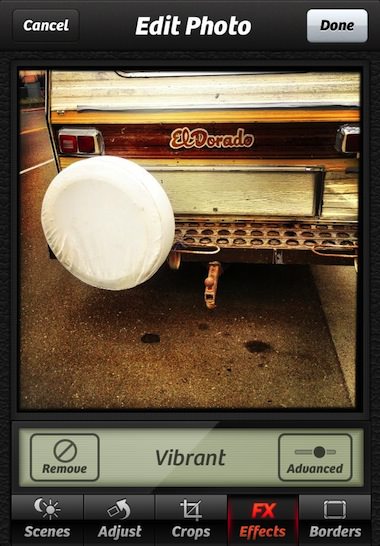
Like the earlier versions of Camera+, you can preview a thumbnail of any filter effect on the photo your working on (either taken with the app or imported from your iPhone photo library). Selecting a filter opens your photo in a larger view to see more detail. From this view, you can choose another option along the bottom of the screen to add ‘Scenes’ tuning, rotating, cropping and borders… or select Cancel to go back to no edits on the photo or Done to go to Save/Share screen.
03 camera+ layers

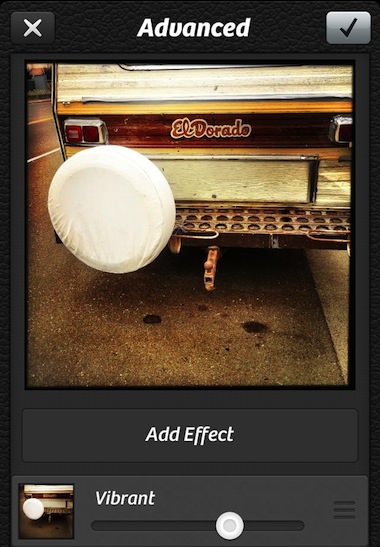
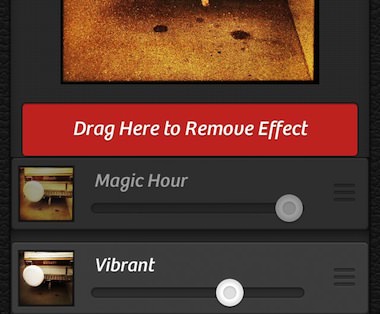
After adding an Camera+ enhancement Effect, choose the ‘Advanced’ button in the lower right corner. Along with the slider to adjust the percent of the filter being added is a new button “Add Effect”. Tap this button to be taken back to the Effects selector to choose another ‘layer’ of filter to be included with one already chosen. Buttons along the top are to through away the changes being made on the left and ‘save’ check on the right.
04 camera+ layers

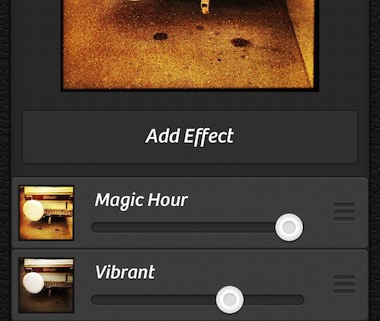
Each effect chosen to be used, stacks on the previous one in the list. The tuning adjustment bar is for each effect individually, changing the photo in real time.
05 camera+ layers

Oops, that additional enhancement isn’t getting what you want? No worries, if you use the right grabber and drag the filter up to the Add Effect button, the button changes to “Drag Here to Remove Effect”, just drop it there and the filter effect is removed. I found that after I used the new Camera+ layers and the adjusters on each filter, I may want to go back and rethink some of my earlier edits. Layering is now part of the workflow since Camera+ makes it easy and quick.
06 camera+ layers

Put your iPhone photos on a T-shirt… tell everyone… make money

There are many options to have products made with your iPhone photos, a few of those options have iPhone apps to do the creative work on. A new service and free app joining the mix is Snaptee.

As the name implies, the iPhone app is a tool you can use to create T-shirts with. The T-shirts can then be purchased as well offered for sale via the Snaptee Web site. T-shirts are priced at $19.99 + shipping. If a T-shirt is sold with your design on it, Snaptee pays you 10% of the sale (to your PayPal account when the amount owed to you reaches $100). You can also create/buy T-shirts that are private so others can not see or buy. If you set a T-shirt creation to ‘private’, the service does not offer the ability to change your mind later and offer for sale. The solution is to ‘remix’ your design onto another T-shirt. Speaking of ‘remixing’, this is an option that has to be allowed near the last step of creating your T-shirt. But doing this means anyone can take your design/photo and remix onto a T-shirt they offer to sell. So, your photo and T-shirt design is protected to you by Snaptee… unless you let others remix, in which case your photo is up for grabs.

snaptee

The Snaptee T-shirt design app lets you choose from a series of templates or free form your own design. You can add text, which can be colored via a picker. I noticed quite a few T-shirts on the site that where just lettering and no photos at all so there is no limitations on your creative there. Speaking of the site, if you want to make any money selling your T-shirts, you will need to do all of the promoting yourself. The Snaptee site is a single long list of T-shirts which means it is by chance that someone would happen upon your creation. Your best off creating, then promoting. Is this better than Zazzle or CafePress? Snaptee is a new addition to this group of long term professionals so while their list of offerings may be limited right now, they may be highly motivated to make this a winning solution.

Brighton Hipstapak introduced with Sussex Film and Doris Lens

The Hipstamatic vintage iPhone camera app has undergone several updates recently. I’ll cover lens/film sharing and working with Oggl in another post. For this Hipstapak mention, I thought I would go in a slightly different direction. Normally, I will let you know that I found a new pak available of interest for folks that like to play with lens and film combos. Then, what the folks at Hipstamatic has to say about the pak’s shooting results.

Going forward, I’ll let you know when a camera app has introduced new add-ins, as well a few shots I have done using the update in real life. I hope this helps you make a decision if the feature will enhance your photography outside of the parameters that the app provider shows.

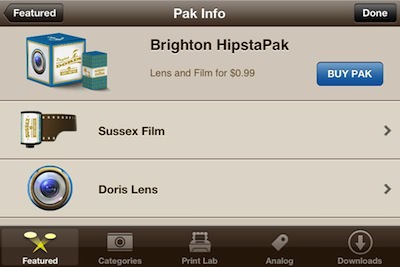
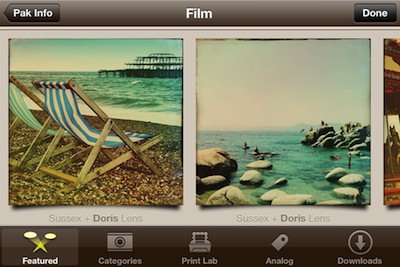
So, like the title says, Hipstamatic now has a Brighton Pak available through the app on the iPhone. Included in this Brighton Pak is the Sussex Film and Doris Lens.

01 Brighton Hipstapak

02 Brighton Hipstapak

Below are a few shots using the Brighton combination. Since taking these photos, I’m finding the Doris lens getting used a lot with other films on the iPhone Hipstamatic app. Your preference and milage may vary.

03 Brighton Hipstapak

04 Brighton Hipstapak

05 Brighton Hipstapak

06 Brighton Hipstapak

Photojournalists Turn To Instagram To Get Their Photos To The World

My parents grew up with photographers taking pictures at a ‘news worthy’ event, turning the photos into newspapers and then leaving it up to the decision makers what made it to the public to see. Twitter changed that a bit, allowing anyone to post a bit of text explaining what they are seeing. Either people saw the tweets and went there to take photos to submit to the regular news channels or attach the photos to more tweets. The limitation for the Twitter path is the service is about text, photos are an extra click, so text must be enticing enough to encourage a click. Adding Vine to Twitter, in the area of distributing News, will give more context than photos but still require a ‘click to view’.
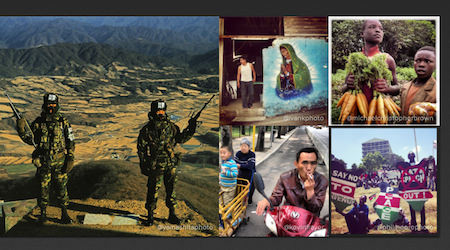
Instagram is a stream of photos that people sweep through, seldom looking at words unless they stop on a photo. Perfect for getting a visual to the public about an event, no matter where it is happening in the world. People can comment and share with others. Thus, getting information out to the masses through images, with no one person making a decision what is news worthy.

Instagram has recently run two blog posts outlining a few Photojournalists that post to Instagram. Of course, everyone can be a photojournalist via a system that allows anyone to take a photo with their smartphone and post for all to see.

A list of the few mentioned in the two Instagram posts:

  • Michael Christopher Brown, documents life in Congolese refugee camps — @michaelchristopherbrown
  • Ben Lowy, a conflict and feature photographer based in New York City — @benlowy
  • Phil Moore, a British photojournalist based in East Africa — @philmoorephoto
  • Kevin Frayer, the chief photographer for the Associated Press in South Asia — @kevinfrayer
  • Ivan Kashinsky, a freelance photographer based in Quito, Ecuador — @ivankphoto
  • Michael Yamashita, a documentary photographer for National Geographic specializing in Asia — @yamashitaphoto
  • Tim Fitzsimons, Beirut-based journalist — @tfitzsimons
  • Ed Ou, journalist based in the Middle East, Africa and Central Asia — @edouphoto
  • Teru Kuwayama, Afghanistan and Pakistan-based journalist — @terukuwayama
  • Wissam Nassar, a photographer based in the Middle East — @wissamgaza
  • Damir Sagolj, Reuters photojournalist based in Bangkok — @damirsagolj
  • Daniel Berehulak, Australian photojournalist based in New Delhi — @danielberehulak

The blog posts:
Photojournalists Sharing the World through Instagram
Photojournalists Sharing the World through Instagram, Part 2

thumbnail instagram Photojournalist

Using Binoculars As A Telephoto Lens For Your iPhone 5

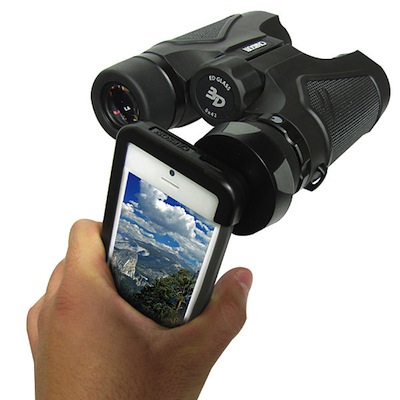
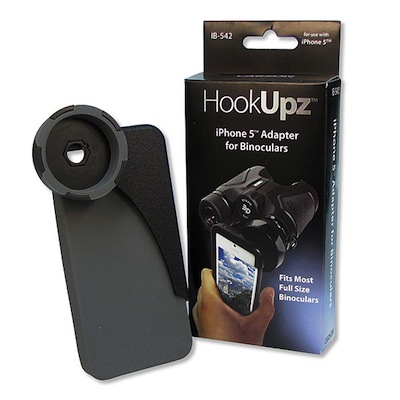
Here is an interesting find I came across over on ThinkGeek’s Web site. No need to carry a special telephoto lens set up for your iPhone to get closer to those far away shots. A particularly handy option if you are vacationing and already carrying binoculars. The description says Included is an adapter for iPhone 4, 4S and 5… which I doubt. The thickness difference between the 4 and 5 bodies has meant that sleeves work on one of the other. Either they have gotten creative with their adapter, or the title is correct that this is for the iPhone 5, while the text was from an earlier product.

Either way, the idea is a great way to avoid having to haul a lot of extra equipment and still get photos in a wide variety of situations.

01 Binocular adapter iphone

02 Binocular adapter iphone